There are no results matching your search
How to Draw a Beanie Hat Step by Step - 7 Easy Steps to Create a Simple Beanie Drawing!

- By Joanna | updated in December, 2023
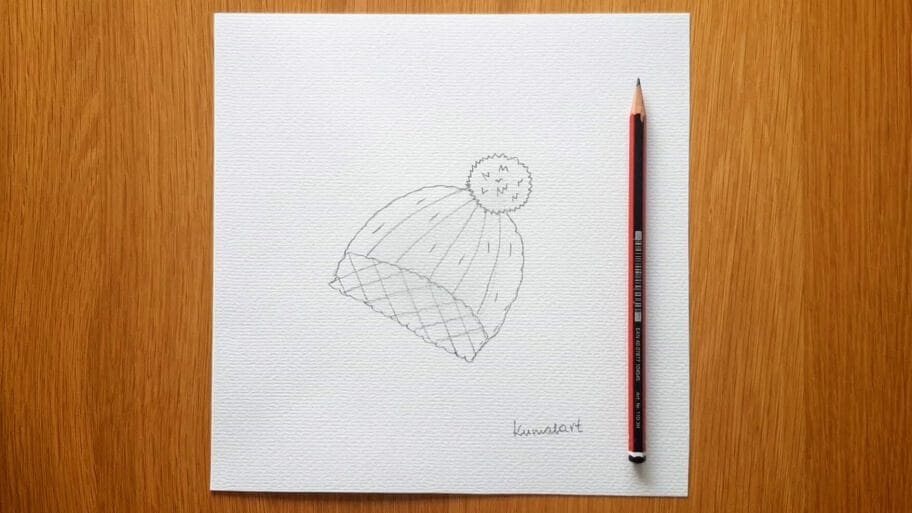
In this fun and easy beanie hat drawing tutorial, you’ll learn how to draw a beanie hat step by step.
This easy beanie drawing tutorial is great for beginner artists (both kids and adults) who want to improve their drawing skills.
Beanies are a type of headwear that is mostly made from cloth, wool, or some other soft material that covers the head and ears. It is usually worn in cold weather as it provides warmth and protection from the elements.
Drawing beanies can be a fun exploration of shapes and textures! Start by sketching the basic form of the head, then add the beanie’s outline, considering its fit and how it drapes over the head. Experiment with different fabric textures and details, such as folds or patterns, to make the beanie more realistic and dynamic in your artwork.
Once your supplies are ready, follow these steps to create your beanie hat drawing.
Table of Contents
ToggleWhat You’ll Need for Your Cap Drawing Easy Sketch
We’ll be creating our beanie sketch using the following materials:
- A piece of paper
- A pencil
- An eraser
How to Draw a Beanie Hat Step by Step
Follow along with this beanie drawing easy tutorial and learn how to draw a beanie hat step by step.
We’ve included all of the steps in detail so that the how to draw a winter hat process is easy to follow.
So, if you’ve got your art supplies ready, let’s get started!
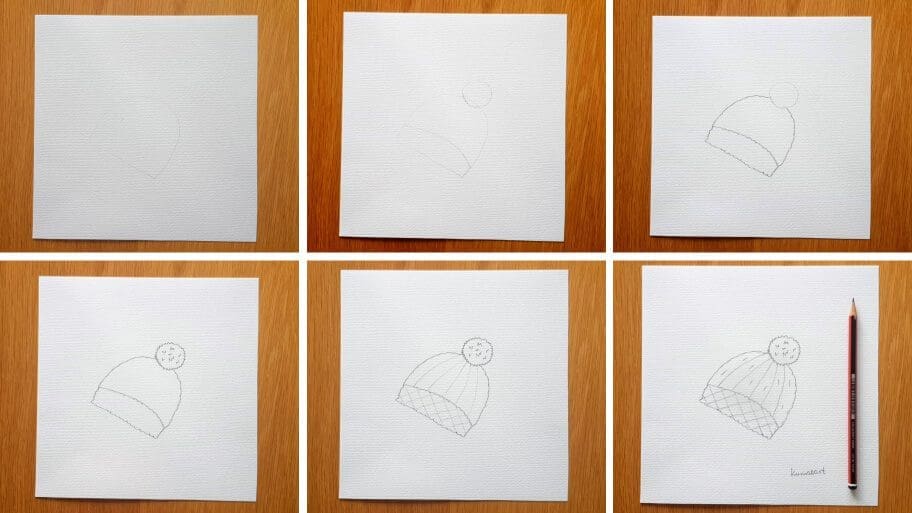
The collage above shows each step of the process so you know what your beanie hat drawing should look like at each stage.
Instructions on How to Draw Beanie Hat Step by Step Sketch
Tip: Make sure you don’t press too hard on the paper when you draw your pencil lines so that you can correct your mistakes with an eraser as you go through the tutorial.
Steps to Create a Beanie Drawing Easy Tutorial
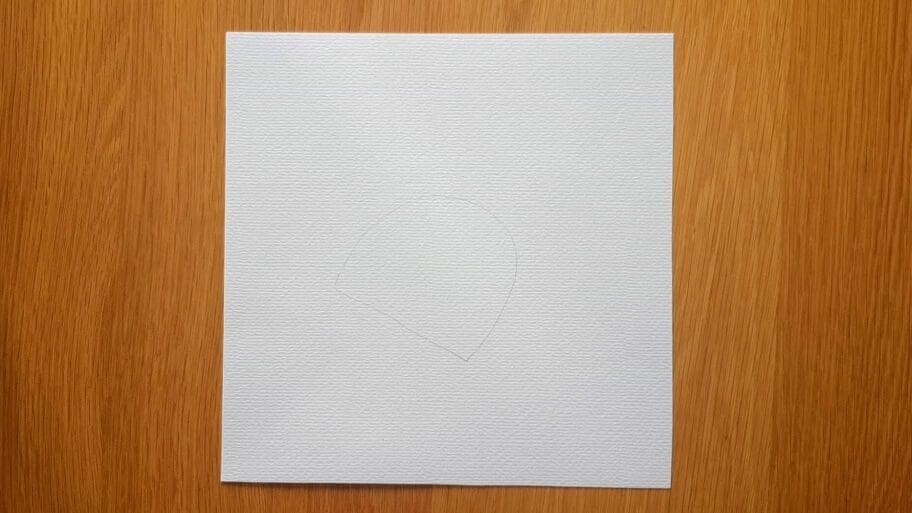
Step 1: Draw the Outer Shape of the Beanie
Start by drawing a large half-circle shape for the entire hat using light lines.
Draw a curved line. Then draw a horizontal line and connect it to the bottom of the curved line.
Step 2: Draw the Brim of the Hat
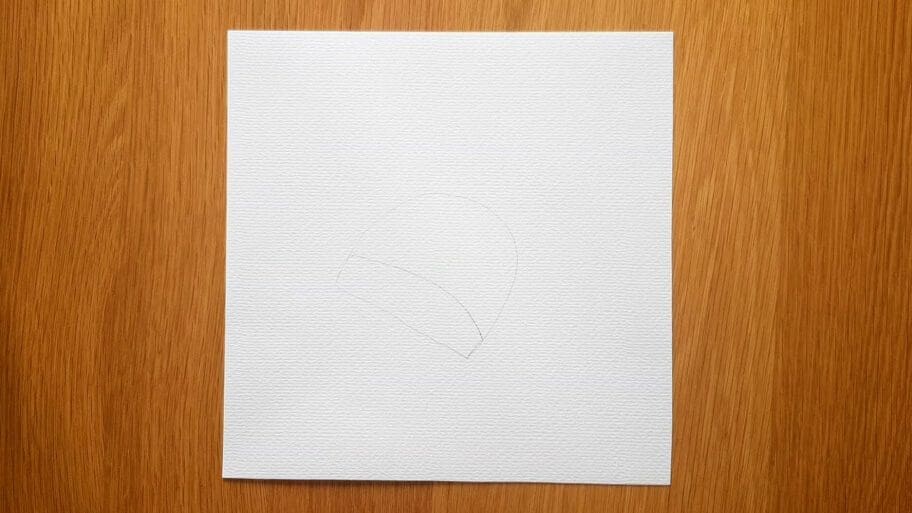
Draw a curved line from one side of the hat to the other side. This will be used as the brim of your beanie.
Step 3: Draw a Pom Pom
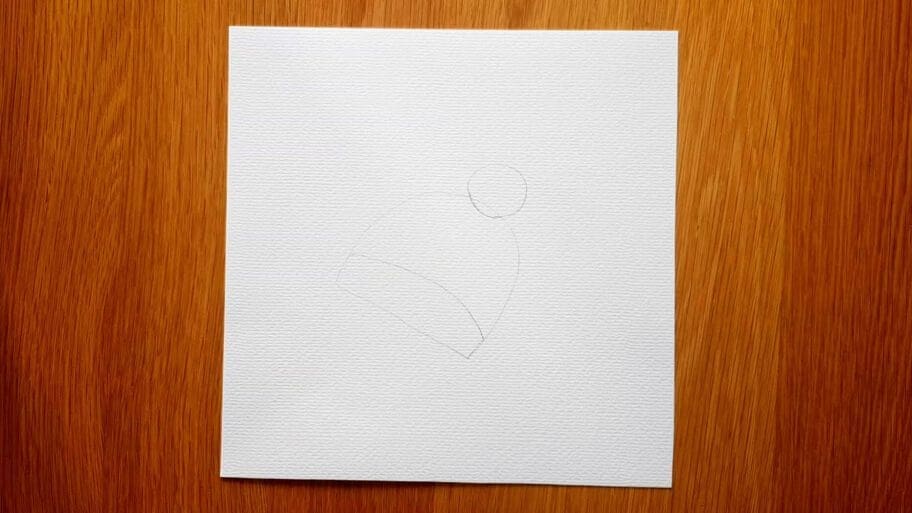
Draw a circle around the top of your beanie to represent a pom pom.
Step 4: Outline the Beanie
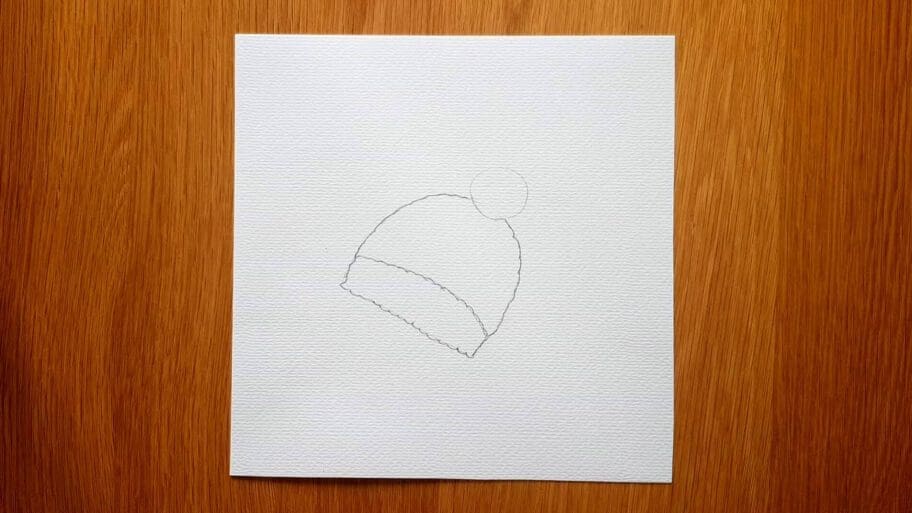
Outline the beanie using a darker pencil stroke.
Step 5: Outline the Pom Pom
Outline the pom pom using a darker pencil stroke. Draw a zig-zag shape around a pom pom. Then add a few tiny zig-zags inside the pom pom.
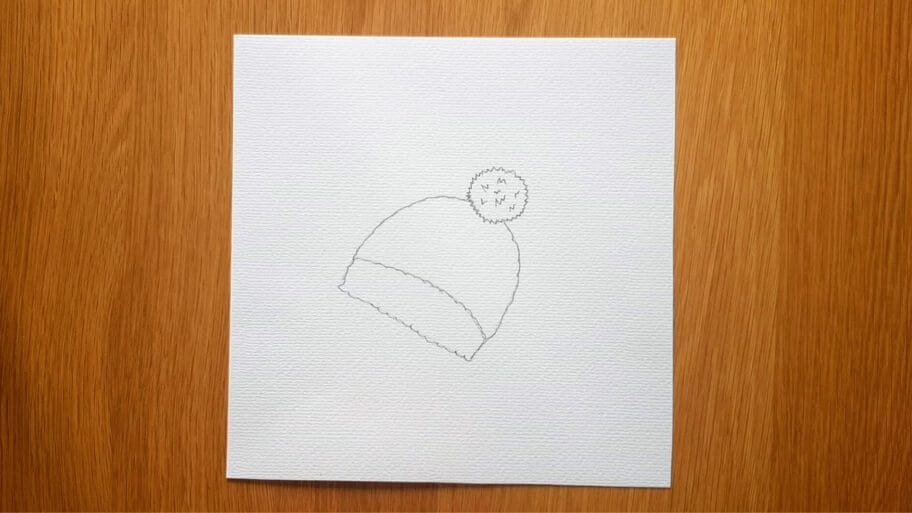
Step 6: Add Details to the Beanie Hat
A. Draw vertical curved lines to add detail to your beanie hat. Make sure that each line is roughly similar in size and shape.
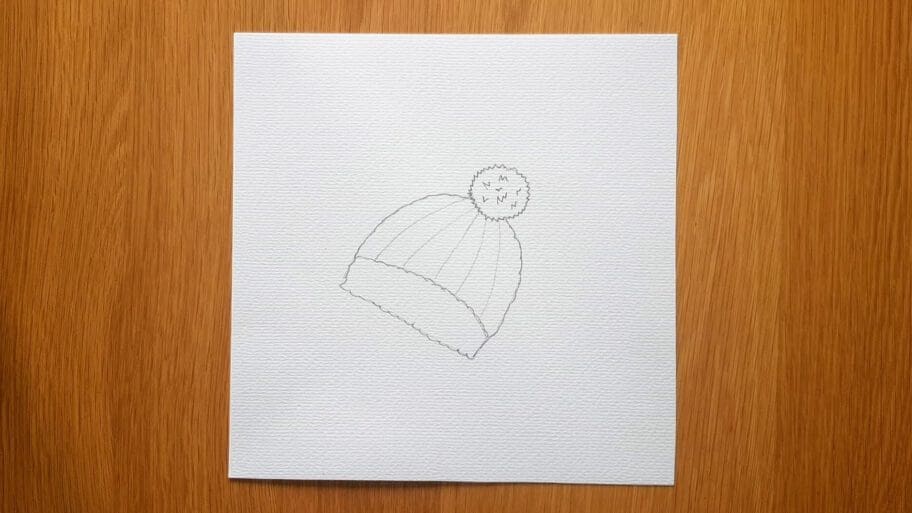
B. Add a criss-cross pattern to the brim.
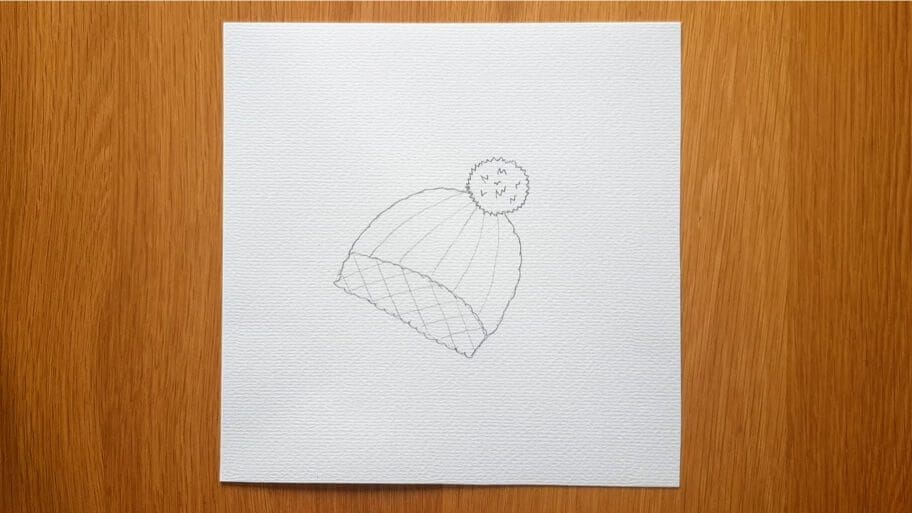
Step 7: Add Shading
Smudge the entire hat with your fingers to create a shading effect.
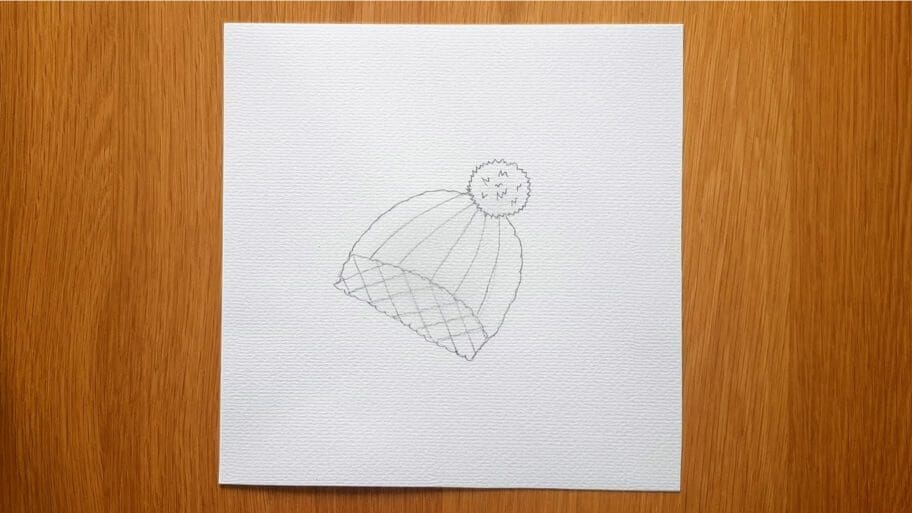
Congratulations!
There you have it. Now you know how to draw a beanie hat.
Don’t worry if your beanie hat drawing isn’t perfect the first time, the more you practice the better you will get!
Bonus Tips on How to Improve Your Beanie Hat Drawing
Use Color:
Use colored pencils or markers to make your drawing stand out.
Use Photo References:
If you wonder how to draw a beanie on a head, then use a royalty free photos as a reference for inspiration and guidance! Observing photos of people wearing beanies can help you understand how they sit on the head, their shape, and how fabric folds around the head. Use these references to capture the realistic positioning and details of a beanie on a head in your drawing.
Add Shadow:
Add shadows to create more depth in your hat drawing.
Experiment with Different Shapes:
Try drawing different beanie shapes to practice your skills.
Use Different Shades:
You can use different shades of gray or any color you like to make your drawing a beanie look more realistic.
We hope you enjoyed this hat drawing easy tutorial and you learned something new!
Be sure to practice this beanie drawing until you get it just right.
Then, try drawing different hats like a baseball cap or a bucket hat.
Soon, you’ll be a master at clothes drawing!
Looking for more drawing tutorials? Search our list of 101+ Drawing Ideas!
Happy drawing!


