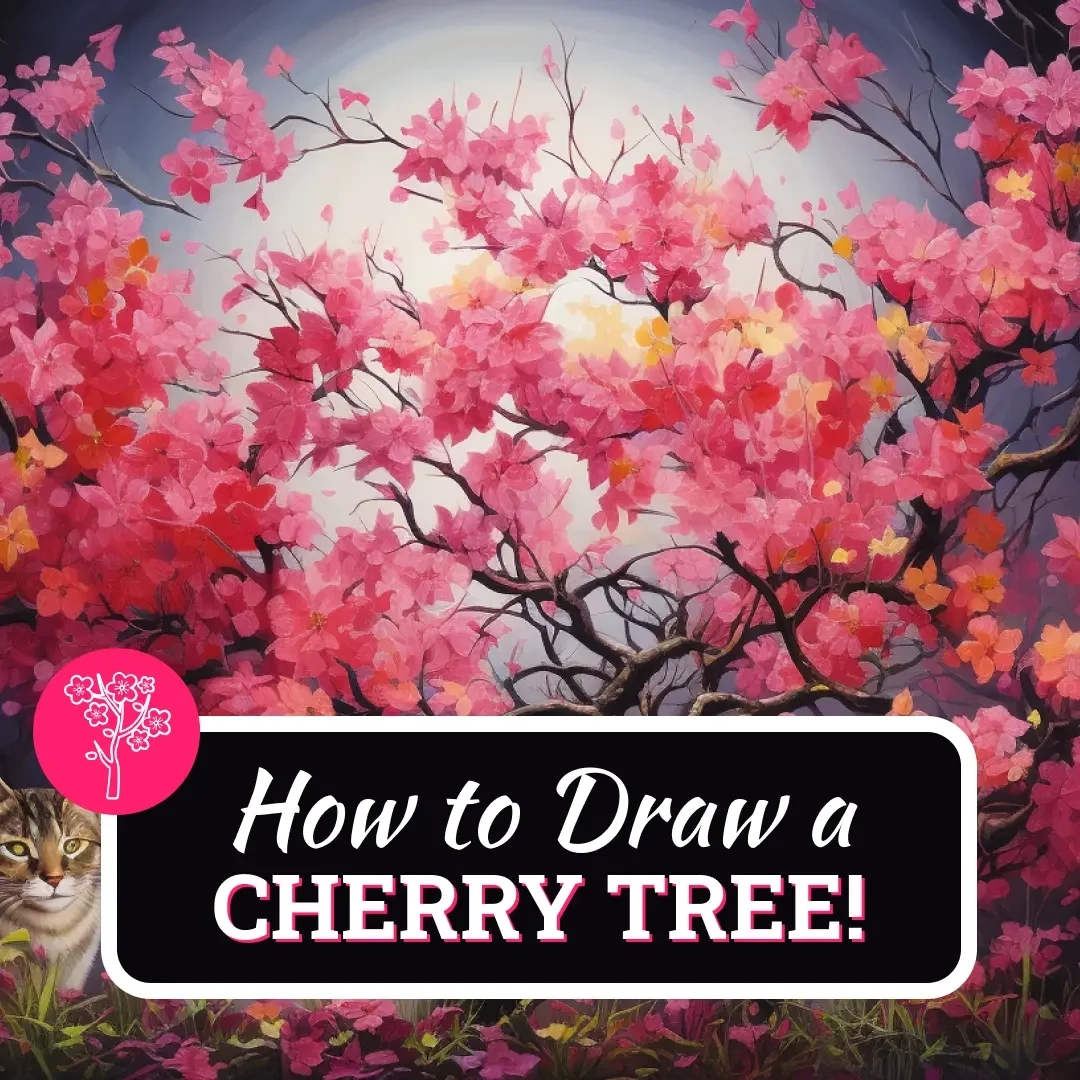
There are no results matching your search Reset filters?
How to Draw a Cherry Blossom Tree Step by Step - 8 Easy Steps!

- By Joanna | updated in March, 2024
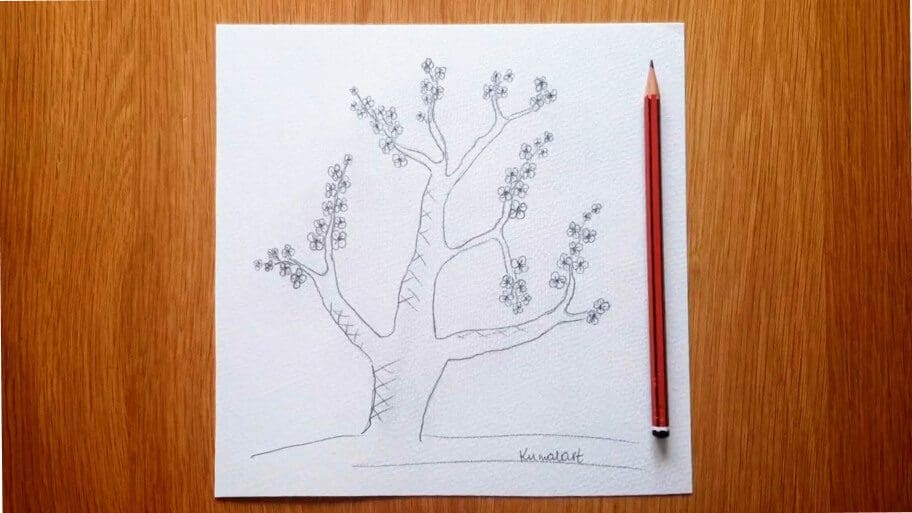
Spring is the season of bloom and what better way to celebrate it than by drawing cherry blossom trees?
In this fun and easy cherry blossom tree drawing easy tutorial, you’ll learn how to draw a cherry blossom tree step by step.
This cherry blossom drawing easy tutorial is great for beginner artists (both kids and adults) who want to improve their drawing skills.
Cherry Blossom Trees in bloom are very beautiful and make for a great piece of art in your home.
Cherry blossoms are a fun and interesting subject for drawing, and this drawing guide is perfect for anyone who wants to create a beautiful drawing.
Drawings of cherry blossom trees can be expressions of beauty and serenity, capturing the delicate elegance of nature through soft, pink blossoms adorning gracefully curved branches. Each cherry blossom tree easy drawing offers a chance to convey tranquility and the fleeting beauty of springtime.
Fun Fact: Did you know that the cheery blossom tree is native to Japan and they are called a sakura tree? Pink flowers are known as sakura and are very popular in Japan during spring.
If you wonder how to draw a blossom tree step by step using gentle strokes to outline the tree’s shape, adding clusters of small, rounded shapes for blossoms, and gradually layering colors to create a vibrant and enchanting display of nature’s beauty on paper, this tutorial is perfect for you.
Table of Contents
ToggleWhat You’ll Need for Your Simple Cherry Blossom Drawing
We’ll be creating our easy blossom tree drawing using the following materials:
- A piece of paper
- A pencil
- An eraser
How to Draw a Cherry Blossom Tree Step by Step
Follow along and learn how to create a cherry blossom tree step-by-step.
We’ve included all the steps in detail so that the process is easy and fun for everyone.
So, let’s get started!
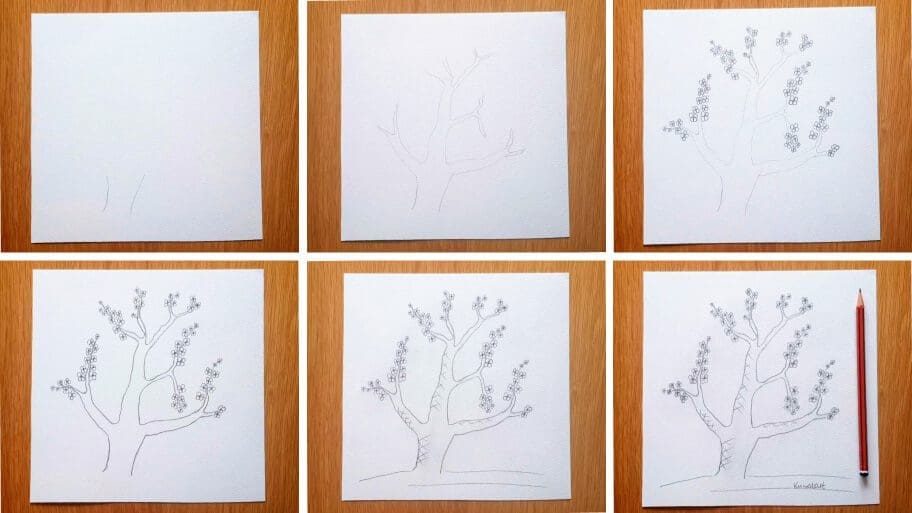
The collage above shows each process step so you know how to draw sakura tree should look like at each stage.
Instructions on How to Draw Cherry Blossom Tree Sketch
Tip: Make sure you don’t press too hard on the paper when you draw your drawing lines so that you can correct your mistakes with an eraser as you go through the tutorial.
Step 1: Draw the Trunk
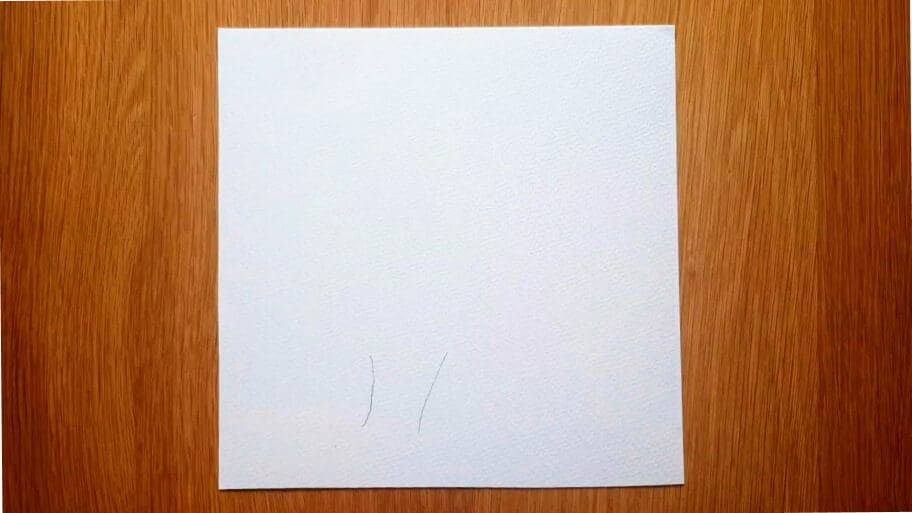
Draw two curved lines for the trunk of your tree using a light pencil stroke.
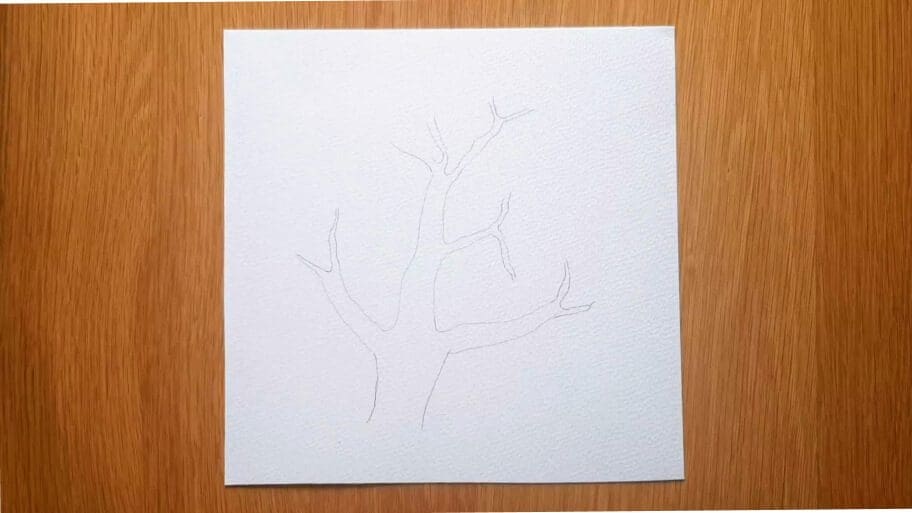
Step 2: Draw the Cherry Blossom Tree Branches
Draw some branches that come out from either side of the trunk. Make sure to draw them in a way that resembles a real-life cherry blossom tree.
Step 3: Draw the Petals
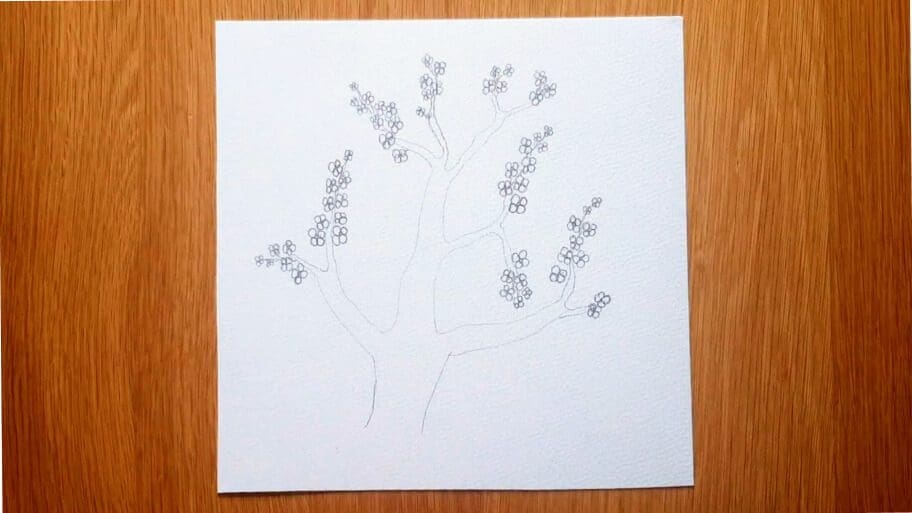
Now it’s time to draw the petals of your cherry blossom tree.
Use four small oval shapes to draw petals for each flower, and make sure they vary in size and shape.
Step 4: Outline the Tree
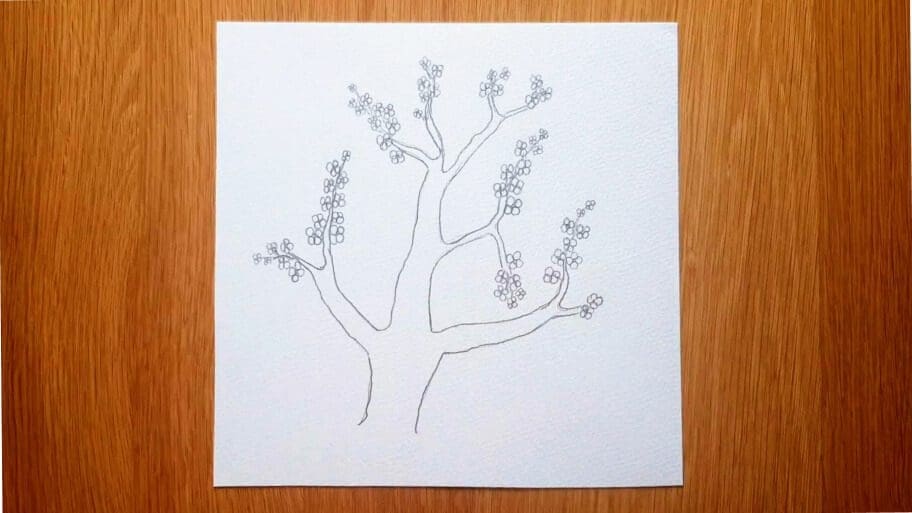
Go over all of your lines with darker pencil marks to create the outline of the tree.
Step 5: Add Details to the Flowers
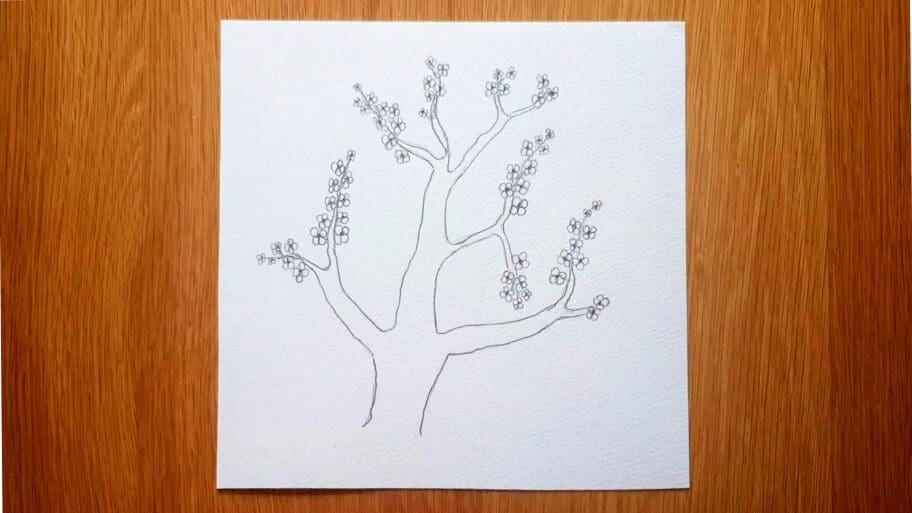
Add a small dot in the middle of each flower.
Step 6: Add Shading
Using a criss-cross hatching technique to add some shadows and shading to the cherry blossom tree.
Then use your finger to smudge the pencil marks. This will add depth to your drawing and make it look more realistic.

Step 7: Draw the Ground
The final step is to draw the ground.
Draw a few horizontal lines at the bottom of the tree to represent the ground beneath your cherry blossom tree.
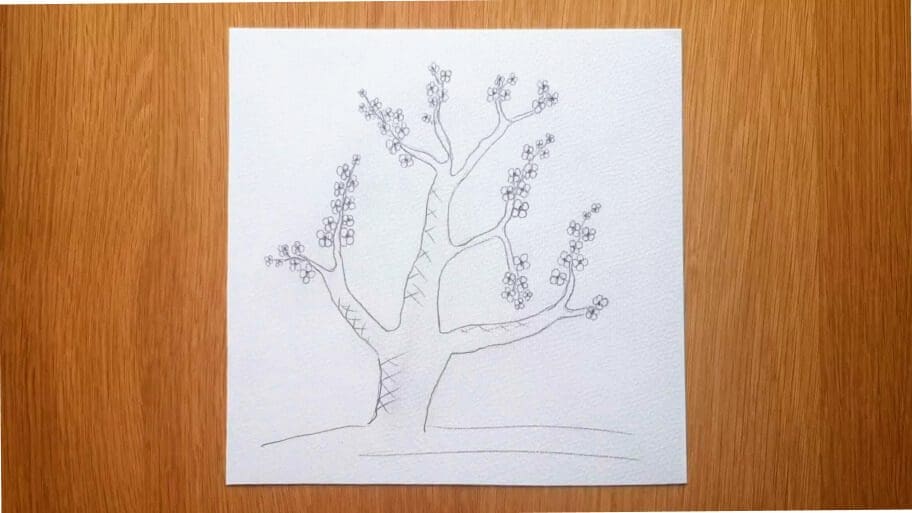
Step 8: Add More Details to the Petals
Draw a tiny line inside each petal to finish the look.
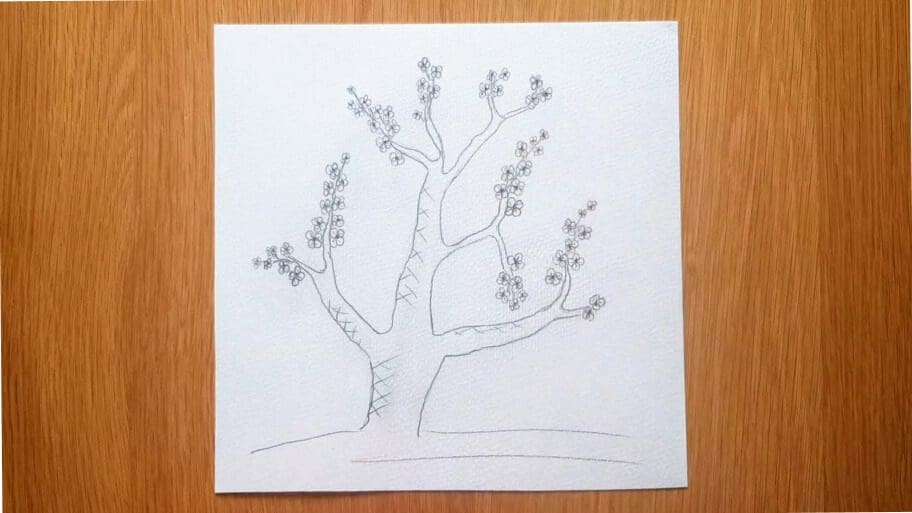
Congratulations!
There you have it – your final results. Now you know how to draw a Sakura tree drawing easy!
Hope you enjoyed this tutorial and that you learned something new.
Don’t worry if your simple cherry blossom tree drawing pencil isn’t perfect the first time, the more you practice the better you will get!
Be sure to practice this easy cherry blossom drawing until you get it just right.
Check out our How to Draw a Palm Tree Step by Step tutorial, How to Draw an Apple Tree tutorial, and How to Draw a Christmas Tree tutorial to continue your tree drawing journey.
Bonus Tips on How to Improve Your Cherry Tree Drawing Easy Skills:
Try Different Colors
If you are curious about how to draw a cherry blossom tree with colored pencils, try experimenting with vibrant colors using markers or watercolor colored pencils. This will make your drawing look more vibrant and eye-catching.
Use a Different Background
If you are wondering how to draw blossom tree with different backgrounds Try drawing your cherry blossom tree against various backdrops, such as a serene blue sky, a sunset’s warm hues, or even a tranquil garden setting, to evoke different moods and atmospheres, allowing your artwork to tell diverse and captivating visual stories. This will help to make your cherry blossom easy drawing tree stand out more.
Use Image References
It’s always helpful to look at a reference photo when drawing cherry trees. This will give you an idea of how to draw a cherry blossom tree with pencil and how the leaves, petals, and stems should look in real life.
Realistic Look
If you are intrigued about how to draw a cherry blossom tree realistic, try using fine, delicate lines to sketch the tree’s trunk and branches, paying attention to their natural flow and curves. Then, meticulously detail the blossoms with tiny strokes or dots, capturing their intricate beauty and creating a lifelike representation of a cherry blossom tree.
Experiment with Perspective
If you want to create an exciting effect, experiment with the perspective of your drawing. Try changing angles or adding in more petals to create a 3D effect.
Soon, you’ll be a master at tree drawings and you will know how to draw a cherry tree with ease!
Are you looking for more drawing ideas? Search our list of 101+ Drawing Ideas.
Happy Drawing!

Joanna
Latest Posts
Trending
There are no results matching your search Reset filters?

