There are no results matching your search
How to Draw a Ladybug Step by Step - 13 Easy Steps!

- By Joanna | updated in January, 2024

In this fun and easy ladybug drawing tutorial, you’ll learn how to draw a ladybug step by step.
This tutorial is great for beginner artists (both kids and adults) who want to improve their drawing skills.
Ladybug is one of the favorite bugs for many people. You may find them in your garden or simply admire their beauty.
Drawing ladybugs can be a great way to express creativity in your artwork. With just a few basic shapes, you can create an amazing ladybug drawing that is sure to impress your friends and family.
Fun Facts: Did you know that lady beetles are important beneficial insects? They help protect plants from pests and help to maintain a balanced, healthy environment.
Table of Contents
ToggleWhat You’ll Need
You’ll need the following materials to create your ladybug drawing:
- A piece of paper
- A pencil
- An eraser
How to Draw a Ladybug Step by Step
Follow our step-by-step drawing tutorial covering how to draw a simple ladybug.
We’ve included all the steps in detail so that the process is easier to follow.
So, let’s get started!

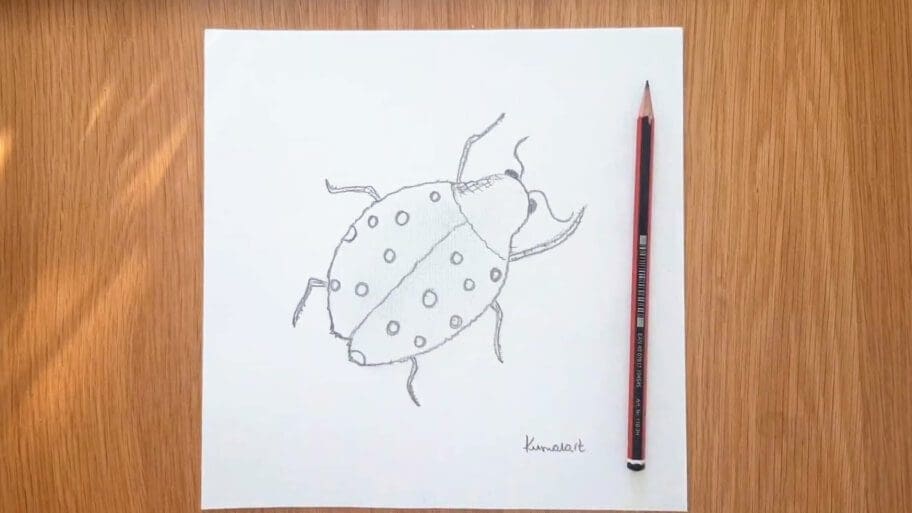
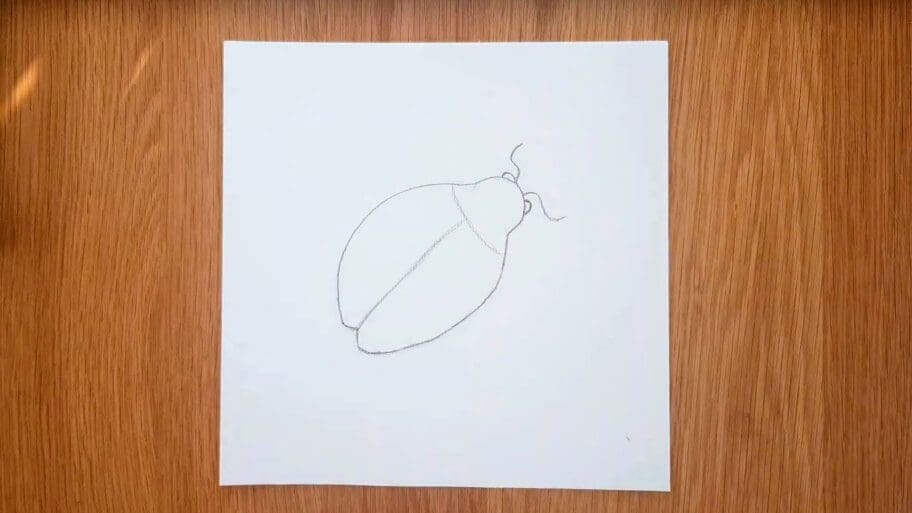
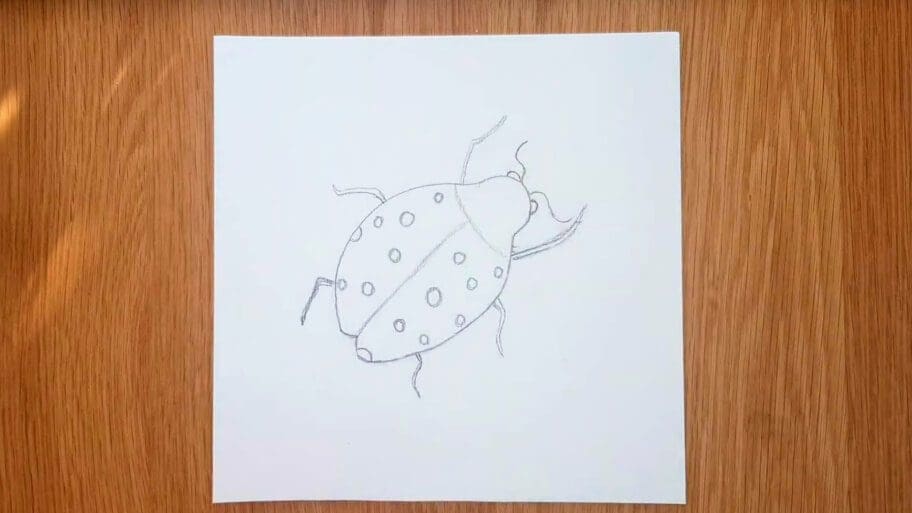
The collage above shows each step of the process so you know what your ladybug drawing should look like at each stage.
Instructions on How to Draw a Realistic Ladybug
Tip: Make sure you don’t press too hard on the paper when you draw your pencil lines so that you can correct your mistakes with an eraser as you go through the tutorial.
Step 1: Draw the Body
Draw a large oval for the body using a light pencil stroke.

Step 2: Create the Head
In the previous step, you created the body. Now is the time to create the head.
Draw a small half-circle shape next to a large one.

Step 3: Outline the Body
A. Draw a curved line on the top of the oval using a darker pencil stroke.

B. Draw a curved line on the bottom side of the oval and connect this line with the one you just drew.

C. Then draw the “M” letter shape at the back of the oval to finish the body.

Step 4: Erase the Pencil Marks
Erase any unwanted pencil marks.

Step 5: Add the Wings
Draw one long, straight line in the middle of the body. Then, draw a small curved line and attach it to the line you just drew to form the wings.

Step 6: Draw the Eyes
Draw two half-circle shapes on the top of the head to form the eyes.

Step 7: Draw Two Antennas
Draw two small wavy lines coming out from the middle of the head to form two antennas.

Step 8: Draw the Back Legs
Draw two small curved lines on each side of the back of the body to create the back legs.

Step 9: Draw the Front Legs
Draw two lines on each side of the front body to form the front legs.

Step 10: Draw the Middle Legs
Repeat the same step as before, but this time draw the legs in the center of the body.

Step 11: Create the Dots
Draw several different size dots on the ladybug’s body to give it a realistic look.

Step 12: Outline Your Ladybug Drawing
Outline the whole drawing with a darker pencil stroke to give it some depth and volume. Then shade the eyes.

Step 13: Add Shading
Finally, using a criss-cross hatching technique, go over with your fingers and smudge the lines. Then add a few tiny lines across the body to give the ladybug a more realistic look.

Congratulations!
You have just finished your very own simple lady bug drawing.
As you can see, drawing a ladybug is quite an easy task if you follow the steps correctly and practice often.
Don’t worry if your ladybug drawing isn’t perfect the first time, the more you practice the better you will get!
Bonus Tips on How to Draw Easy Ladybug!
- It’s always a good idea to watch some drawing tutorials if you feel like you need more help.
- Watching how other people draw can help build your drawing confidence and give you some great ideas for your drawings.
- You could look up a cartoon ladybug, a miraculous ladybug step-by-step guide, or a realistic ladybug drawing tutorial online. You might even find a video tutorial that is helpful for beginners. That would help you easily draw and understand the features of a ladybug.
- You can also use different techniques to make your artwork look more interesting and realistic, such as adding shadows or making the body parts look 3D. These techniques will help you bring your drawing to life and make it stand out from the other drawings.
- Perhaps an eraser might come in handy to correct mistakes.
- Add some color to your ladybug drawing to make it stand out and give it more life. Or, you could even add a background with trees or foliage to create a more realistic look.
- Finally, use different pencils and eraser techniques to achieve the desired effect in your drawing. Experimentation is the key to discovering new techniques and improving your drawing skills.
We hope you enjoyed this tutorial on how to draw a ladybug!
Try out your newly learned skills on different bugs like a fly or a bumble bee and have fun practicing until you master the art of drawing!
Are you looking for more similar drawing tutorials? Search our list of 101+ Drawing Ideas!
Happy drawing!


