

In this fun and easy cherry drawing tutorial, you’ll learn how to draw a cherry step by step.
This simple cherry drawing easy tutorial is great for beginner artists (both kids and adults) who want to improve their drawing skills.
Drawing cherries can be very easy if you use some basic shapes to map out your drawing before adding any details.
Fun Fact: Did you know that cherries take about 8 months to fully ripen?
This cherries drawing step-by-step tutorial will show you how to draw two cherries with a leaf in 13 easy steps.
Once you have your supplies ready, follow these steps to create your drawing.
We’ll be creating our cherries sketch using the following materials:
Follow along and learn how to draw cherries.
We’ve included all of the steps in detail so that the process is easy to follow.
So, if you’ve got your art supplies ready, let’s get started!
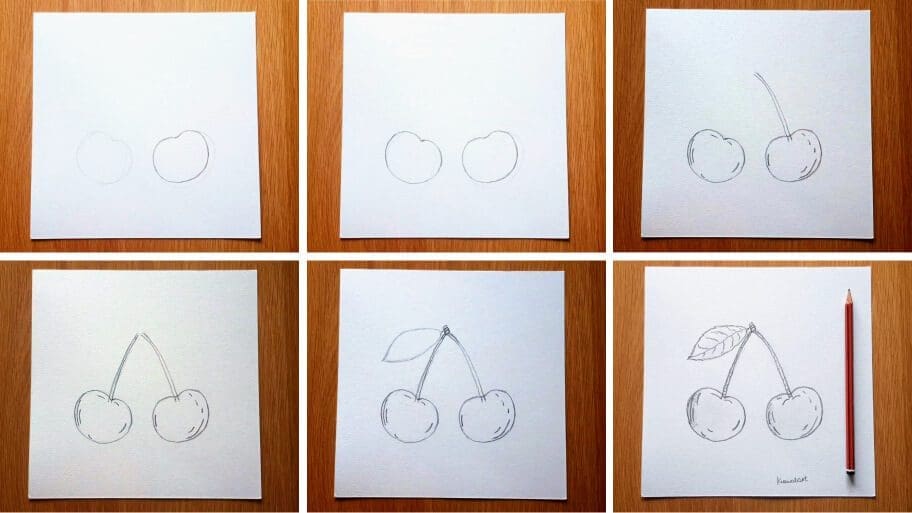
The collage above shows each step of the process so you know what your cherries drawing easy step by step sketch should look like at each stage.
Tip: Make sure you don’t press too hard on the paper when you draw your pencil lines so that you can correct your mistakes with an eraser as you go through the tutorial.
Follow along with our steps to find out how to create a drawing of two cherries.
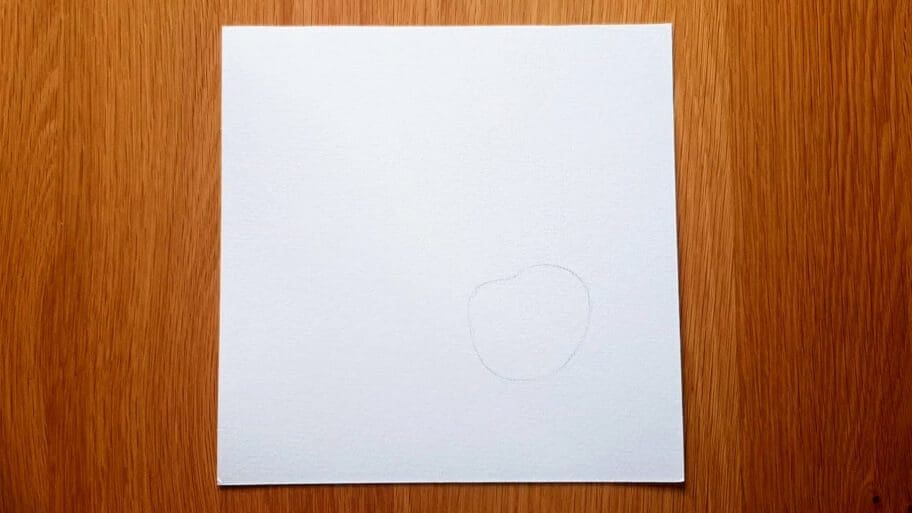
Start by drawing the overall shape of the first cherry using light pencil marks.
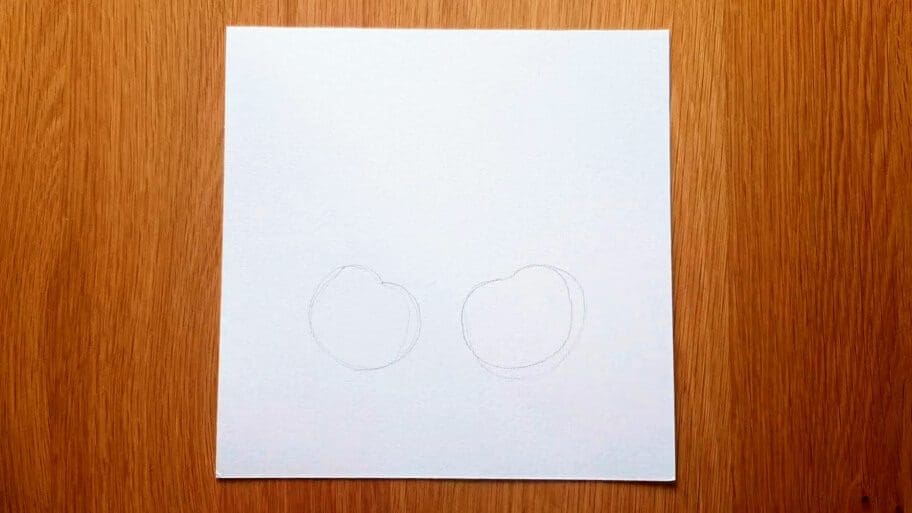
Similarly, draw the second cherry.
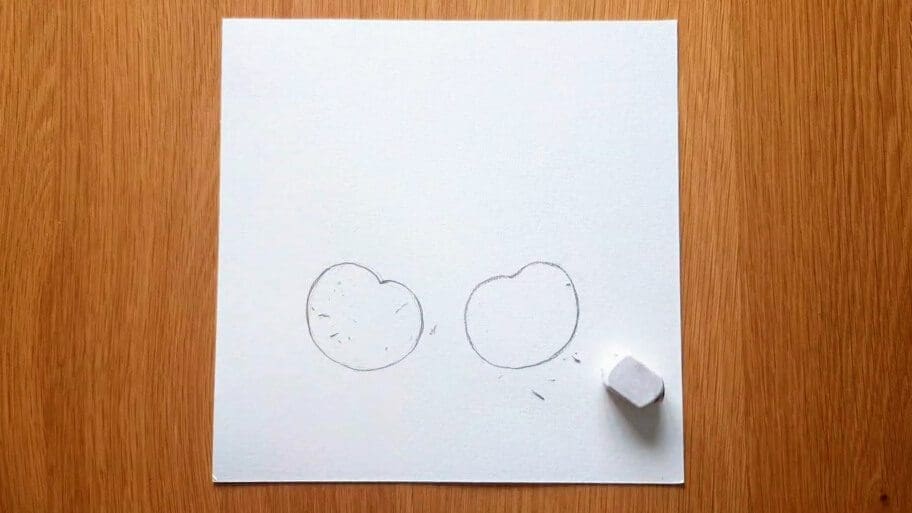
Draw darker lines over both cherries to make them more visible. Use a darker pencil (if you have one), otherwise, you can press slightly harder with your pencil to make the lines darker.
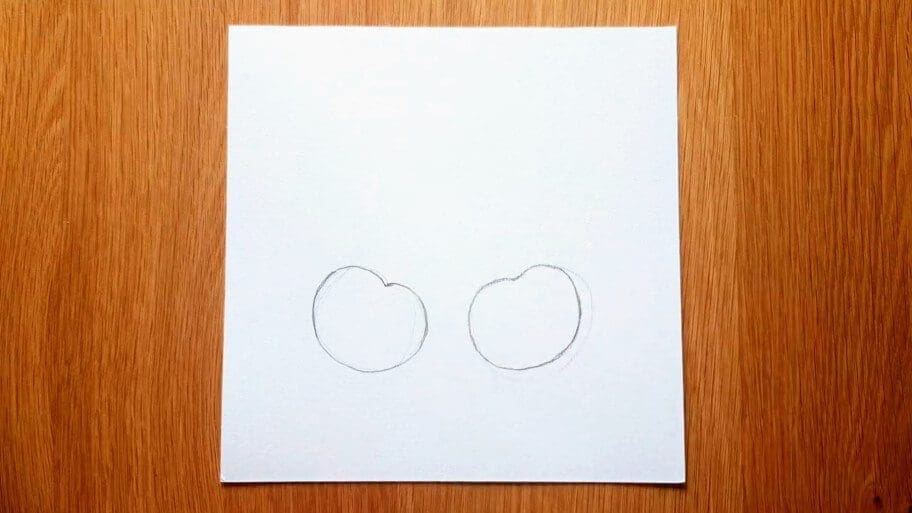
Erase any unwanted inner and outer pencil marks.
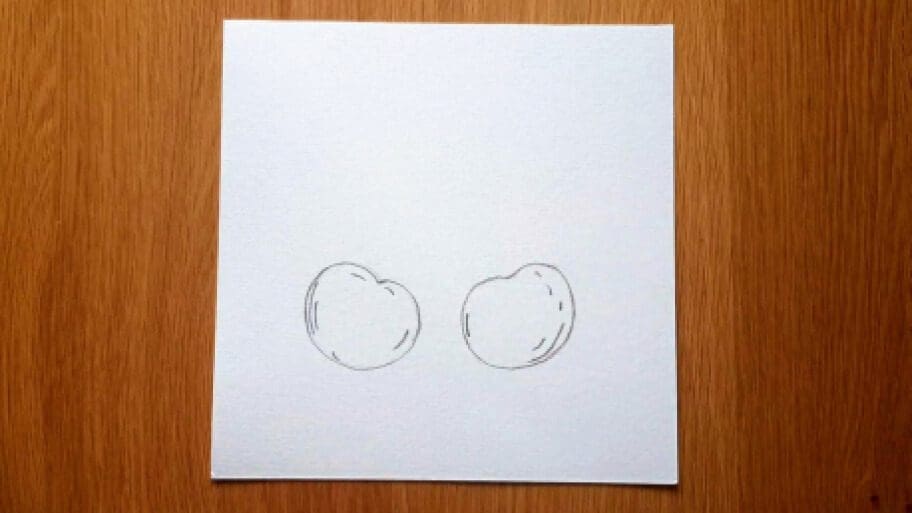
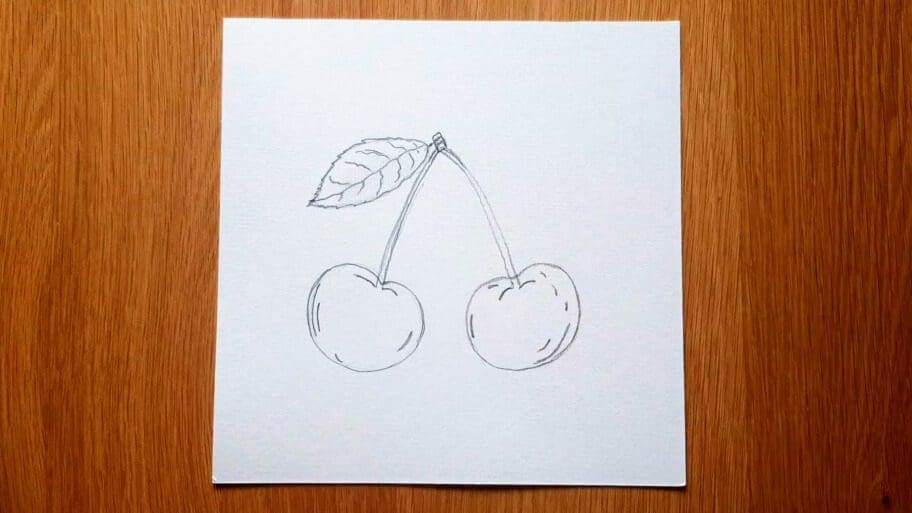
Now, add details to both cherries. Use small curved lines to draw out the indentations and light reflections in each cherry.
A. Draw the stem of the first cherry by drawing two long curved lines.
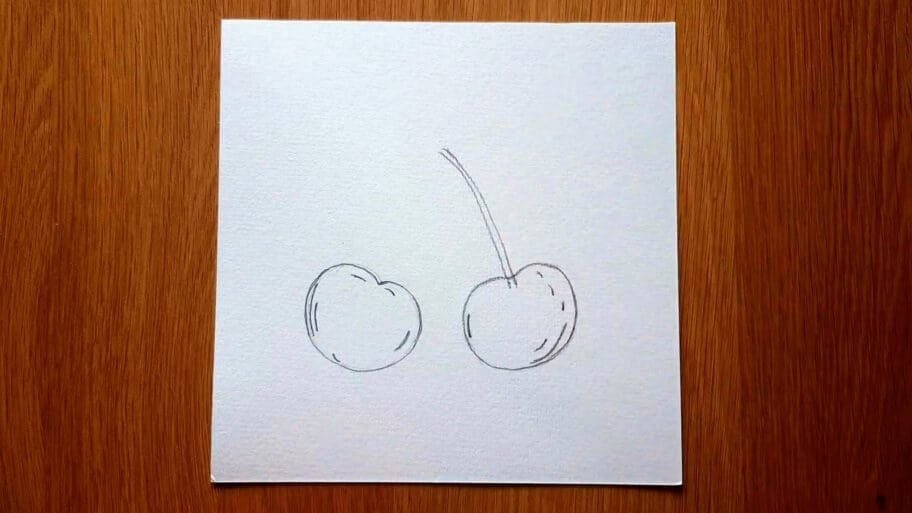
B. Draw the stem of the second cherry in a similar way.
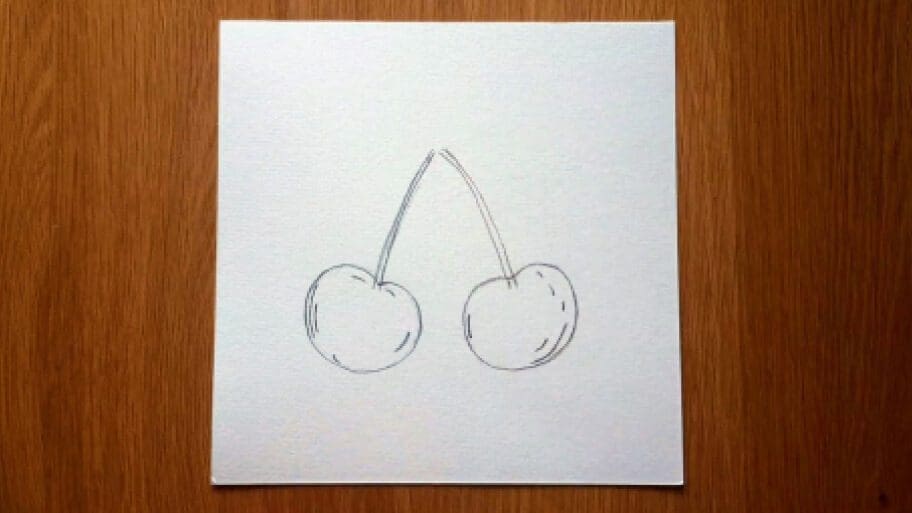
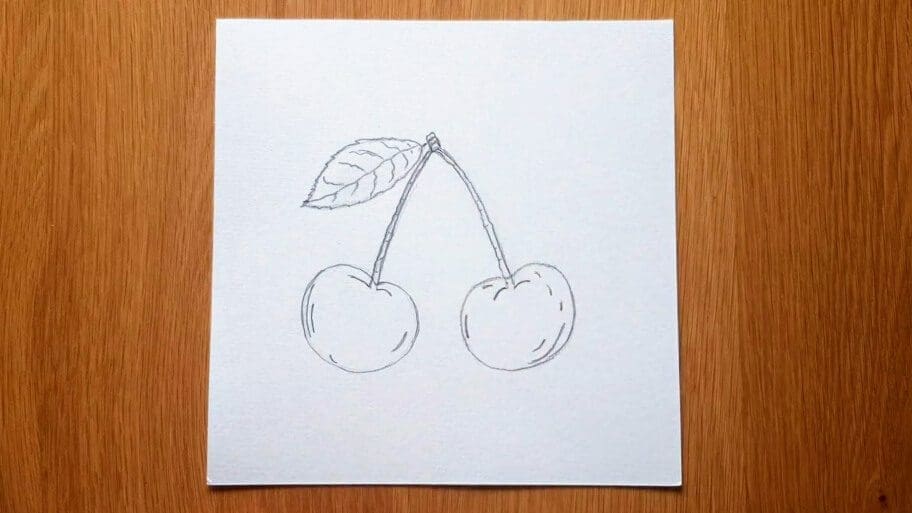
Draw a tiny rectangle connecting the top of both stems.
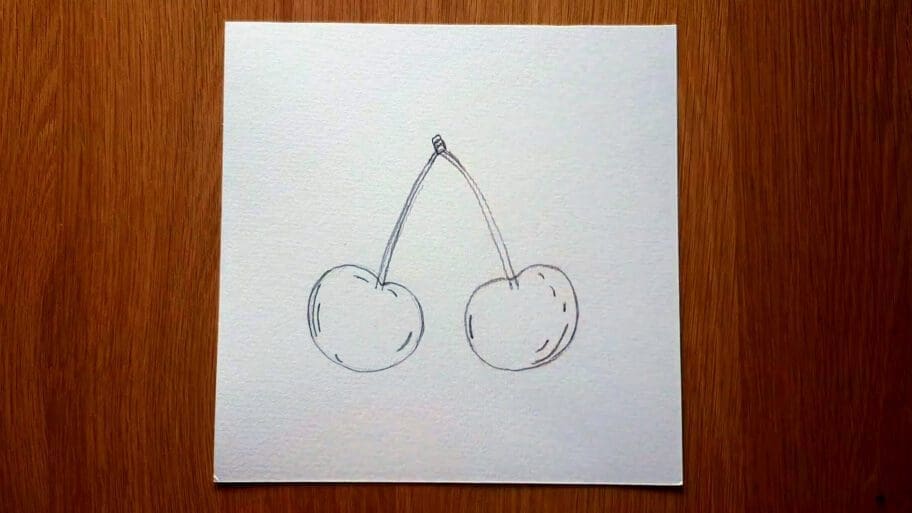
Next, draw a small line for the stalk coming out of the rectangle you created in step 7.
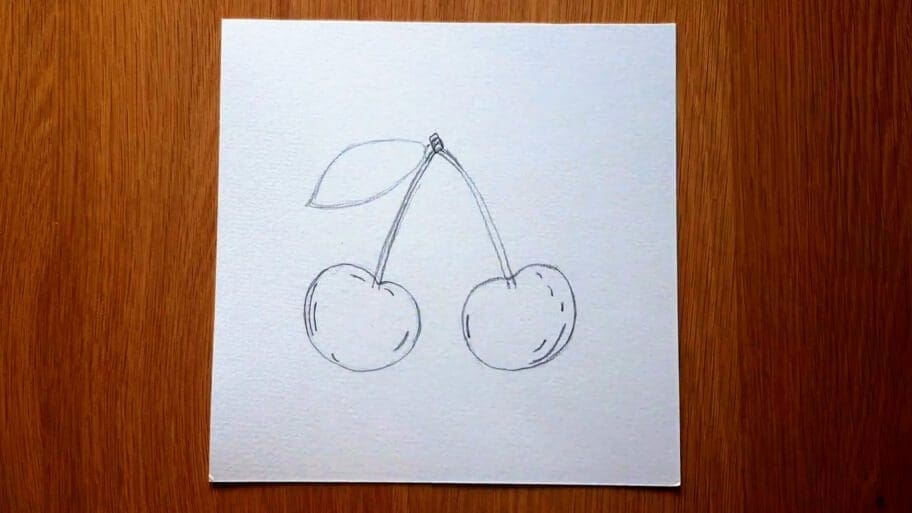
Then, draw a leaf outline connected to the stalk using curved lines to draw a raindrop shape.
A. Draw a line through the center of the length of the leaf to create a vein.
Then, draw a few small curved lines connected to the line to create smaller veins.
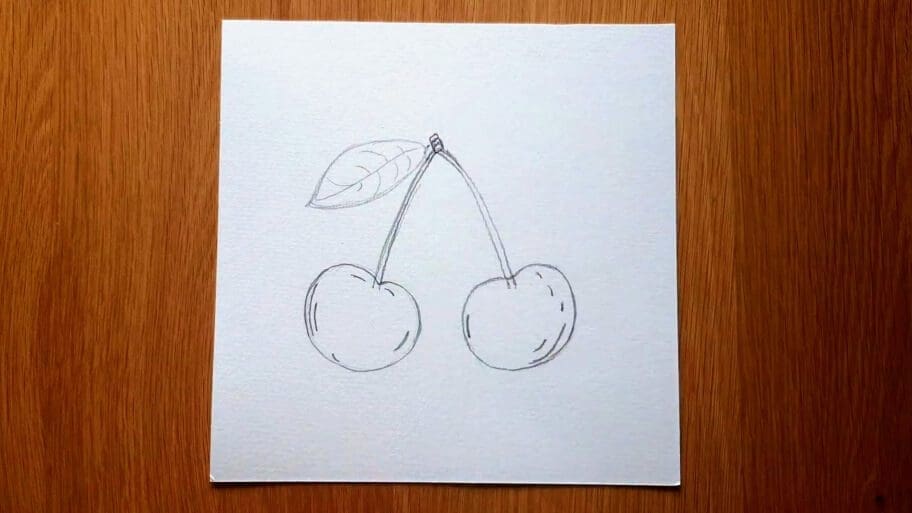
B. Then add rough edges to the outside of the leaf and on the veins to create a more realistic look.
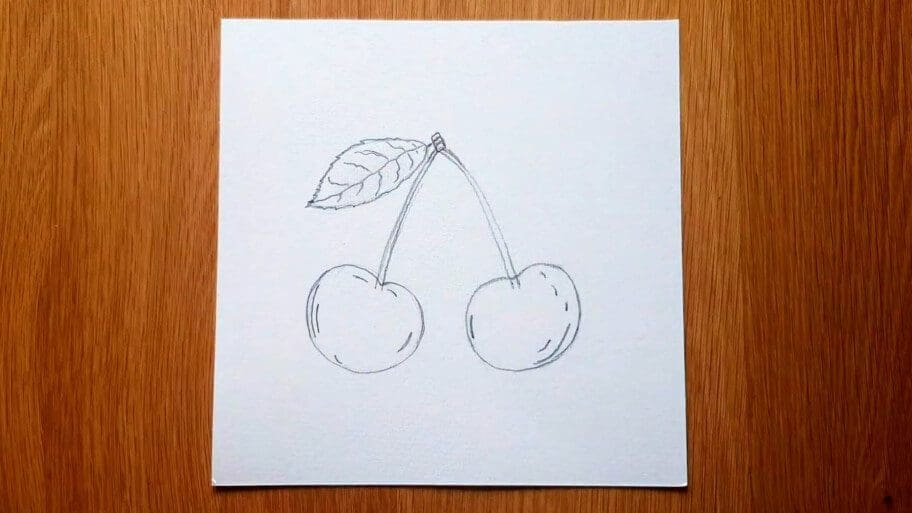
Draw two small curved lines at the bottom of each stem to give a more 3D look to the cherries.
Draw rough edges around the stems. Then add a few tiny inner lines to create the texture.
Add some shading to your cherry drawing shading by using the side of the pencil to create a darker softer texture.
Add some shading to the left side of the cherries and use your finger to smudge the pencil marks from left to right across the body of the cherry to create some light shade and texture in the middle.
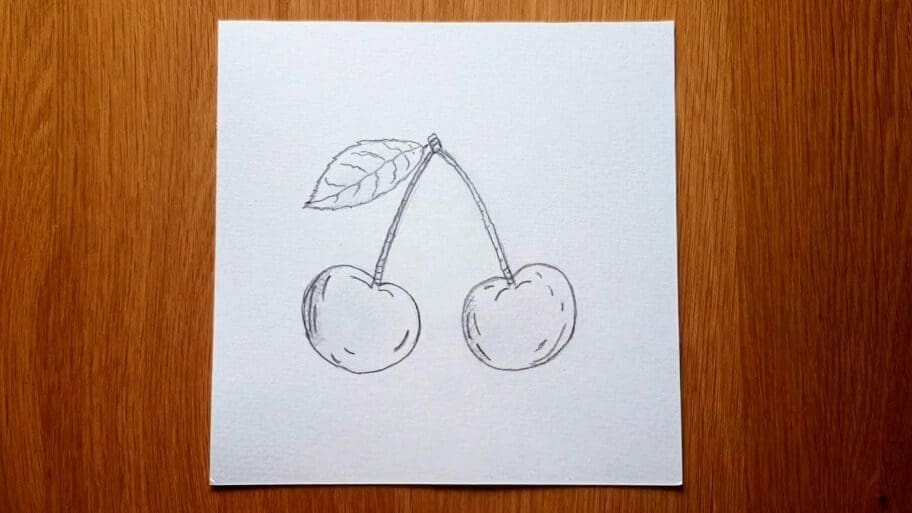
There you have it. Now you know how to draw a cherry step by step.
Don’t worry if your cherry line drawing isn’t perfect the first time, the more you practice the better you will get!
Be sure to practice this small cherry drawing realistic easy sketch until you get it just right. Then, try drawing other fruits, like blueberries, or strawberries.
Soon, you’ll be a master at drawing fruits!
Here are some tips to help you create the best cherry easy drawing!
Use Different Tools
Practice with different pencils, erasers, and paper until you find the right combination that suits your needs.
Use Different Mediums
Use colored pencils, watercolor paints, markers, or even digital painting to add more details and texture to your drawing.
Have Fun!
Finally, have fun and enjoy the process of creating your cherry drawing.
Looking for more drawing ideas? Search our list of 101+ Drawing Ideas!
Happy drawing!

