There are no results matching your search
How to Draw a Dog Step by Step - 13 Easy Steps to Drawing a Dog Step by Step!

- By Joanna | updated in January, 2024

In this fun and easy dog drawing tutorial, you’ll learn how to draw a dog step by step.
This tutorial is great for beginner artists (both kids and adults) who want to improve their drawing skills.
Dogs are known for being loyal, friendly, and loving companions.
They come in all shapes and sizes, and each one has its unique personality.
Whether you have a pet dog or not, there’s no doubt that they make great subjects for drawings.
Your dog drawing can be as simple or as detailed as you want it to be.
Table of Contents
ToggleWhat You’ll Need for Your How Draw a Dog Step by Step Sketch
We’ll be creating our dog drawing using the following materials:
- A piece of paper
- A pencil
- An eraser
How to Draw a Dog Step by Step
In this tutorial, you will learn how to draw a dog sitting. This position is one of the most popular positions for dogs, and it’s also one of the easiest to draw.
We’ll go through the whole process, from start to finish, so you’ll be able to create your dog sitting drawing in simple steps by the end.
Using basic shapes, we’ll sketch out the dog’s proportions and we’ll add the dog’s face, eyes, nose, and mouth.
So, let’s get started!
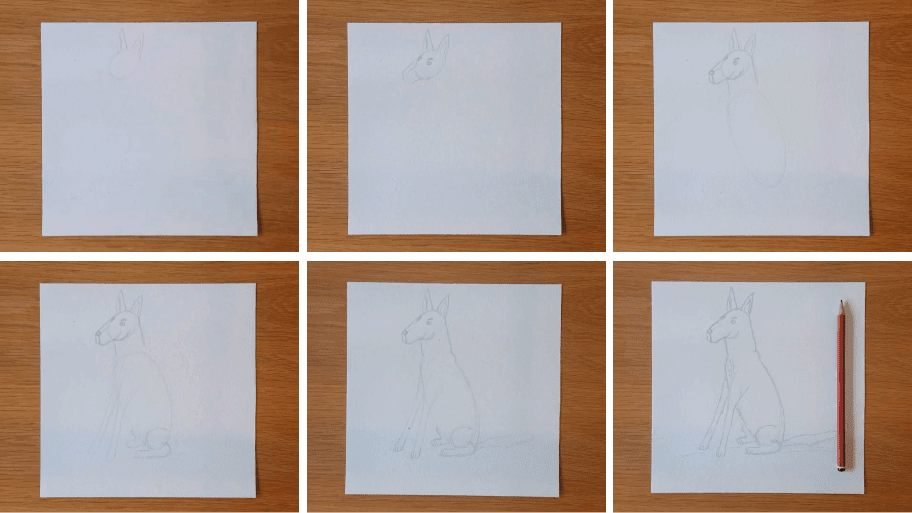
The collage above shows each step of the process so you know what your dog sitting drawing should look like at each stage.
Instructions on How to Draw Dog Step by Step
Tip: Make sure you don’t press too hard on the paper when you draw your pencil outlines so that you can correct your mistakes with an eraser as you go through the tutorial. This will also make it a lot easier to erase pencil lines when you finish your artwork.
Steps to Draw a Dog
Follow below our steps to sketch the base of your dog drawing:
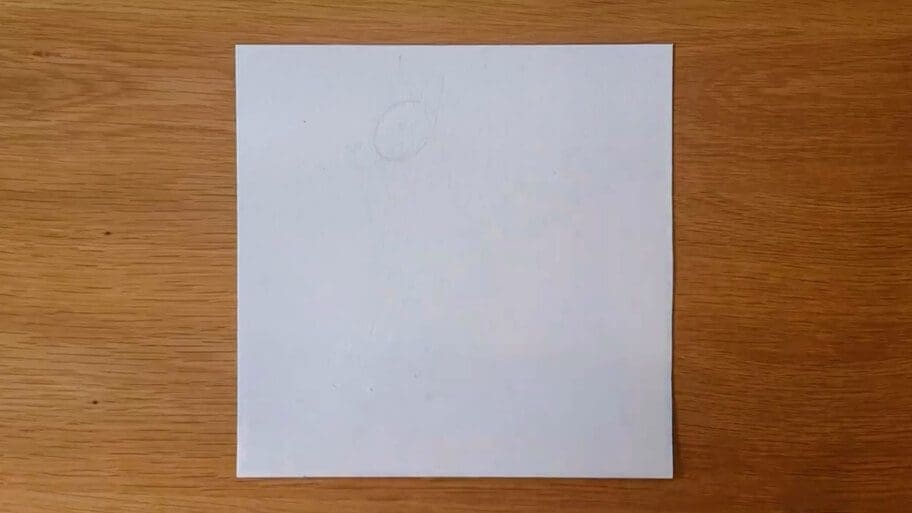
Step 1: Draw the Dog’s Head
Start by drawing a small oval shape to create a dog’s head.
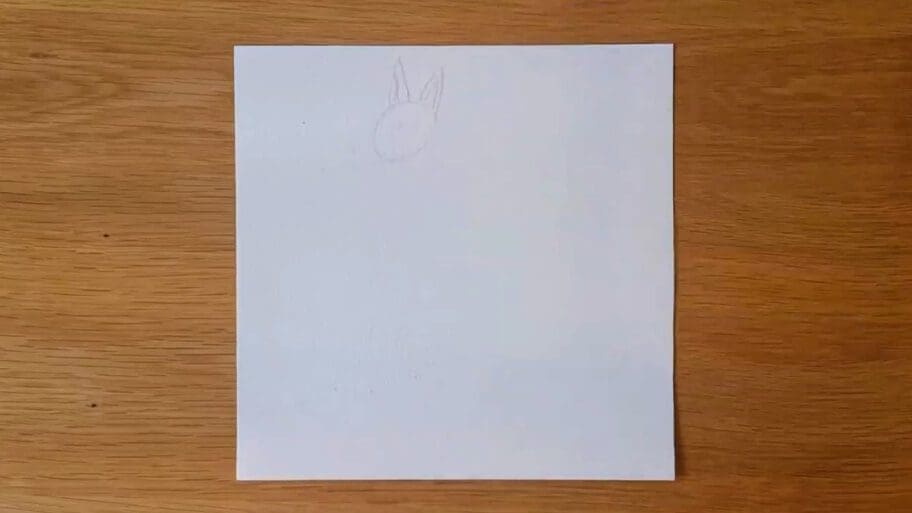
Step 2: Draw the Dog’s Ears
Next, draw two triangle shapes on either side of the circle to create dogs’s ears. Then add two small triangles inside the dog’s ears.
Step 3: Draw the Snout on the Dog’s Face
To draw a snout on the dog face, start by drawing a backward long c shape on the bottom left-hand side of the oval shape you created in Step 1.
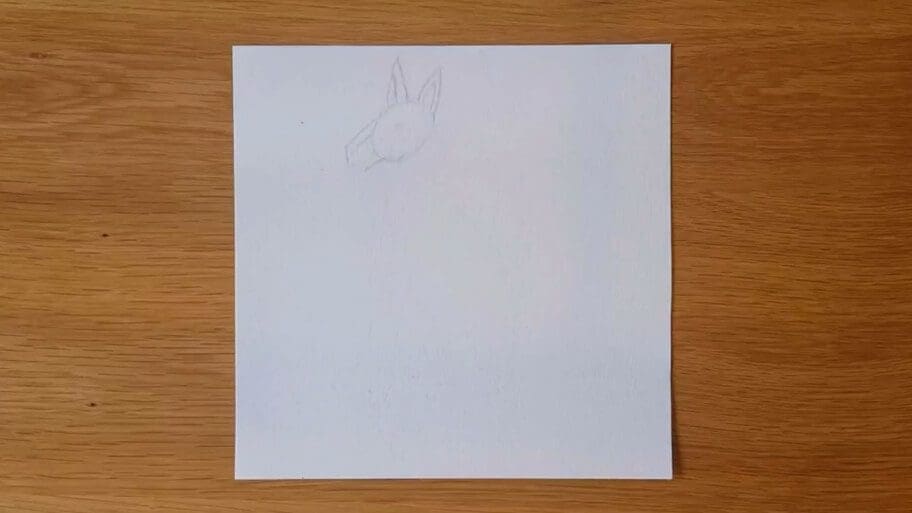
Step 4: Draw the Dog’s Eyebrows
Sketch in the eyebrows with one on the top left side of the oval shape and one on the center line.
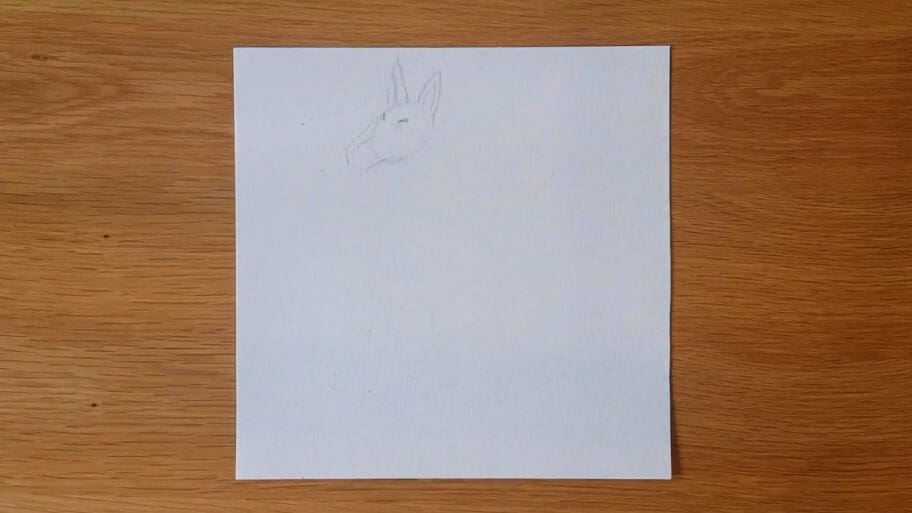
Step 5: Draw the Dog’s Eyes
Draw two small circles for the eyes, just under the eyebrows, then add a tiny circle inside each of the eyes.
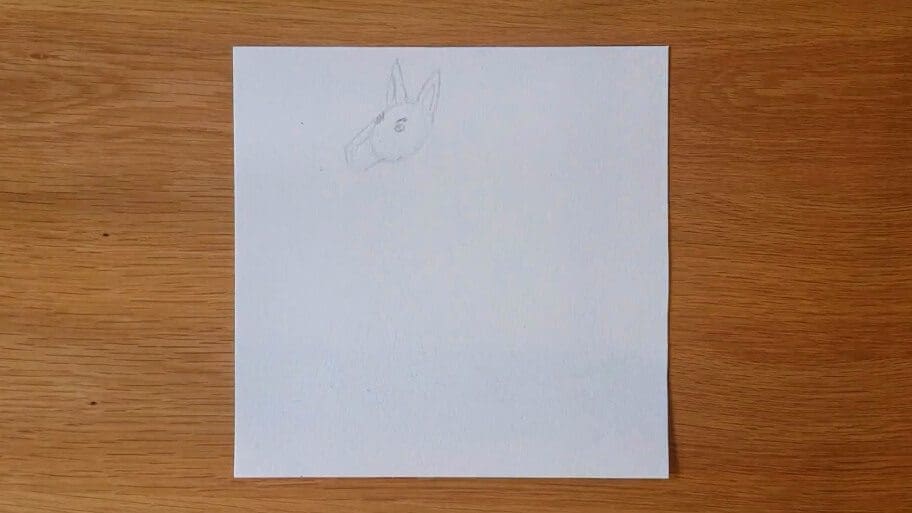
Step 6: Draw the Dog’s Nose
Draw a small triangle for the dog’s nose at the end of the snout. Then, add a line joining the nose to the face.
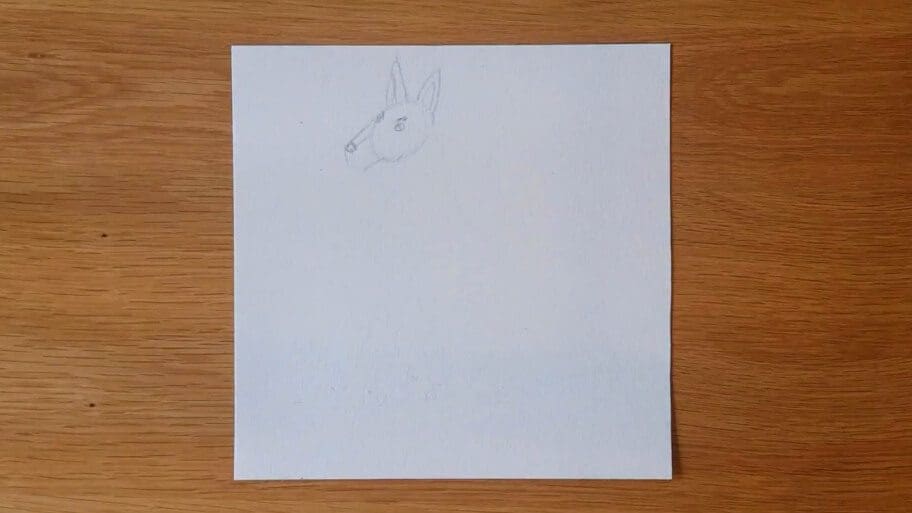
Step 7: Draw the Dog’s Mouth
Now, draw a vertical line from the bottom of the nose to the bottom of the snout.
And then draw a W-shaped curved line below the nose to create the dog’s mouth.
And add some extra texture at the bottom of the oval face shape to add a more 3D look.
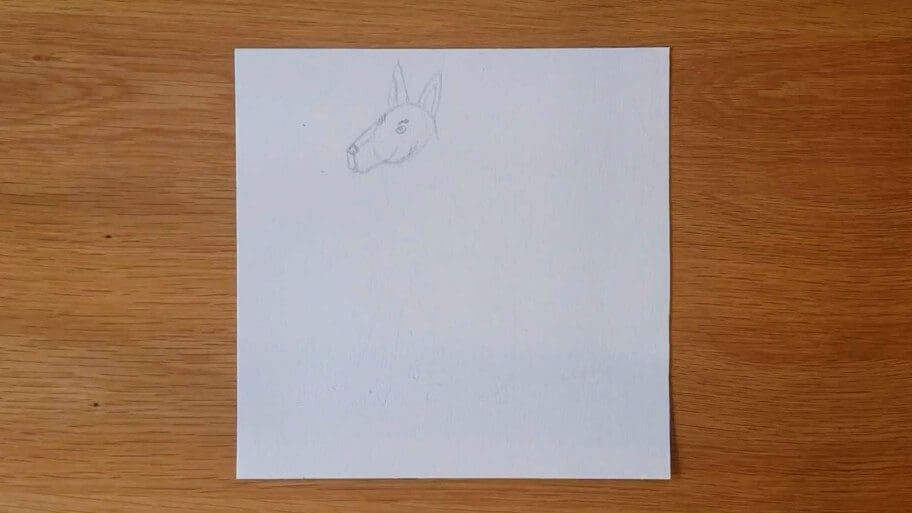
Step 8: Draw the Dog’s Neck
Next, draw two lines coming down from the head. This will be the dog’s neck.
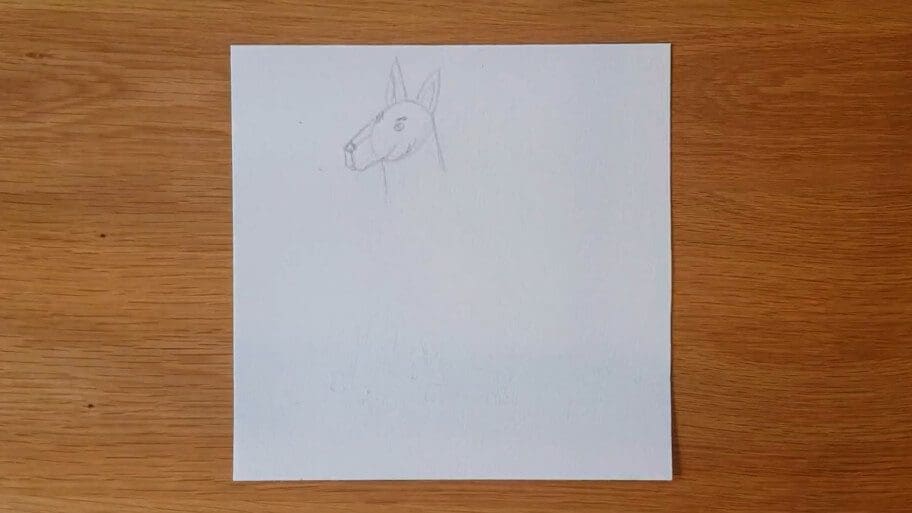
Step 9: Draw the Dog’s Body
Now, draw a large oval shape beneath the neck. This will be the dog’s body.
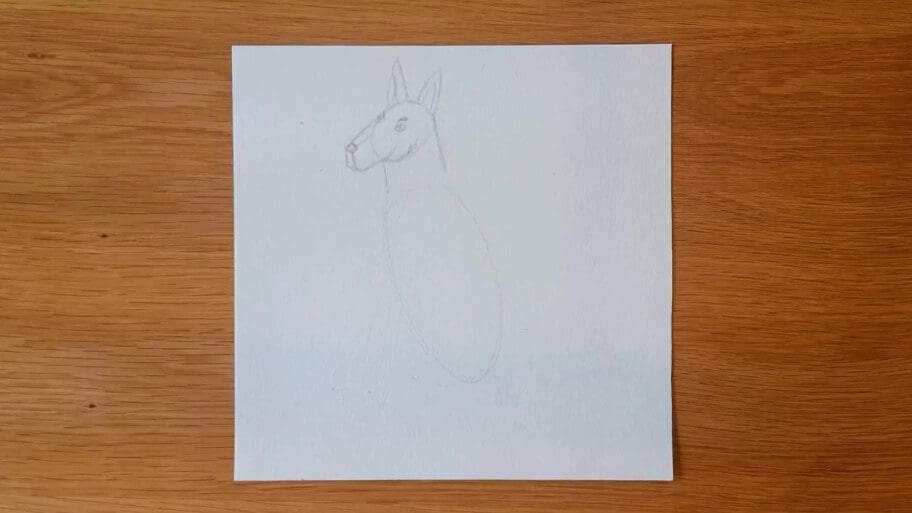
Step 10: Draw the Dog’s Legs
Next, draw two front legs coming down from the body. Then add the third and fourth leg at the back of the oval.
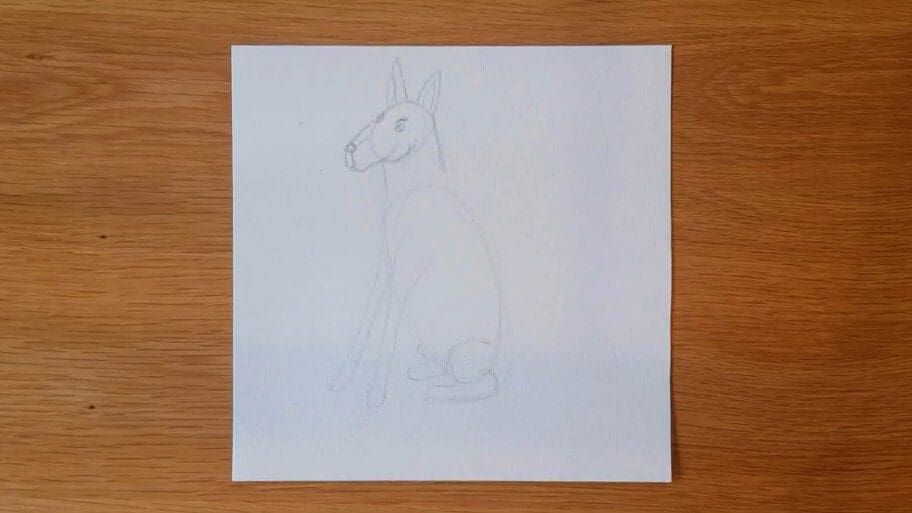
Step 11: Draw the Dog’s Paws
To finish off the dog’s feet, add some paws.
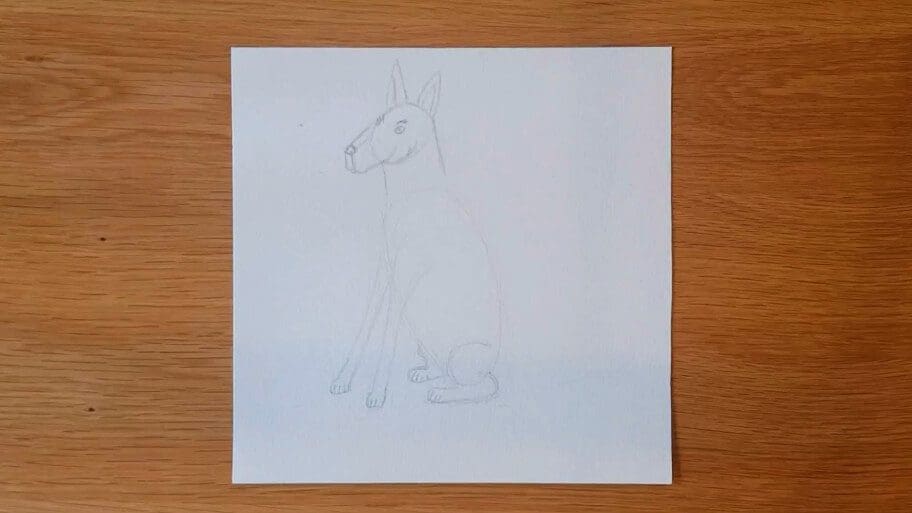
Step 12: Draw the Dog’s Tail
Finally, draw a long, curved line coming off the back end of the body. This is the dog’s tail. Then draw two curved lines on each side of the oval to create more realistic dog’s body.
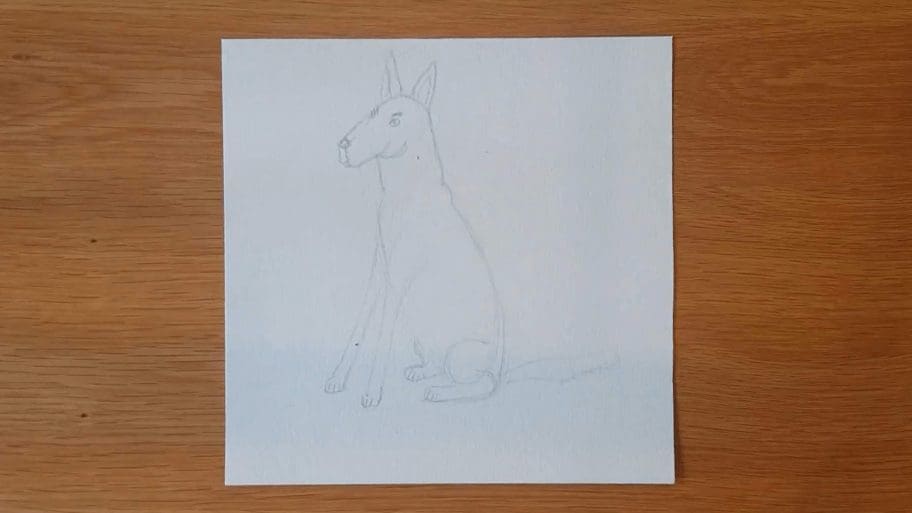
Step 13: Add the Fur and Floor Lines
Add fur by drawing very small zigzag lines around the outline of your dog.
And finally, draw a couple of curved lines under the dog to create a floor line.
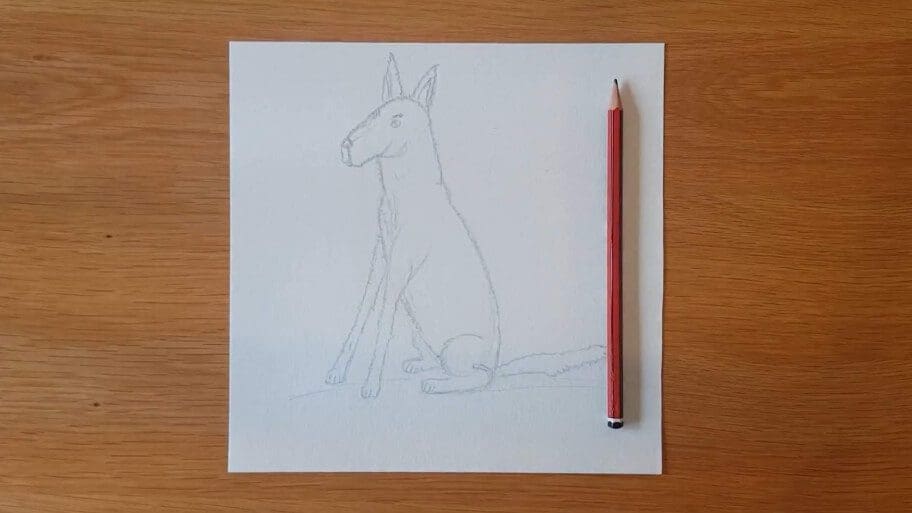
Congratulations!
There you have it. Now you know, how to draw a dog in steps.
Don’t worry if your simple dog sitting drawing isn’t perfect the first time, the more you practice the better you will get!
Be sure to practice this dog sketch tutorial until you get it just right. Then, try drawing other animals, like a cat or a rabbit. Soon, you’ll be a master at animal drawing!
Drawing dogs step by step can be a rewarding and enjoyable way to practice art, starting with simple shapes like circles and ovals, gradually adding details to capture the distinct features of different dog breeds, and allowing for personalization and creativity in each step.
Bonus Tips on How to Sketch a Dog Step by Step Even Better:
- Practice drawing basic shapes and features of the dog, such as the head, body, legs, and tail. Also, practice sketching the dog’s fur and facial features.
- Use reference photos to help you draw realistic proportions in your dog drawing. Use the free Pinterest app to help get creative.
- Try to draw with light pressure as this will help you make corrections or adjustments as you go.
- Take your time. Don’t be afraid to erase parts of your drawing that don’t look quite right. Start by drawing basic shapes, then add details slowly until you are happy with the result.
- Use different mediums such as pastels, watercolor, and charcoal.
- Experiment with different pencils and papers to find what works best for you. You can also add some color to your drawing using colored pencils.
Looking for more drawing ideas? Close search our list of 101+ Drawing Ideas!
Happy drawing!


