There are no results matching your search
How to Draw a Jet Step by Step - 10 Easy Steps!

- By Joanna | updated in December, 2023
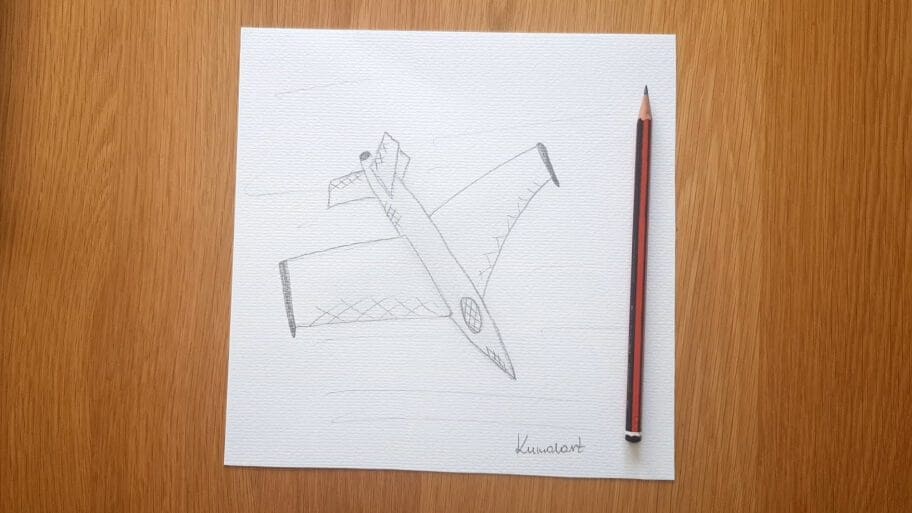
In this fun and easy jet drawing tutorial, you’ll learn how to draw a jet step by step.
This jet drawing easy tutorial is great for beginner artists (both kids and adults) who want to improve their drawing skills.
This will improve your drawing skills by using curved lines and straight lines.
Drawing jets can be a great way to express creativity in your artwork. With just a few simple steps, you can create an amazing jet drawing that is sure to impress family, friends, and anyone else who sees it!
Make sure to look at pictures of different jets to get the shape just right.
Fun Facts: Did you know that jets can reach speeds close to the speed of sound?
Each army has its unique details and designs for jets, so add those to your drawing if you feel like it.
Table of Contents
ToggleWhat You’ll Need
- A piece of paper
- A pencil
- An eraser
How to Draw a Jet Step by Step
Follow our step-by-step tutorial covering how to draw a jet.
We’ve included all the steps in detail so that the process is easier to follow.
So, let’s get started!
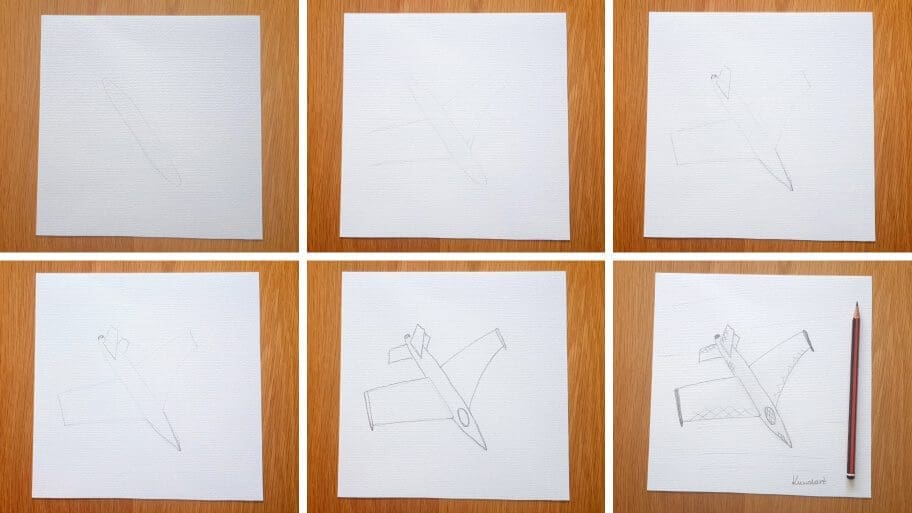
The collage above shows each step of the process so you know what your jet drawing should look like at each stage.
Instructions on How to Draw a Jet Easy Step by Step
Tip: Make sure you don’t press too hard on the paper when you draw your pencil lines so that you can correct your mistakes with an eraser as you go through the tutorial.
How to Sketch a Jet
Step 1: Draw the Body
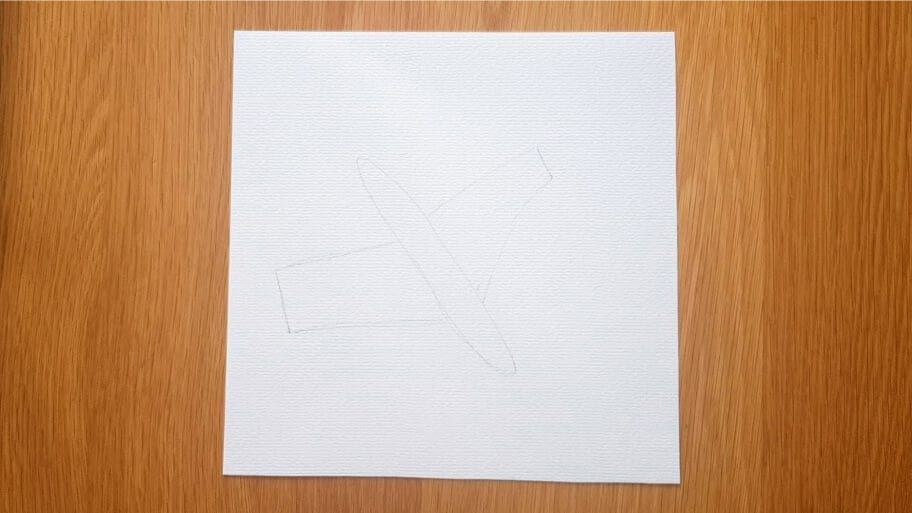
Draw a medium-sized oval shape using a light pencil stroke.

Step 2: Draw the Wings
A. Draw one straight line on the right side of the oval shape.

B. Draw a curved line below the one you just drew.

C. Repeat the process on the left side.

D. Then, connect each two lines you just drew on each side with one line in between to form the left wing and the right one.
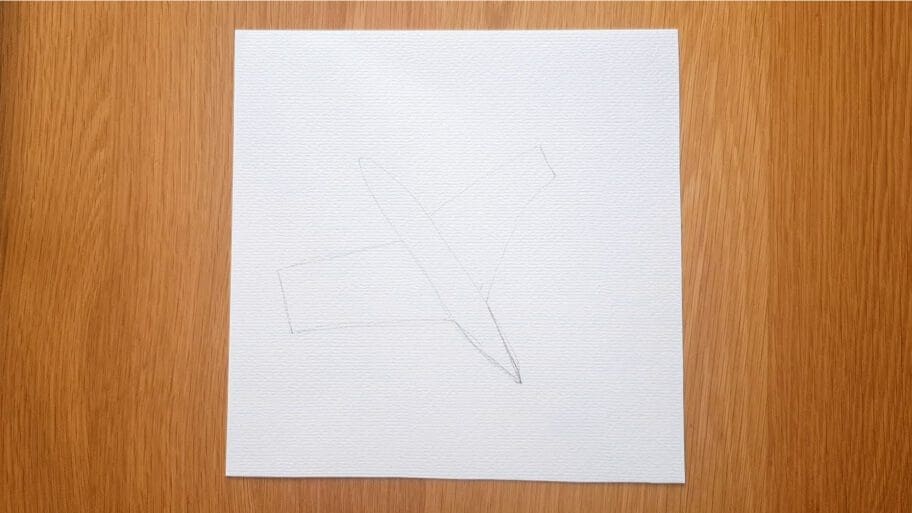
Step 3: Create the Front
Outline the front of the jet to give it a more aerodynamic shape, enhancing its authentic airplane look. Use a darker pencil stroke.
Step 4: Create the Back
Draw a tiny curved line at the back of the oval you have drawn in Step 1.

Step 5: Draw the Air Vents
A. Draw a rectangle shape at the back to create the first air vent.
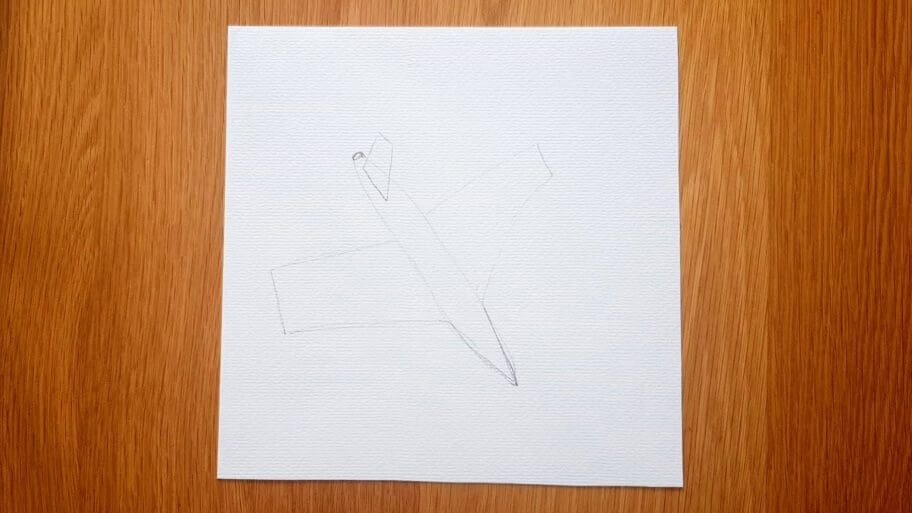
B. Create a second air vent by adding three small lines on the left side of the existing vent.
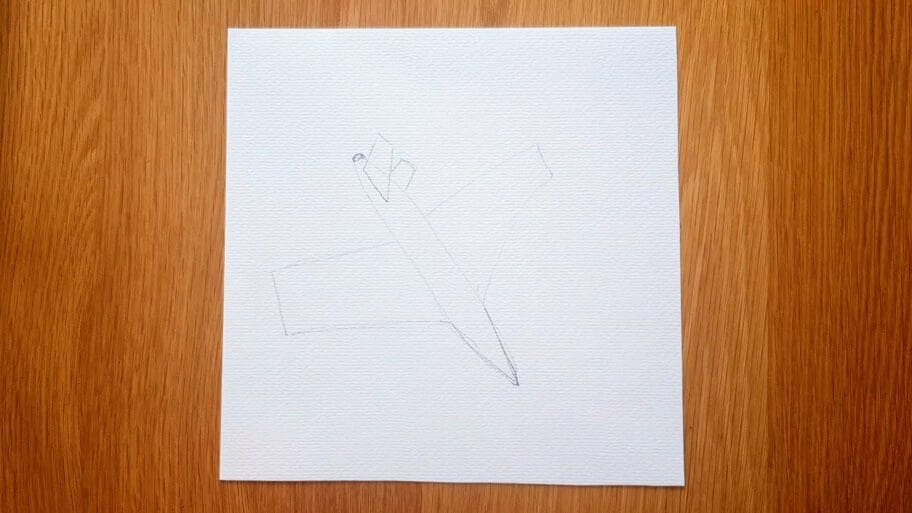
C. Repeat the process from Step 4 B on the opposite side.

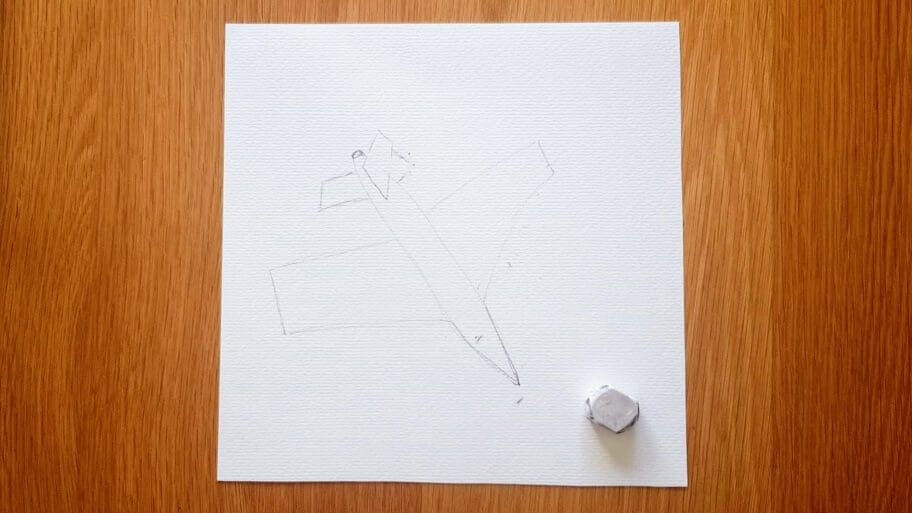
Step 6: Erase the Pencil Marks
Erase any unwanted pencil marks.
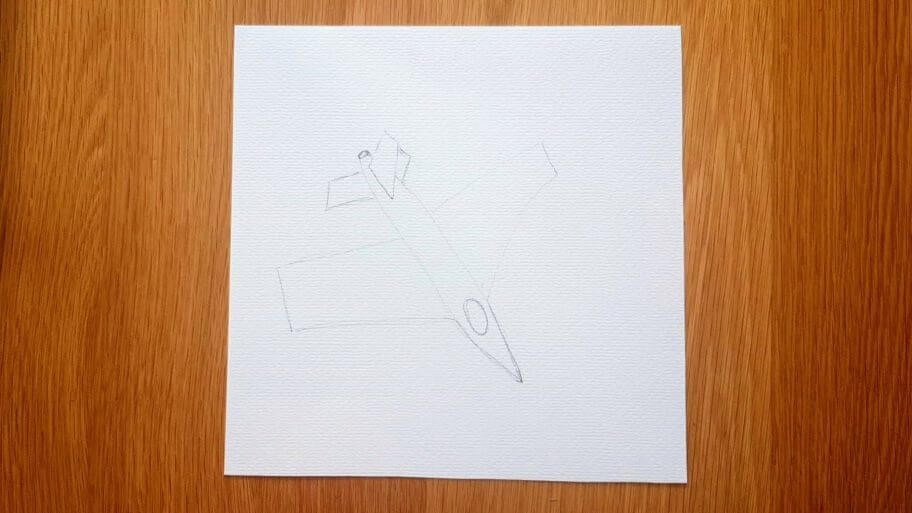
Step 7: Draw the Window
Draw a small oval shape at the front of the oval you drew in Step 1 to form the window.
Step 8: Add Details to the Wings
A. Add a rectangle shape to the left wing, pointing towards the end.
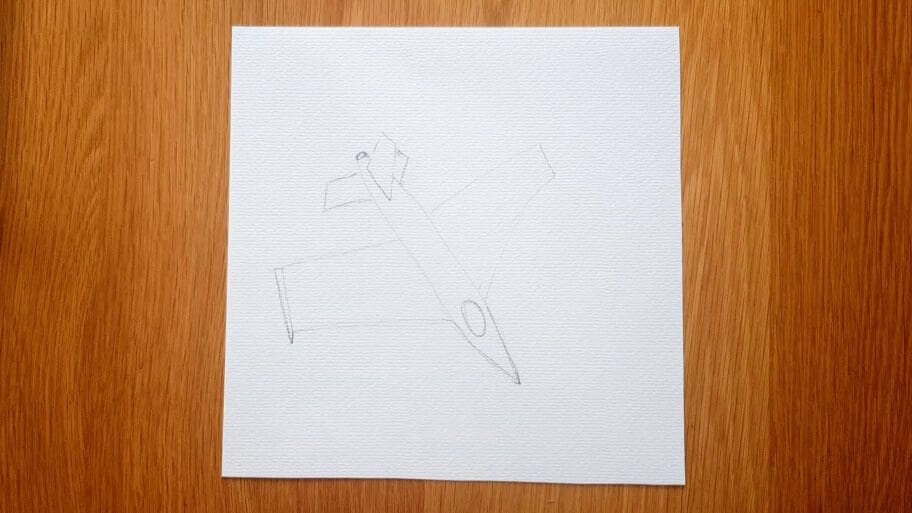
B. Repeat the process on the opposite side.
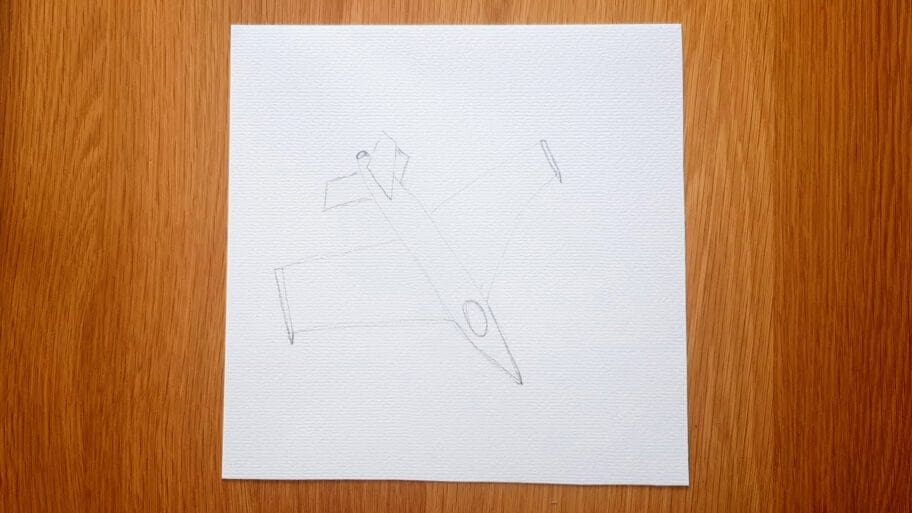
C. Draw a long, straight line along the end of the left side of the wing.
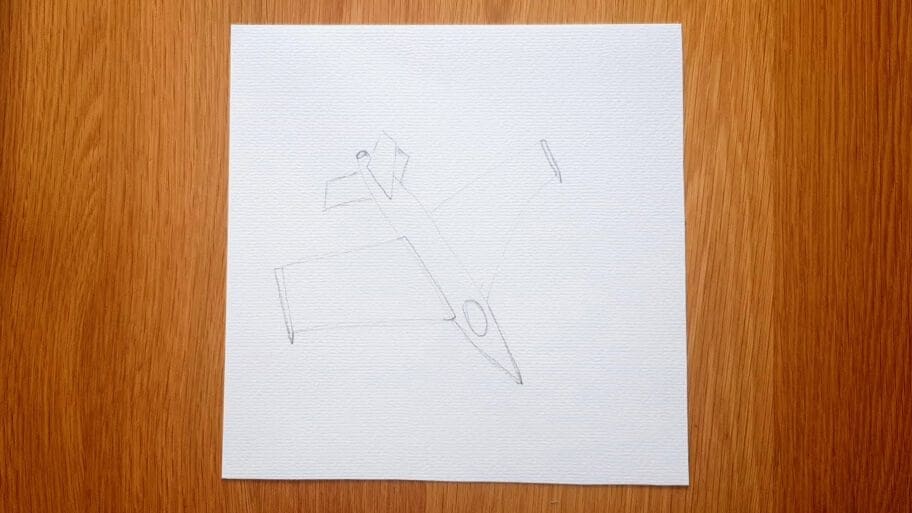
Step 9: Outline Your Drawing
Outline your drawing using a darker pencil stroke.
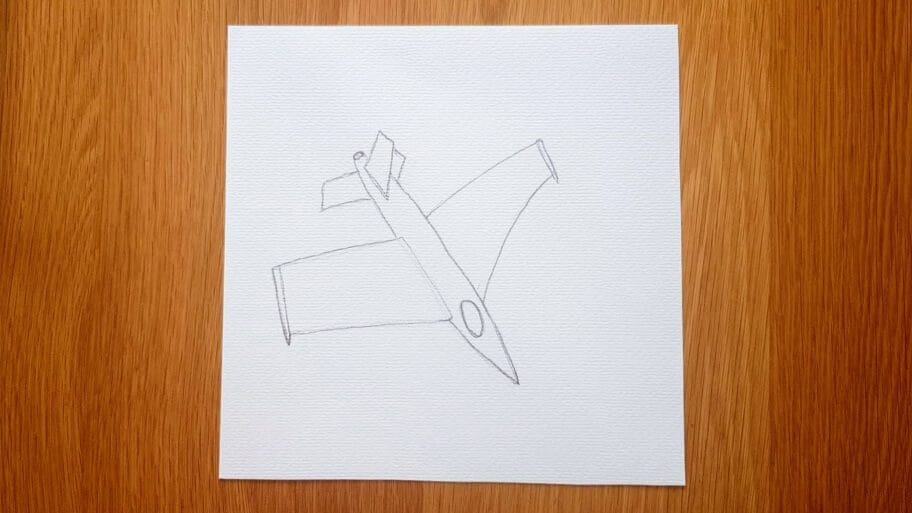
Step 10: Add Shading
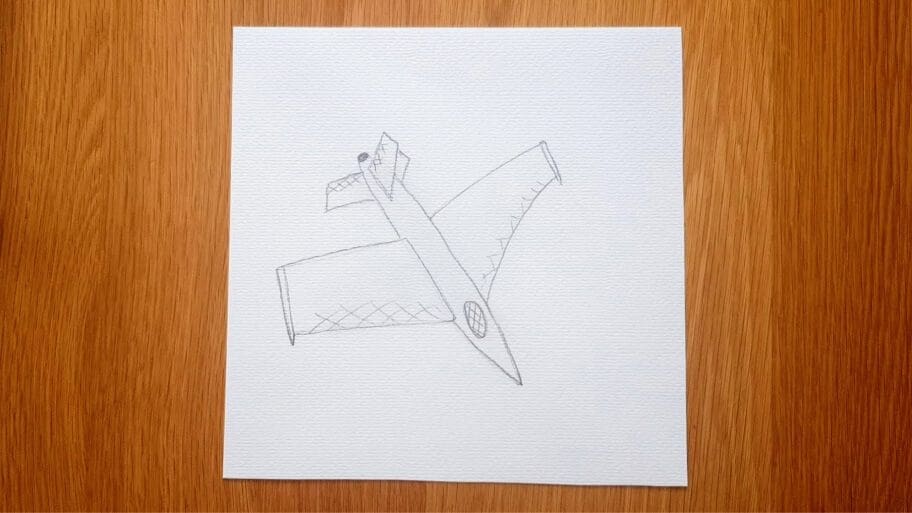
A. Complete your jet drawing by carefully adding shadows and highlights with shading, using a criss-cross hatching technique. To create a realistic look, blend the pencil marks with your fingers to smudge the lines.
B. Draw a few lines to create the illusion of the jet soaring through the sky.
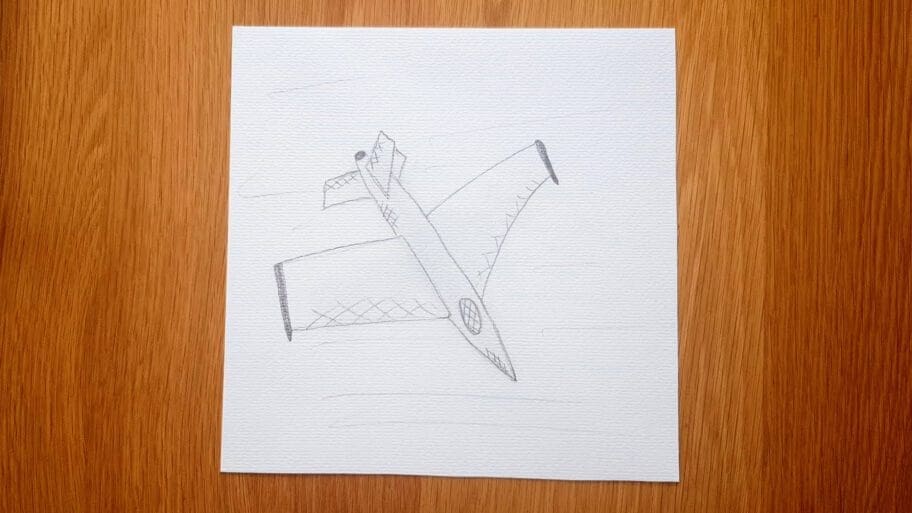
Congratulations!
You have just finished a realistic jet drawing. Do you feel proud of yourself? Great job!
As you can see, drawing a jet is quite an easy task if you follow the steps correctly and practice often.
Don’t worry if your simple jet drawing isn’t perfect the first time, the more you practice the better you will get!
Try out your newly-learned skills on different jet elements like a cockpit or add the background elements to make your jet drawing more realistic.
We hope this tutorial helped teach you how to draw jet easy.
Soon, you’ll be a master at aircraft drawings!
Looking for more similar drawing tutorials? Search our list of 101+ Drawing Ideas!
Happy drawing!


