There are no results matching your search Reset filters?
How to Draw a Lemon Step by Step - 16 Easy Steps!

- By Joanna | updated in February, 2024

In this fun and easy lemon drawing tutorial, you’ll learn how to draw a lemon step by step.
This lemon drawing easy tutorial is great for beginner artists (both kids and adults) who want to improve their drawing skills.
Drawing lemons can be a fun and rewarding experience, with the right tools and guidance.
Drawing of a lemon can be a vibrant experience, playing with the roundness of its form, the textured skin, and the radiant hues to evoke its tangy freshness on paper.
Different lemons can be drawn depending on your skill level and preference.
Fun Fact: Did you know that lemons are a hybrid between a sour orange and a citron?
Once you have your supplies ready, follow these steps to create your lemon easy drawing.
Table of Contents
ToggleWhat You’ll Need for Your Lemon Drawing Step by Step
We’ll be creating our lemon sketch using the following materials:
- A piece of paper
- A pencil
- An eraser
How to Draw a Lemon Step by Step – 16 Easy Steps!
Follow along and learn how to draw lemon step by step.
We’ve included all of the steps in detail so that the process is easy to follow.
So, if you’ve got your art supplies ready, let’s get started!

The collage above shows each step of the process so you know what your easy drawing lemon realistic sketch should look like at each stage.
Instructions for How to Draw a Lemon Easy Step by Step Sketch
Tip: Make sure you don’t press too hard on the paper when you draw your pencil lines so that you can correct your mistakes with an eraser as you go through the tutorial.
How to Create a Lemon
Follow along with our steps to find out how to create a simple lemon drawing realistic sketch.
Step 1: Draw the Shape of the Lemon
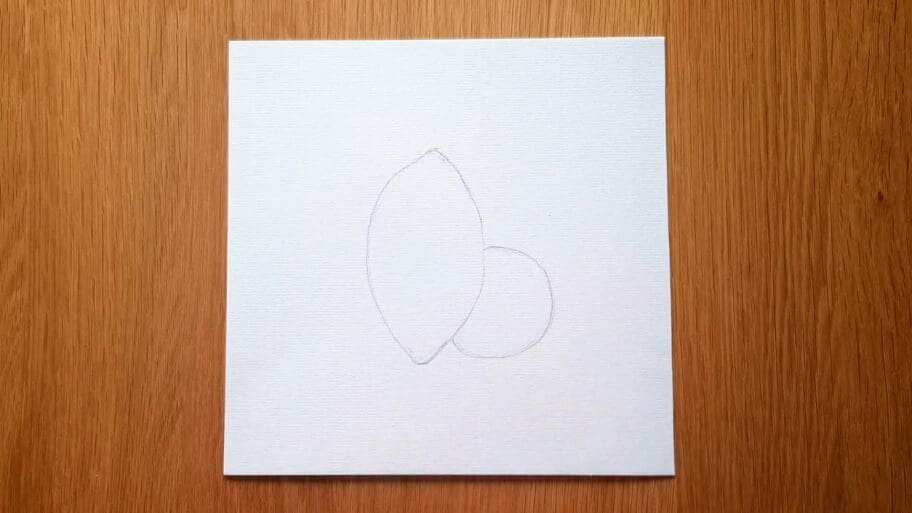
Draw a medium size oval shape.

Step 2: Outline the Lemon and Create the Edges
Outline the lemon with darker pencil lines and draw two small circles one on the top and one on the bottom of your lemon.

Step 3: Erase the Pencil
Erase any unwanted pencil marks.

Step 4: Draw a Second Sliced Lemon
Draw a reverse C shape connected to the right-hand side of the lemon to create a second sliced lemon.

Step 5: Draw a Small Circle
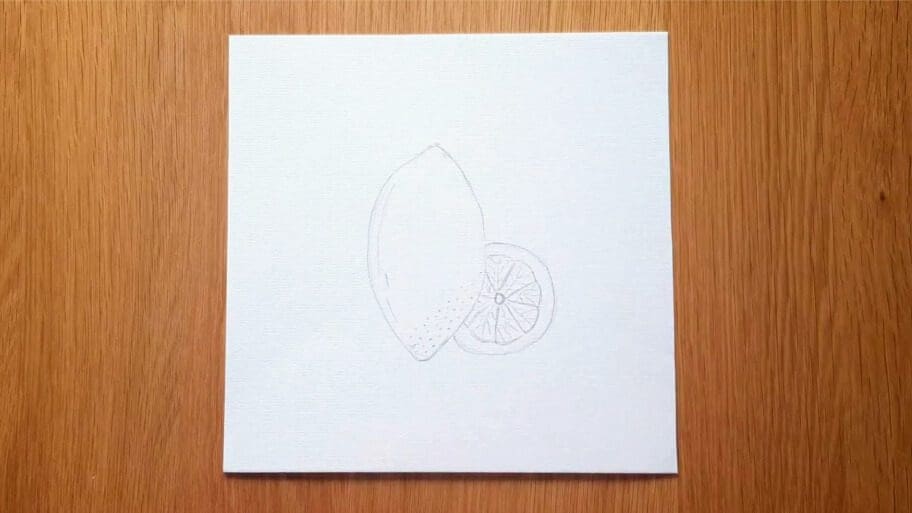
Draw a small circle in the middle of your sliced lemon.

Step 6: Add the Lines
Draw 8 small lines coming out of the small circle you drew in step 5.

Step 7: Connect the Lines
Connect the 8 lines you drew in step 6 with 8 small curved lines.

Step 8: Draw the Small Lines Inside the Second Lemon
Draw a few small curved lines inside the lemon to create a realistic look.

Step 9: Add Some Texture to the First Lemon
Draw a pattern of small dots on the bottom right-hand side of the first lemon.

Step 10: Add the Texture to the First Lemon
Then add a few vertical lines on the left-hand side of the lemon shape. Align the lines with the curve of the lemon.

Step 11: Add the Stem to the First Lemon
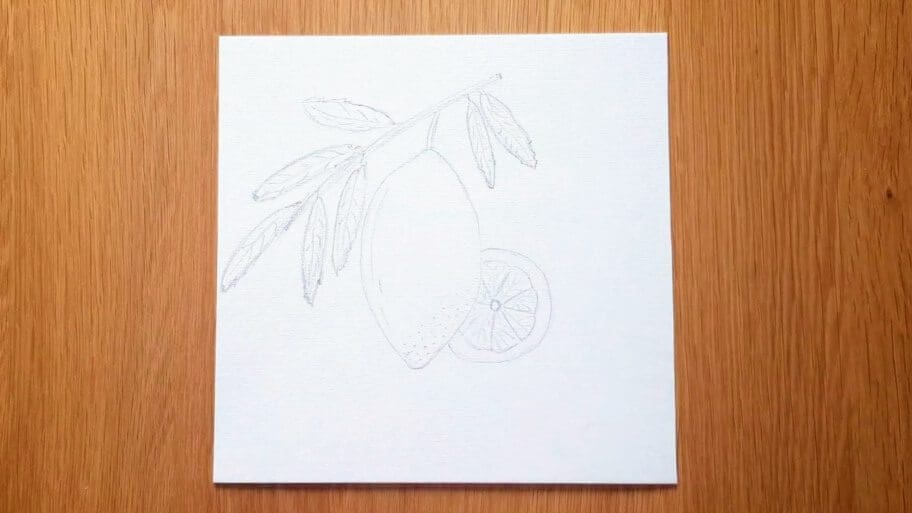
Draw two curved lines coming out of the top of the first lemon to create the stem.

Step 12: Draw a Branch and Attach to a Steam
A. Draw a long slightly curved line just above the stem.

B. Draw another long line and connect it with the one you just created.

Step 13: Add Leaves to the First Lemon
In the previous step, you created a stem. Now it is time to add leaves to the stem.
Draw several leaves coming out of the stem.

Step 14: Add the Texture to the Leaves
Draw rough edges on the leaves to make them look realistic.

Step 15: Add the Details to the Leaves
Add a few small lines inside the leaves.

Step 16: Erase the Pencil Marks
The last step is to erase your pencil marks to make your artwork look clean.

Congratulations!
There you have it. Now you know how to create a lemon drawing!
Don’t worry if your easy drawing of lemon isn’t perfect the first time, the more you practice the better you will get!
Be sure to practice drawing a lemon until you get it just right. With more practice, you’ll be able to create a realistic lemon drawing.
If you want to improve your drawing skills, you can try to draw other fruits, like blueberries or strawberries.
How Do You Draw a Lemon Even Better:
• Take a look at some reference images or real lemons and draw what you see. This will help you create more realistic drawings.
• Use different pencils or shading techniques to add depth and texture to your drawings.
• Experiment with different shapes and sizes to practice your drawing skills.
• Don’t forget to add shadows and highlights to make it look even more realistic.
• Finally, practice, practice, practice!
Hope you enjoyed this easy to draw lemon step by step tutorial!
Soon, you’ll be a master at drawing fruits!
Looking for more drawing ideas? Search our list of 101+ Drawing Ideas!
Happy drawing!

Joanna
Latest Posts
Trending
There are no results matching your search Reset filters?


