

In this fun and easy pokemon drawing tutorial, you’ll learn how to draw a pokemon step by step.
This pokemon drawings step by step tutorial is great for beginner artists (both kids and adults) who want to improve their drawing skills.
Even if you have never tried to draw Pokemon before, this easy Pokemon drawing tutorial will show you everything you need to know to learn how to draw one.
Drawing Pokemon step by step can be an exciting and rewarding journey, breaking down their unique shapes, features, and defining characteristics into manageable and fun stages, allowing you to bring your favorite creatures to life on paper.
Whether you’re a beginner or an experienced artist, you’ll be able to create an easy Pokemon drawing that’s both fun and easy.
Fun Fact: Did you know that Pokemon ideas first started with a sketch drawn by the creator of Pokemon, Satoshi Tajiri?
You’ll need the following art tools to create your easy Pokemon drawing:
In this blog post, we will teach you how to draw Pikachu Pokemon in a sitting position.
We will go through the step-by-step process of drawing a Pokemon so that you can easily follow along.
You’ll start the easiest pokemon to draw by sketching out the basic shapes and lines. Then, you’ll add in the details like the fur, the eyes, and the tail.
Are you ready? Let’s get started!

The collage above shows each step of the process so you know what your easy Pokemon drawing should look like at each stage.
Tip: Make sure you don’t press too hard on the paper when you draw your pencil lines so that you can correct your mistakes with an eraser as you go through the tutorial.
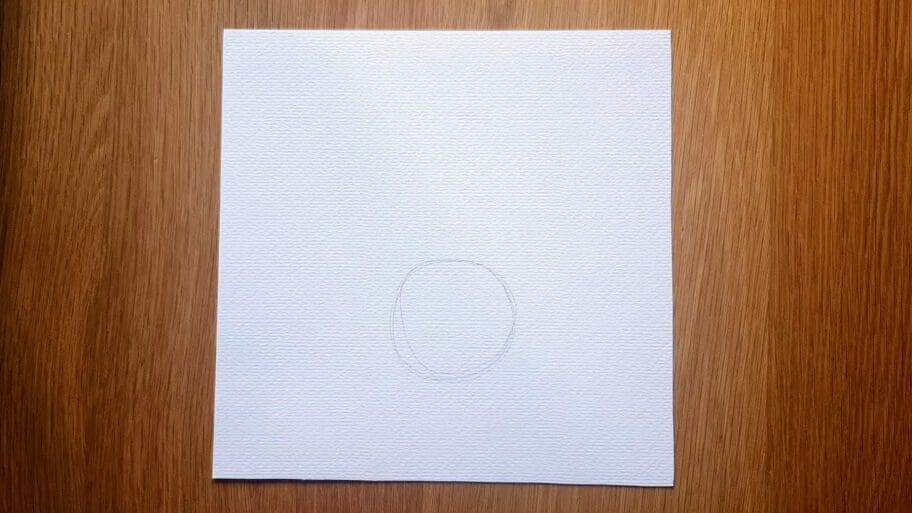
Start by sketching a medium-sized oval shape for the body using a light pencil stroke.
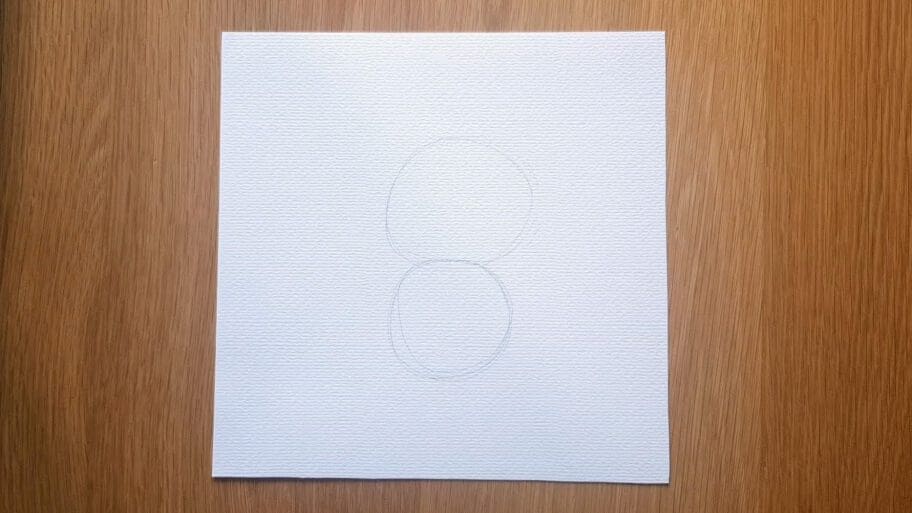
Draw another large oval above the first one you drew to form the head.
A. Draw a long, straight line at the back of a medium-sized oval and add a small, zig-zag line at its beginning.
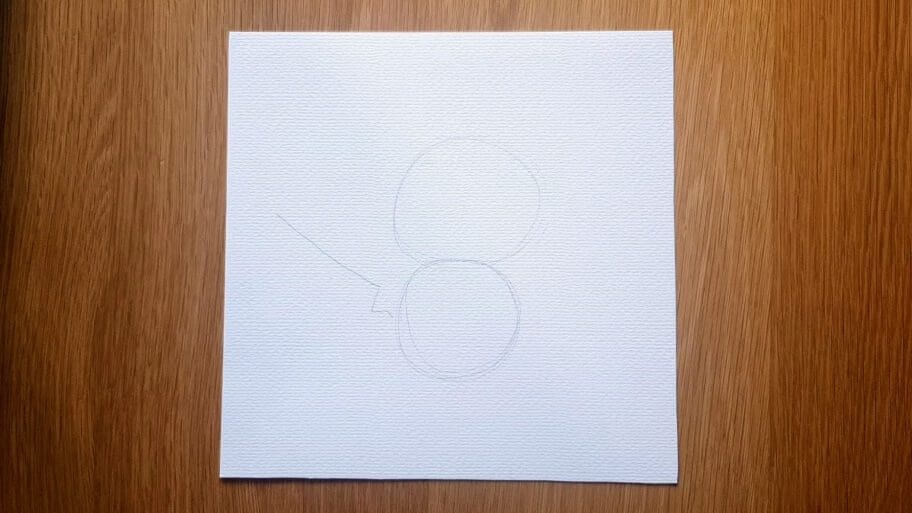
B. Draw a short vertical line and connect it to the one you previously drew.

C. Add another long line with a double-zigzag pattern, beginning at one end of the line and ending in the middle.

A. Draw a small line on the right side of the bottom of the body. Then draw a small curved line extending up from it and connecting to the first line. This will form an inverted ‘V’ shape.

B. Draw a small oval shape on the left side of the bottom body.

A. Draw four vertical lines between the back legs you just drew to create the front legs. Make sure that the fourth line is longer than the other three and that the two in the middle are much smaller and connect them. This will form an inverted ‘V’ shape.

B. Then draw a tiny zig-zag shape at the end of each two lines you drew in Step 5a to form the toes, ensuring that the points of the zig-zag are facing toward the center of your circle. This will form the basic shape for each of your creature’s feet.

Draw two long, wavy triangle shapes on top of the head to form the ears.

Outline the head with a darker pencil stroke.

Erase any unwanted pencil marks.

Now it is the time to create facial features like the eyes, the nose, and the cheeks.
A. Draw two big oval shapes inside the head to form the eyes.

B. Draw one tiny circle and one small semi-circular shape inside each eye.

C. Shade the eyes.

Draw a tiny oval shape in the middle of the eyes to create the nose.

Draw an upside-down “M” letter just below the nose and add a tiny curved line beneath it to create the mouth.

Draw a round ball shape on the left side of the face, starting at the corner of the forehead and curving down towards the cheekbone. Then, draw a half-circle shape on the opposite side to create two cute cheeks.

Draw a small line on each ear to form a triangle at the top of each ear. Then shade it in.

Outline the Pokemon drawing using a darker pencil stroke.

Using a criss-cross hatching technique, carefully shade the Pokemon. Use your fingers to smudge the pencil’s marks for a more defined look.

A. Shade the nose.

B. Add small criss-cross patterns inside each cheek. Then draw a few small lines across your Pokemon.

Draw a few horizontal lines to form the floor.

There you have it. Your very own easy Pokemon drawing.
Don’t worry if your easy Pokemon drawing isn’t perfect the first time, the more you practice the better you will get!
Who knows, soon a Pokemon can become your favorite character to draw!
We hope you enjoyed this step by step pokemon drawing tutorial and learned something new!
Now that you know how to draw a Pokemon, the possibilities for creating fairly complicated Pokemon appearances like Eevee or Charizard are endless. Or you can try other evolved forms of Pokemon, like Poké balls, legendary Pokemon, mythical creatures, and more.
Soon, you’ll be a master at easy Pokemon drawing!
Here are a few tips and tricks that you can use to improve your drawing skills:
Looking for more drawing ideas? Search our list of 101+ Drawing Ideas!
Happy Drawing!


