
In this fun and easy pumpkin drawing tutorial, you’ll learn how to draw a pumpkin step by step.
This tutorial is great for beginner artists (both kids and adults) who want to improve their drawing skills.
Drawing pumpkins can be very easy if you use some basic shapes to map out your drawing before adding any details.
Fun Fact: Did you know that pumpkins can be used for a range of things, like making pumpkin pie or even carving out jack o’ lanterns?
Halloween is the perfect time to learn how to draw a pumpkin face. It’s a fun and easy way to get into the spooky holiday spirit.
Halloween theme aside, knowing how to draw pumpkins with detailed eyes, stems, and ridges can also help enhance your drawing skills.
Once you have your supplies ready, follow these steps to create your own beautiful pumpkin drawing.
We’ll be creating our pumpkin drawing using the following materials:
Follow along and learn how to draw a pumpkin.
We’ve included all of the steps in detail so that the process is easy to follow.
So, if you’ve got your art supplies ready, let’s get started!

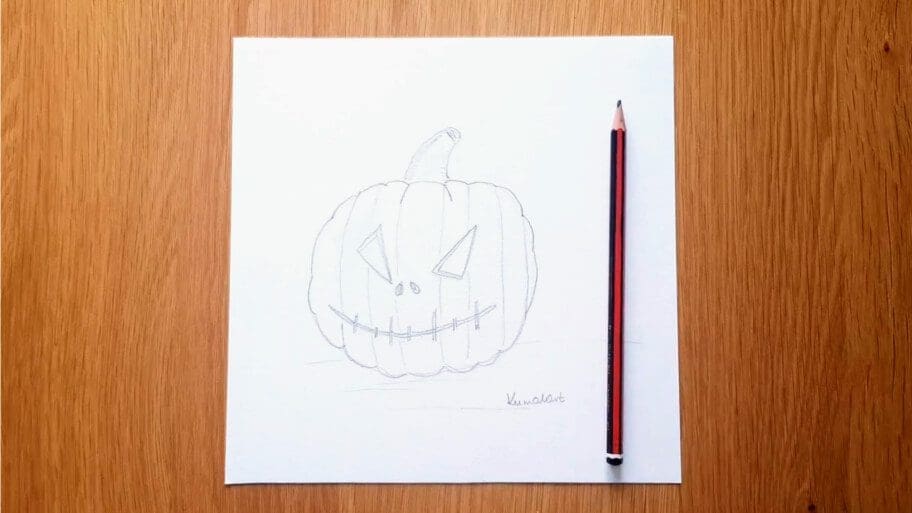
The collage above shows each step of the process so you know what your pumpkin drawing should look like at each stage.
Tip: Make sure you don’t press too hard on the paper when you draw your pencil lines so that you can correct your mistakes with an eraser as you go through the tutorial.
Follow along with our steps to find out how to create a pumpkin drawing.
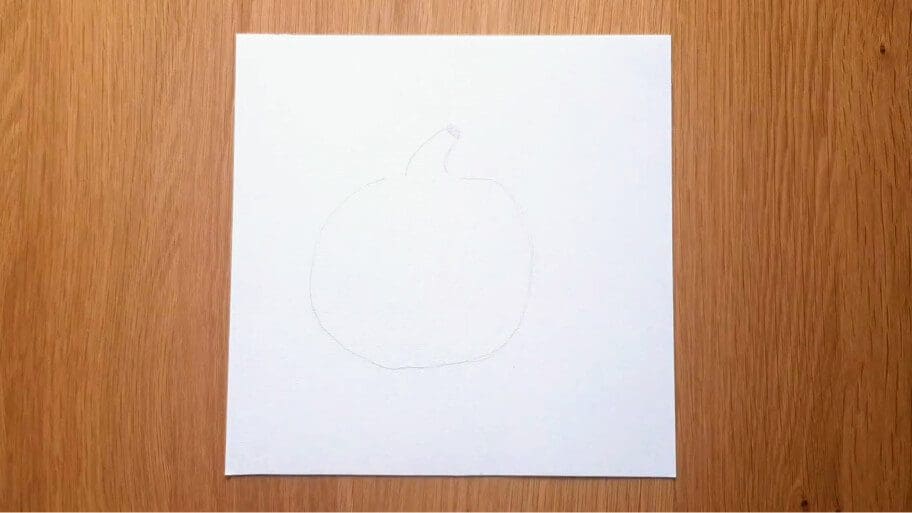
Start by drawing the overall shape of your pumpkin with a two curved lines.
Draw a curved line on the left side of the pumpkin shape. Start small at the top and make it bigger as you go down. Then, draw a matching curved line on the right side of the pumpkin to make it round.

To make the stem of your oval shape, draw two thin lines at the top. Connect these lines by drawing a small circle in between them at the top.
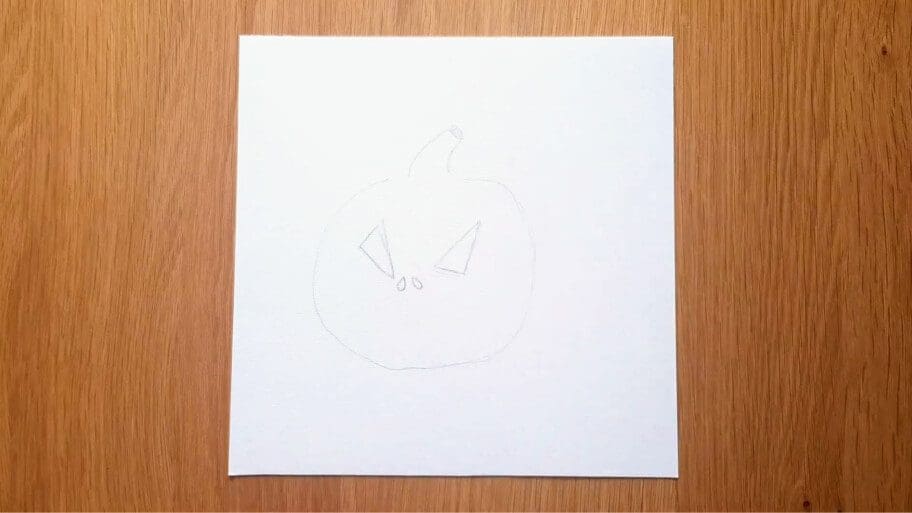
Draw two large triangular eyes in the center of your pumpkin. Place them just above the midpoint of the oval shape.

Add two small droplet-shaped lines below the eyes to create the nose of your pumpkin.
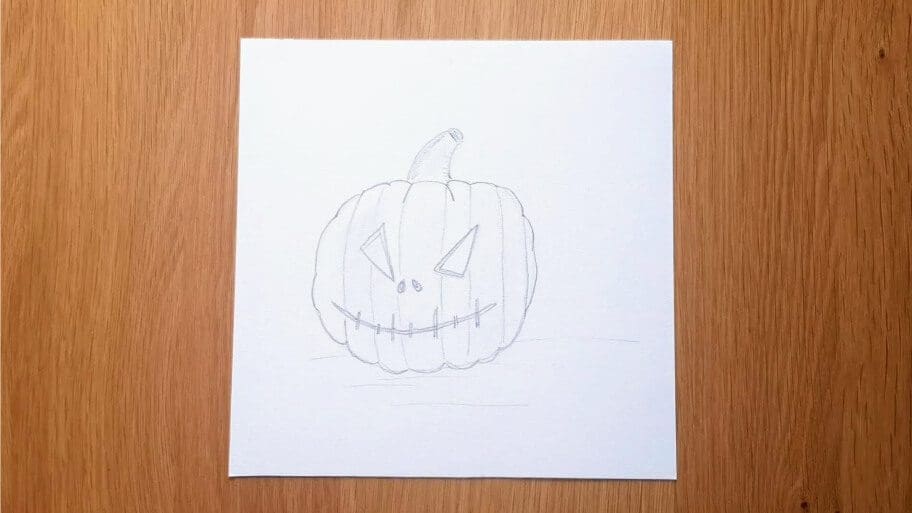
Draw a curved line under the nose to create a smiling mouth.

Now draw some vertical lines through the mouth to create some sharp teeth. Make sure that the lines are different length to create more scary look.

Using light pencil marks, draw a few curved lines inside the pumpkin shape to create the characteristic ridges of a pumpkin.

Draw several curved lines on the bottom of your pumpkin shape to make it look bumpy.

Draw several curved lines on the top of your pumpkin shape to make it look bumpy.

Draw several curved lines on both sides of the pumpkin shape to add more bumps.

Draw two small lines just below the stem.

Draw some darker lines over the vertical ridges you drew in step 7.

Color in the nose with your pencil.

Draw a smaller triangle shape in each eye to give them a 3D effect.

Draw another curved line just above the mouth to make the line thicker and give the mouth a 3D effect.

Draw some short vertical lines next to teeth to make the lines thicker and give the teeth a 3D effect.

Add some horizontal lines under the pumpkin to create the floor.
Erase any unwanted pencil marks.

There you have it. Now you know how to draw a pumpkin!
Don’t worry if your pumpkin drawing isn’t perfect the first time, the more you practice the better you will get!
Here are some tips to help you create the best pumpkin drawing!
Use different tools such as a pencil, pen or markers to create texture and shadows in your pumpkin drawing. Experiment with different lines and shapes to create a realistic looking pumpkin skin.
Another great way to make your pumpkin look more realistic is to add shading. Use a blending stump or Q-tips dipped in black ink, charcoal, or paint to make your lines look more realistic and give the pumpkin some depth.
Highlight sections of the pumpkin with white pencils for a more 3D effect. This can bring life to your drawing as well as add more dimension.
Using a real pumpkin or looking at a reference image of one can help you make your drawing look more realistic. Look closely at the details in the picture to help guide how your pumpkin should look.
You can also watch a pumpkin drawing tutorial video to help you with the basics of sketching and shading a pumpkin.
Use a thicker paper such as watercolor paper for your pumpkin drawings. This type of paper will absorb more ink and give you better results.
If you’re more of a colorist, try using some pumpkin coloring pages to practice your shading and blending techniques. This is also a great way to get creative with different colors!
If you want to take your pumpkin drawing skills one step further, try making some printable pumpkin carving templates with tools such as Adobe Illustrator. This is a great way to practice your skills in vector art!
Finally, don’t forget to have fun with it! Drawings are meant to be enjoyed, so don’t focus too much on getting the perfect drawing each time.
We hope this step-by-step guide has been helpful in teaching you how to draw a pumpkin!
Remember, practice makes perfect and don’t give up if your drawings don’t turn out right away!
With these tips and some practice, you’ll be creating amazing pumpkin drawings in no time! Be sure to practice this pumpkin drawing until you get it just right.
Soon, you’ll be a master at creating pumpkin drawings!
Looking for more drawing ideas? Search our list of 101+ Drawings.
Happy drawing!

