

In this fun and easy shark drawing tutorial, you’ll learn how to draw a shark step by step.
This tutorial is great for beginner artists (both kids and adults) who want to improve their drawing skills.
Whether you’re a beginner or an experienced artist, you’ll be able to create a shark drawing that’s both fun and easy.
Fun Fact: Did you know that sharks can have up to three hundred sharp teeth?
Sharks come in all sizes and shapes, the most well-known being the great white shark. Other popular forms include the bull shark, whale shark, tiger shark, and dwarf lantern shark.
The shark has a distinct anatomy composed of several body parts:
1. Head: The head is usually much larger than any other part of the body, featuring gill slits along the side of its face.
2. Pectoral Fins: These are located on either side of the body and help the shark to swim.
3. Dorsal Fin: A single dorsal fin is situated on the back of a shark, helping it to stay balanced when swimming.
4. Tail: The tail is used for propulsion and steering. The term “tail draw”refers to the maneuver in which a shark uses its tail to create a powerful thrust to move quickly through the water.
Most sharks have a torpedo-like shape, with pointed heads and rounded bodies. And like no other fish, shark fins are placed on the top of the body, rather than on its sides.
Now that you know the anatomy of a shark, let’s move on to the step-by-step tutorial.
Once you have completed this shark drawing, you’ll end up with an awesome sketch!
Are you ready? Let’s started!
We’ll be creating our shark drawing using the following art tools:
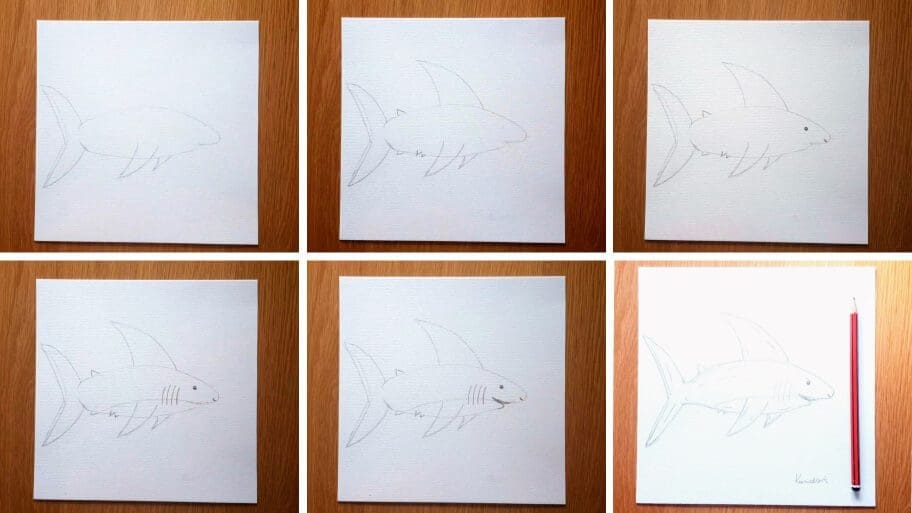
The collage above shows each step of the process so you know what your shark drawing should look like at each stage.
Tip: Make sure you don’t press too hard on the paper when you draw your pencil lines so that you can correct your mistakes with an eraser as you go through the tutorial.
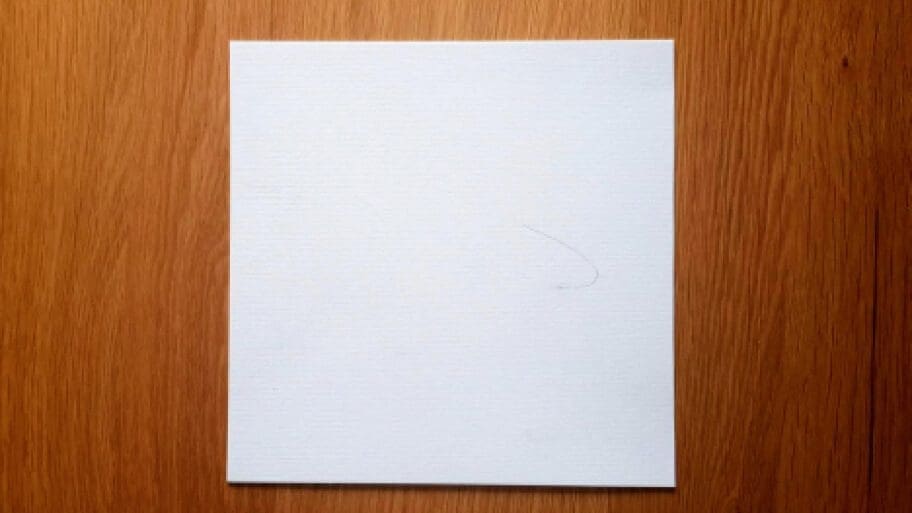
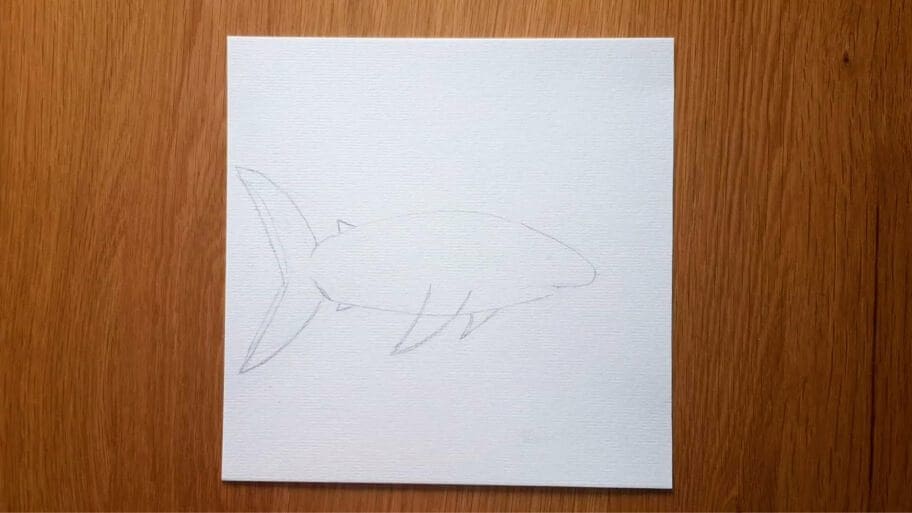
Start by drawing a curved line for the head of your shark.
Then add two more lines extending from this line which will represent the body of your shark. Make the bottom line join under the curve on the bottom of the head.

Draw two curved triangle shapes for the pectoral fins on either side of the shark’s body.
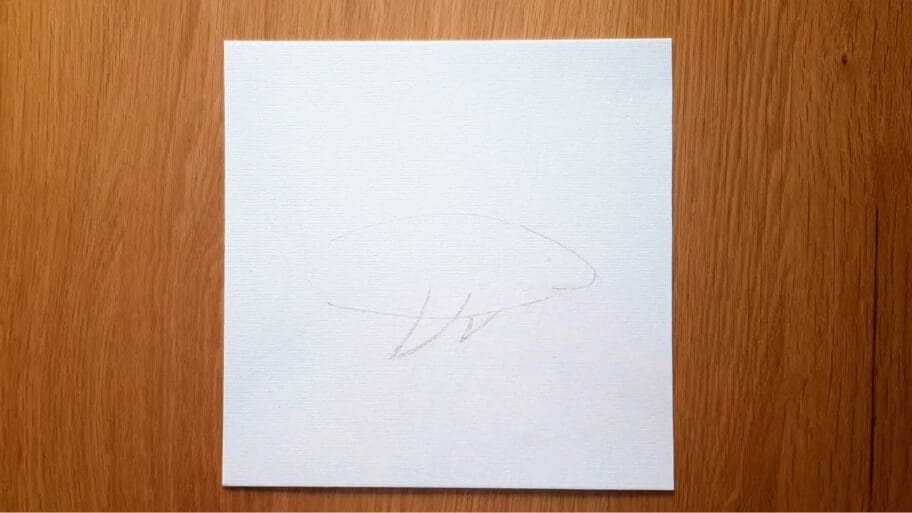
Draw two vertical lines curved to the left on the left side of the body.
Then draw two more lines. Each line should start at the end of the curved lines and join in the middle.

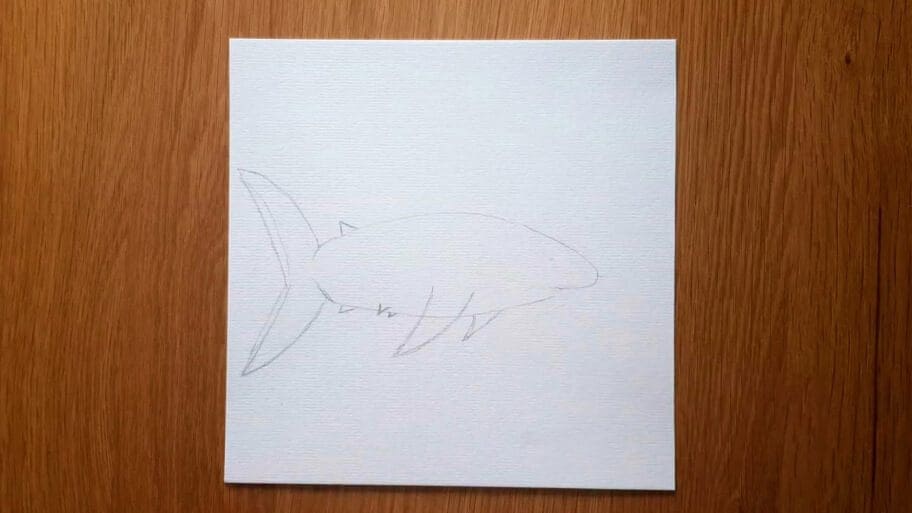
Draw a small triangle on the top left of the body for the smaller dorsal fin.
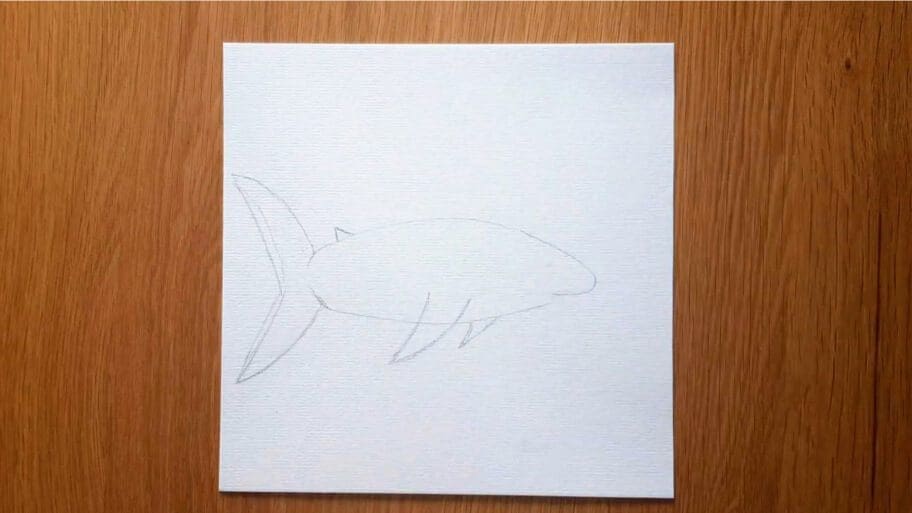
Draw another small triangle at the bottom of the shark’s body.
Draw two tiny triangles at the base of the shark’s body for the pelvic fins.
Draw a large curved triangle for the dorsal fin above the shark’s body.

Draw a small circle for the eye of your shark.
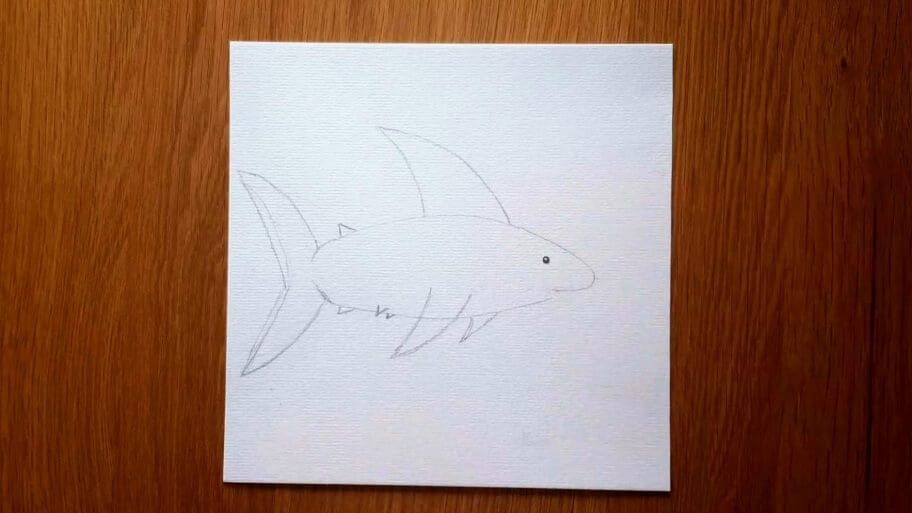
Draw a tiny zigzag shape to represent the nostril of your shark.

Draw a long curved line starting from the head and finishing by the last small fin on the bottom left to create more shape.
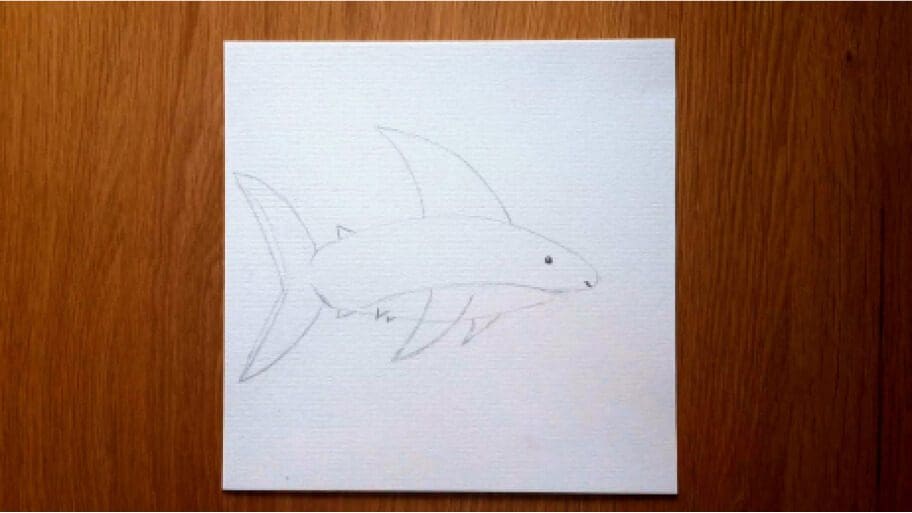
Add four small lines to the face for the gills.

Draw two small curved lines inside the head for the mouth.
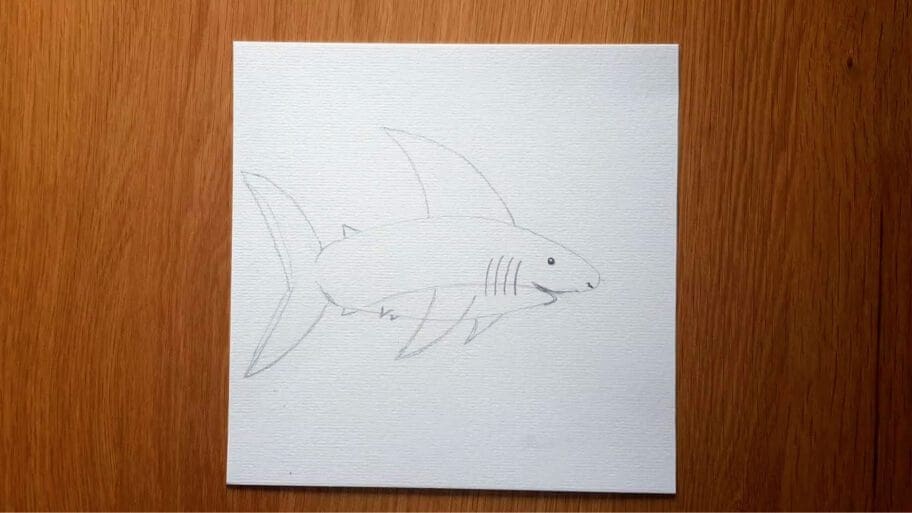
Draw several small triangles inside the mouth to create the shark’s sharp teeth.
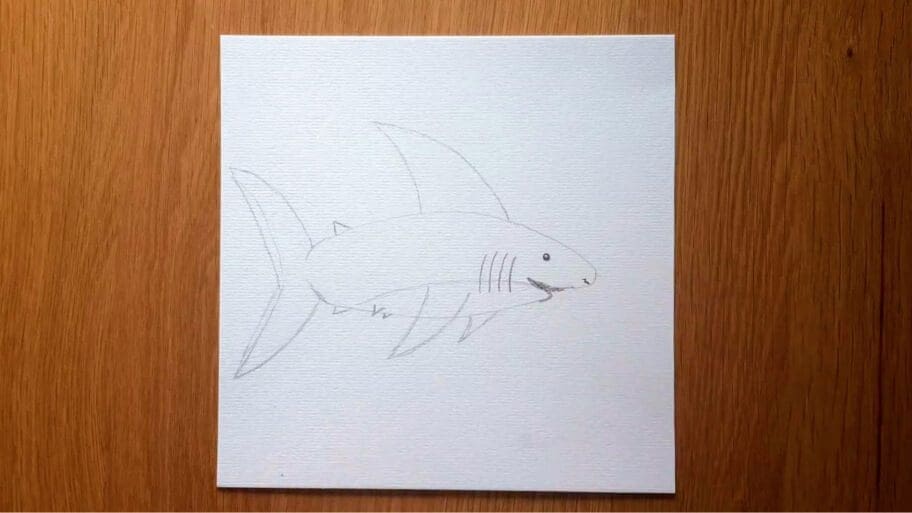
Add an eyebrow and draw a several lines across your shark to add more shape.

Now you can erase any unwanted pencil marks.

There you have it. Your very own step by step shark drawing.
Don’t worry if your shark drawing isn’t perfect the first time, the more you practice the better you will get!
cat or a dog
Be sure to practice this shark drawing until you get it just right. Then, try drawing other animals, like a dolphin or shrimp.
Soon, you’ll be a master at drawing animals!
Looking for more drawing tutorials? Search our list of 101+ Drawing Ideas!
Happy drawing!

