There are no results matching your search
How to Draw a Spider Step by Step - 11 Easy Steps!

- By Joanna | updated in December, 2023
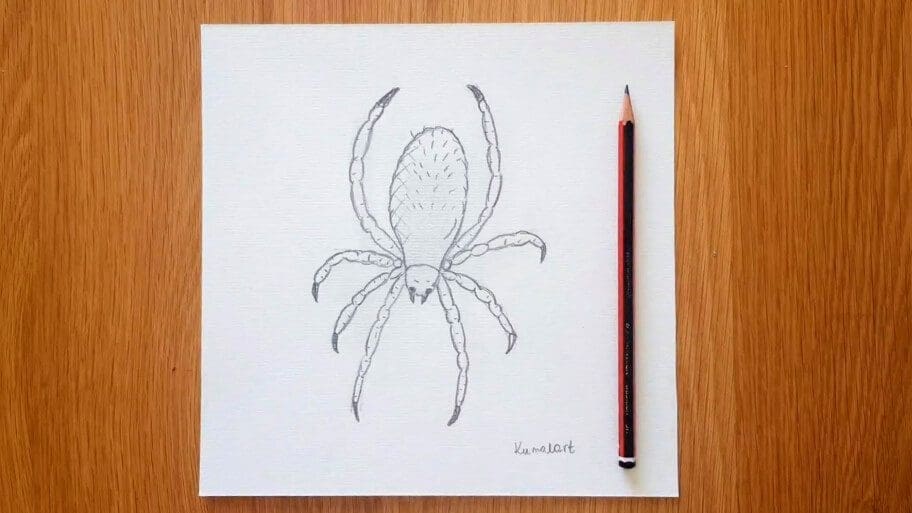
In this fun and easy spider drawing tutorial, you’ll learn how to draw a spider step by step.
This spider easy drawing tutorial is great for beginner artists (both kids and adults) who want to improve their drawing skills.
Drawing spiders can be a great way to express creativity and explore different compositions.
Spider drawing for kids can be a fun and slightly spooky adventure in creativity, using basic shapes and lines to craft the spider’s body and legs, making it an engaging way for children to explore drawing and express their imagination.
Fun Facts: Did you know that spider webbing is stronger than steel?
Table of Contents
ToggleWhat You’ll Need for Your Spider Drawing
You’ll need the following materials to create your spider drawing:
- A piece of paper
- A pencil
- An eraser
How to Draw a Spider Step by Step
Follow our step-by-step spider drawing easy tutorial to learn how to draw a spider.
We’ve included all the steps in detail so that the process is easier to follow.
So, let’s get started!
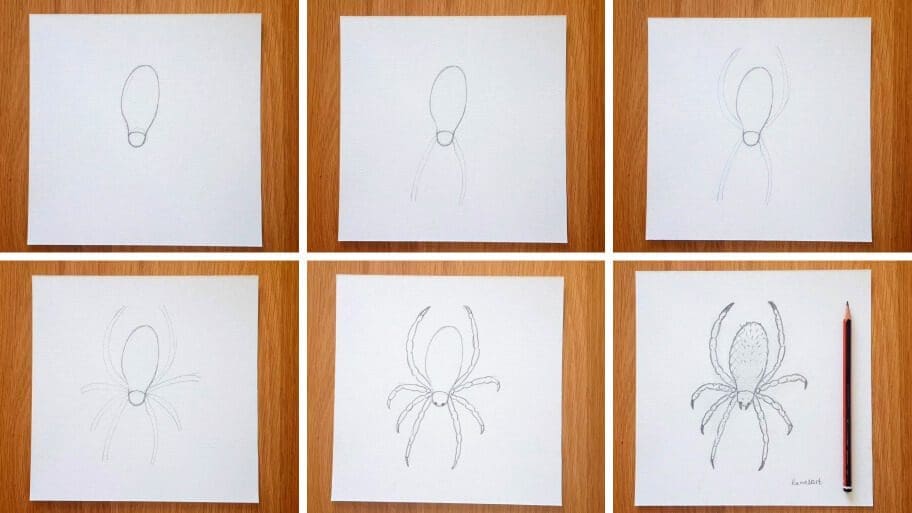
The collage above shows each step of the process so you know what your spider drawing should look like at each stage.
Instructions on How to Draw a Spider easy Step by Step
Tip: Make sure you don’t press too hard on the paper when you draw your pencil lines so that you can correct your mistakes with an eraser as you go through the tutorial.
How to Draw a Tarantula
Step 1: First, Draw the Spider’s Body
Start drawing a medium oval shape using a light pencil stroke.

Step 2: Draw the Spider’s Head
Draw a small circle to form the head.

Step 3: Connect the Body with the Head
A. Draw a long curved line on the right-hand side to connect the head and body.
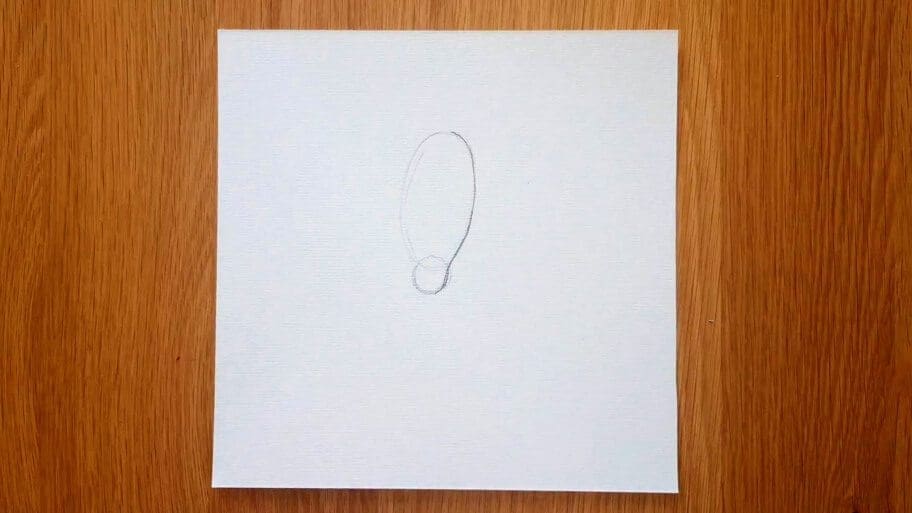
B. Draw another long curved line on the opposite side. Then connect those lines to make the spider’s shape. Next, draw a small curved line at the top of your small circle to finish the head.

Step 4: Erase the Pencil Marks
Erase any unwanted pencil marks.
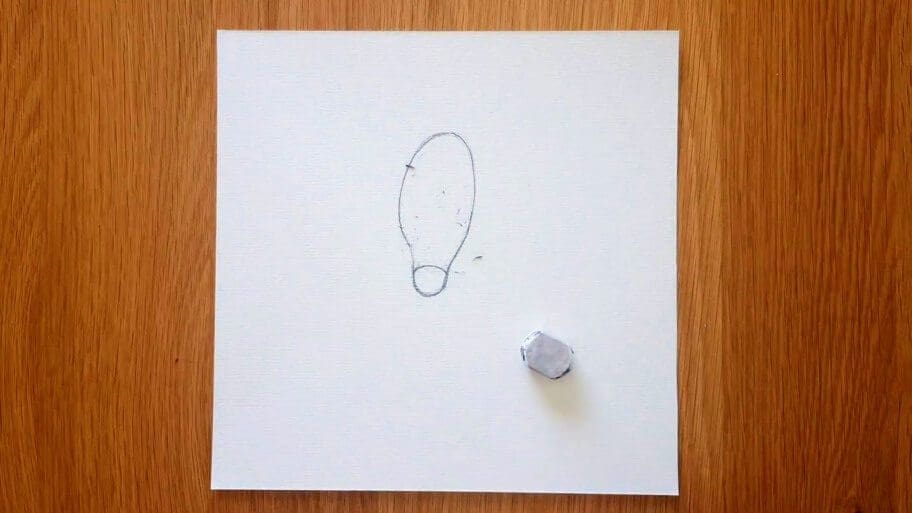
Now it is time to add eight legs: two front legs, two back legs, and four middle legs. Make sure that you draw them in different directions.
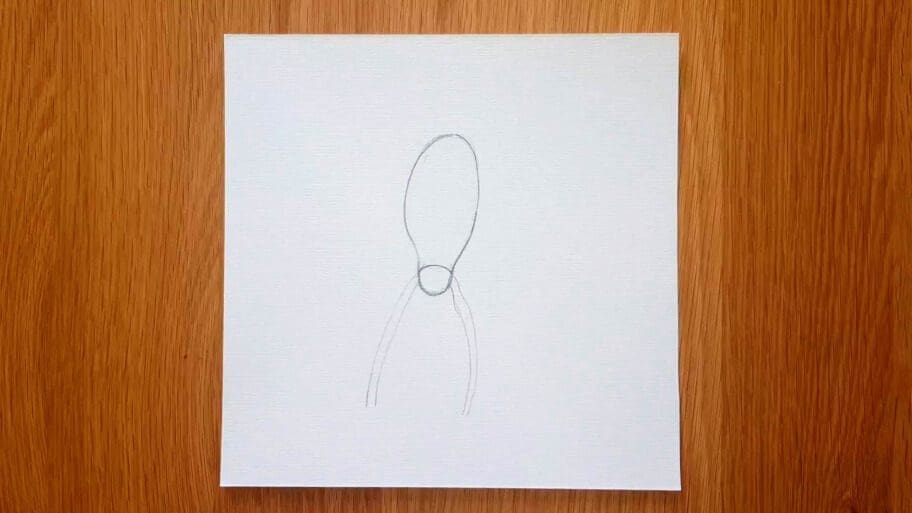
Step 5: Draw the Front Legs
For each front leg, draw two long curved lines, and connect them to the head.
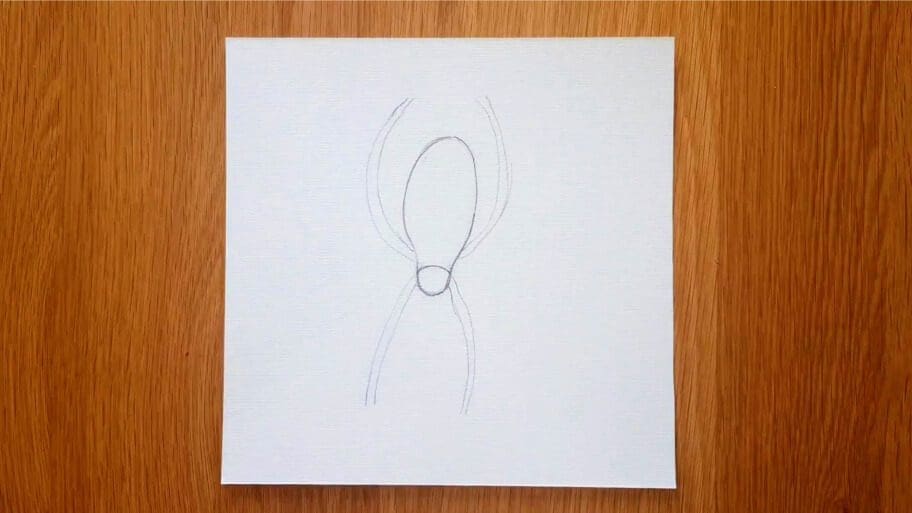
Step 6: Draw the Back Legs
Draw two more legs in the same way as the front legs, but make sure that they are placed in the middle of the body and angled slightly outward to give the creature a sturdy, balanced stance.
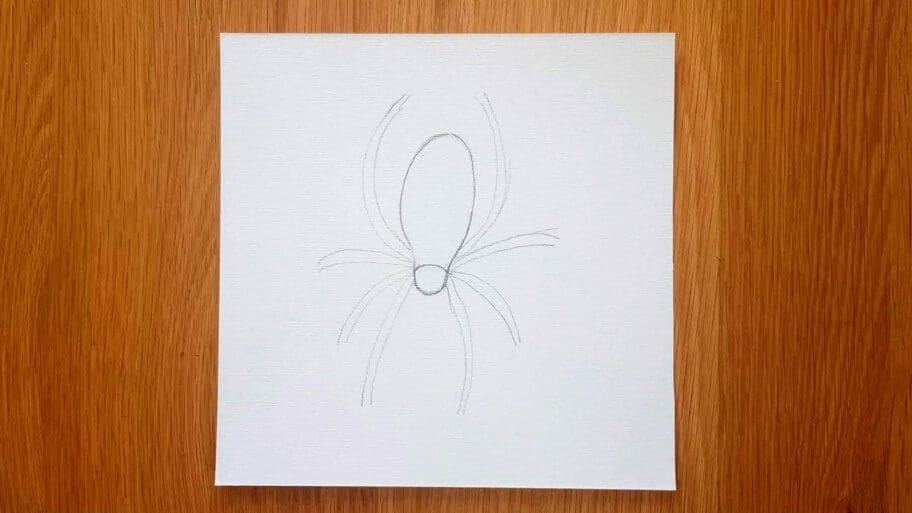
Step 7: Draw the Middle Legs
A. Using four curved lines draw the middle legs on the left side. Make sure that those lines are shorter than the lines from steps 3 and 4.
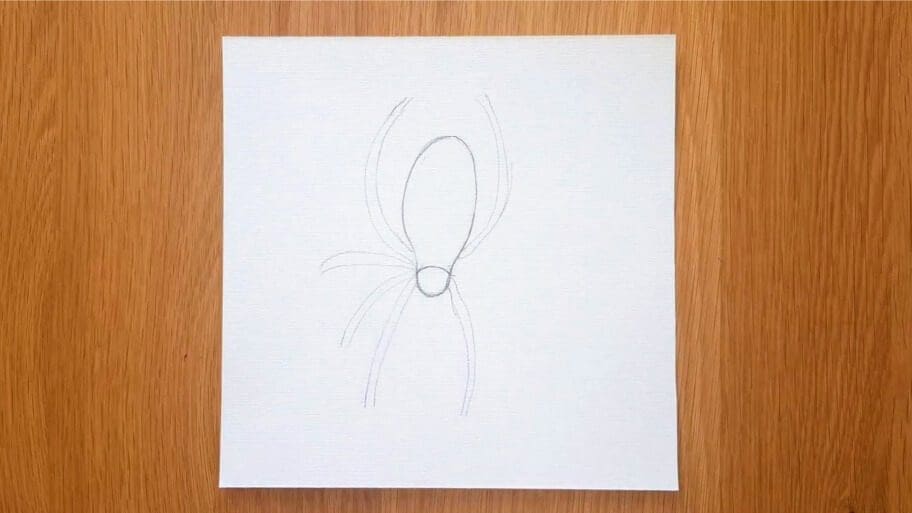
B. Repeat the process on the opposite side.
Step 8: Create the Segments
Go over the spider’s legs with your darker pencil stroke and create the segments using small curved lines.
Next, draw small triangle shapes at the end of each leg.
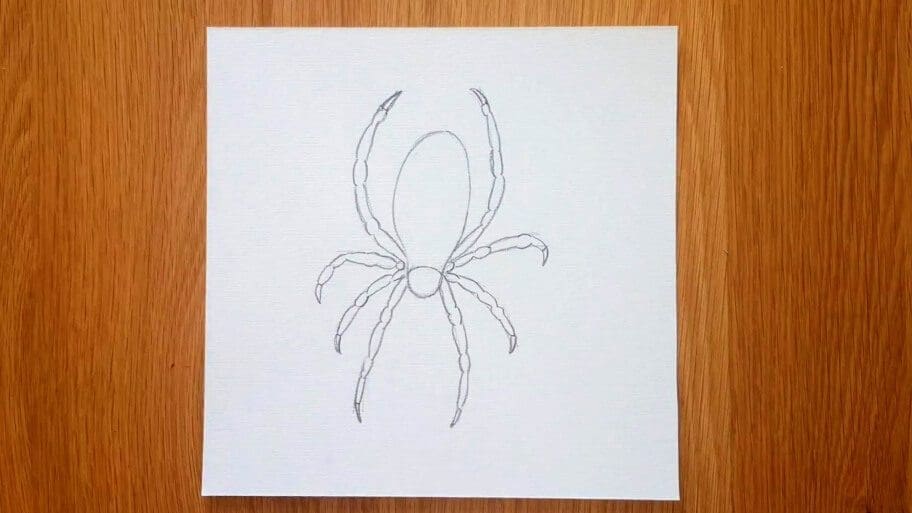
Step 9: Draw the Eyes
Draw two small circles inside the head to form the eyes. Then shade the eyes with your pencil.
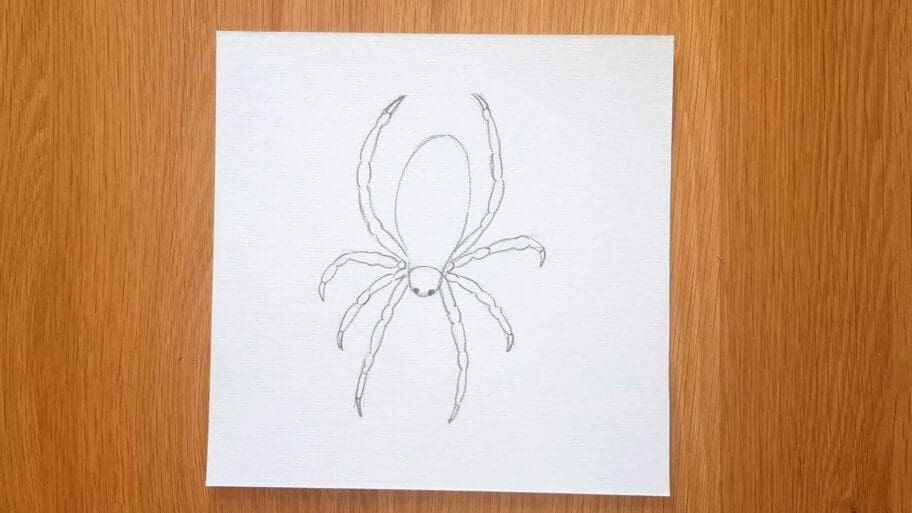
Step 10: Draw the Fangs
Draw two short triangles shape at the top of the head to form the fangs. Then outline the spider using a darker pencil stroke.
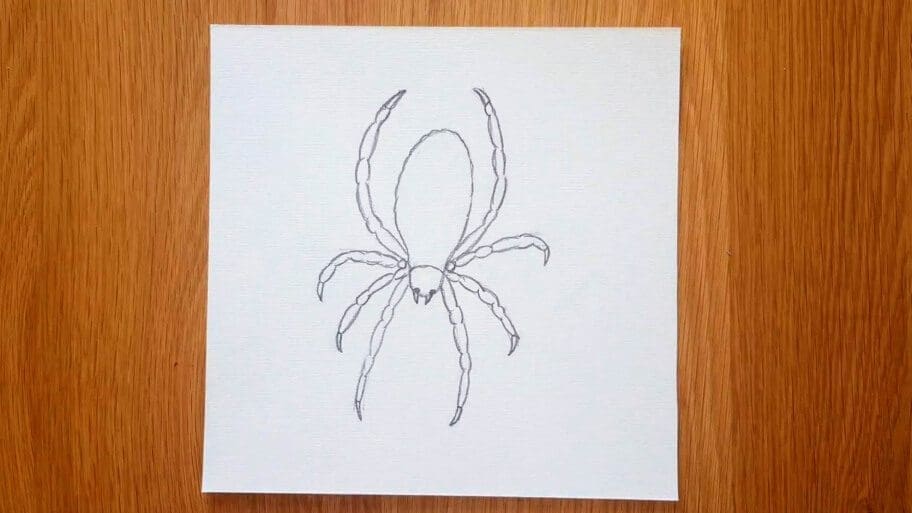
Step 11: Add the Shading
Use a criss-cross hatching technique, then smudge the pencil marks with your fingers to add shade to your spider drawing. Lastly, add several lines on the legs and body to create hair.
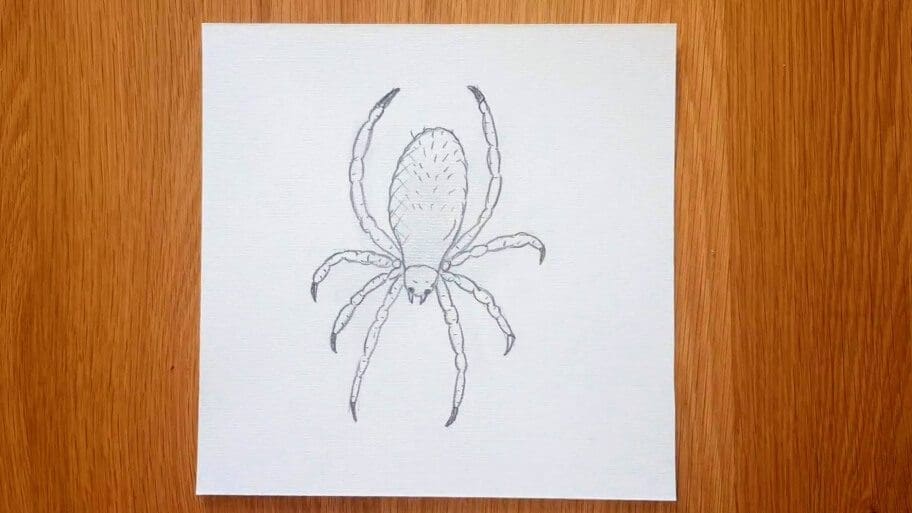
Congratulations!
You have just learned how to draw a simple spider!
Don’t worry if your simple spider drawing isn’t perfect the first time, the more you practice the better you will get!
We hope you had fun and that our spider drawing tutorial helped you learn something new today.
Try out your newly learned skills on different spider species drawings like a black widow spider drawing or a tarantula drawing.
Are you looking for more similar step by step drawing tutorials? Search our list of 101+ Drawing Ideas!
Happy drawing!


