There are no results matching your search
How to Draw a Squirrel Step by Step - 16 Easy Steps!

- By Joanna | updated in December, 2023

In this fun and easy squirrel drawing tutorial, you’ll learn how to draw a squirrel step by step.
This squirrel drawing easy tutorial is great for beginner artists (both kids and adults) who want to improve their drawing skills.
Fun Facts: Did you know that squirrels have furry coats made up of two layers? The top layer is thin and soft, while the bottom layer is thick and insulates them from the cold weather.
Once you have completed these easy steps, you’ll end up with an awesome squirrel drawing.
Table of Contents
ToggleWhat You’ll Need for Your Simple Squirrel Drawing
We will be creating our squirrel drawing using the following materials:
- A piece of paper
- A pencil
- An eraser
How to Draw a Squirrel Step by Step
Follow our step-by-step tutorial covering how to draw a squirrel.
We’ve included all of the steps in detail so that the process is easy to follow.
So, let’s get started!
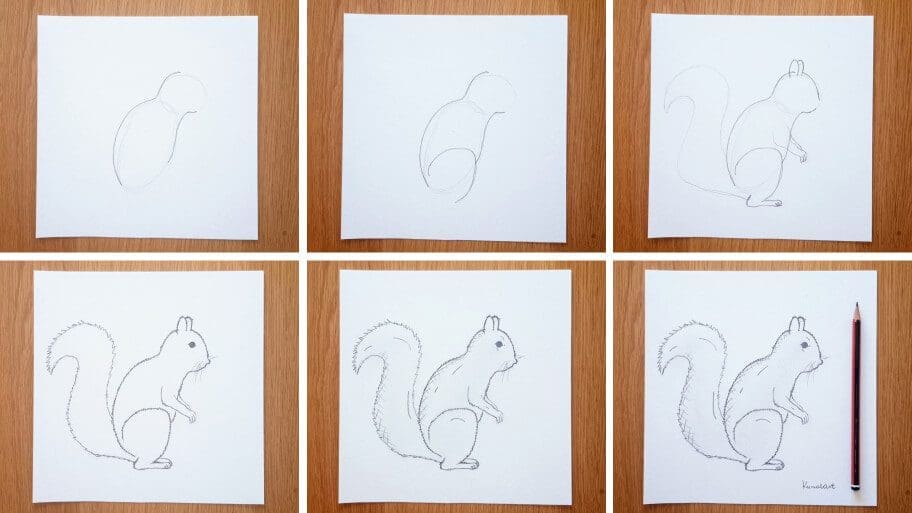
The collage above shows each step of the process so you know what your squirrel drawing should look like at each stage.
Instructions on How to Draw a Squirrel Easy Step by Step
Tip: Make sure you don’t press too hard on the paper when you draw your pencil lines so that you can correct your mistakes with an eraser as you go through the tutorial.
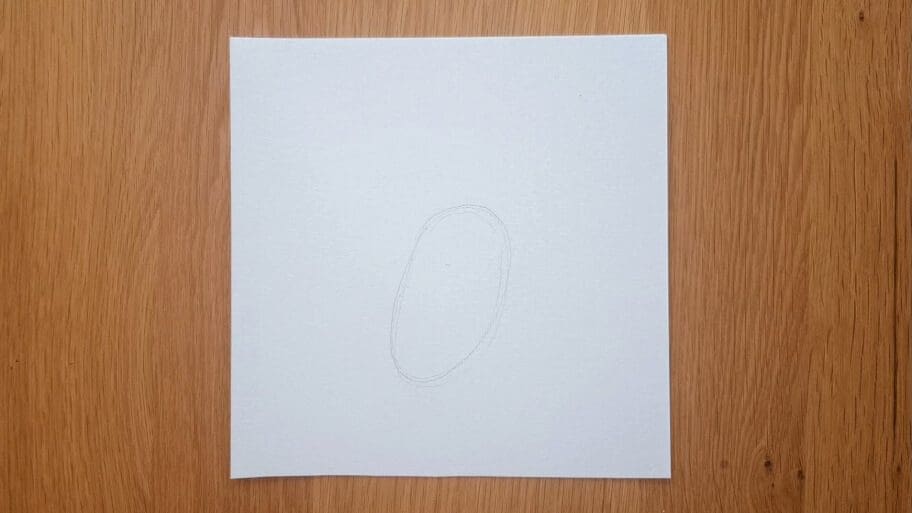
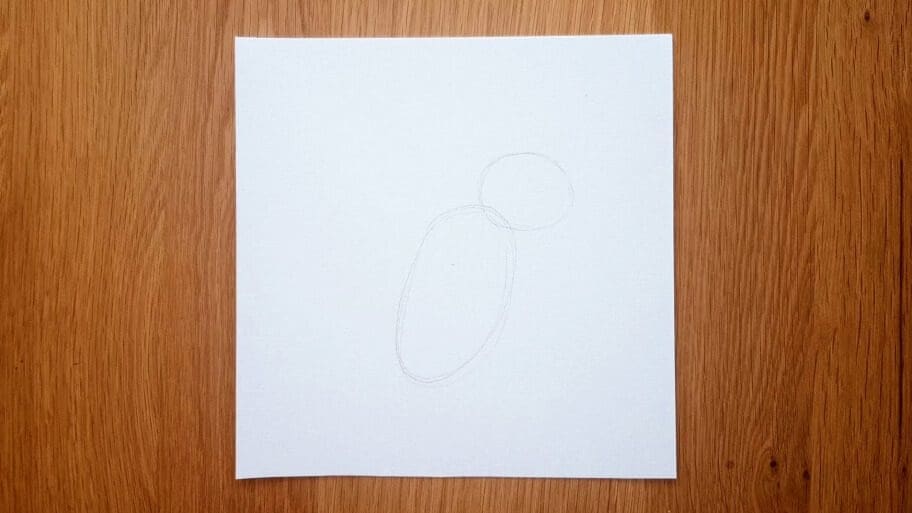
Step 1: Draw the Body
The first step is to draw an oval that will form the main body of your squirrel.
Step 2: Draw the Head
Draw a much smaller oval for the head which is on top of the body.
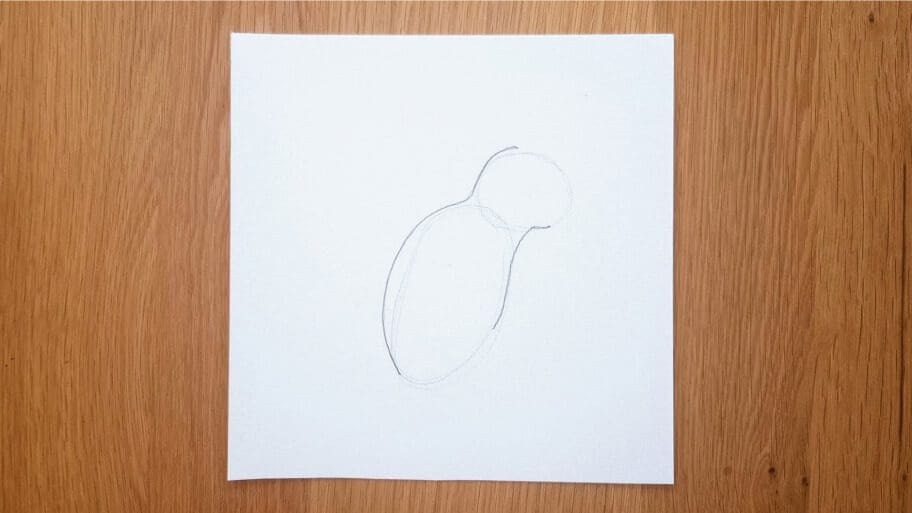
Step 3: Connect the Head with the Body
A. Draw a darker curved line and connect the head to the body on the left side.

B. Draw another curved line on opposite side. This time much shorter then previous one.
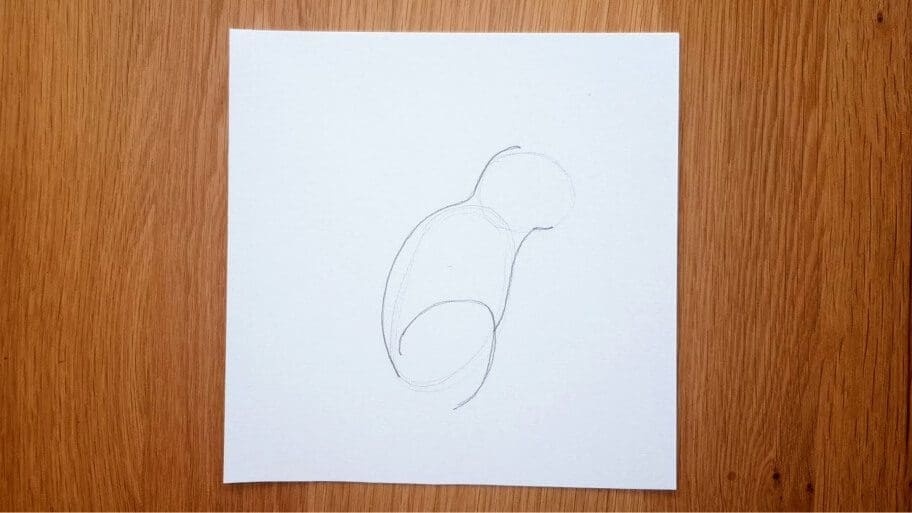
Step 4: Draw the Back Leg
Draw a curved line at the bottom of the medium oval for the back leg.
Step 5: Draw the Back Paw
Draw a small curved line at the end of the back leg for the paw. Then add toes by drawing a few small lines.

Step 6: Draw the Front Legs
Draw two slightly curved lines coming out of the body for the first front leg. Then using the same angle, draw the second front leg.
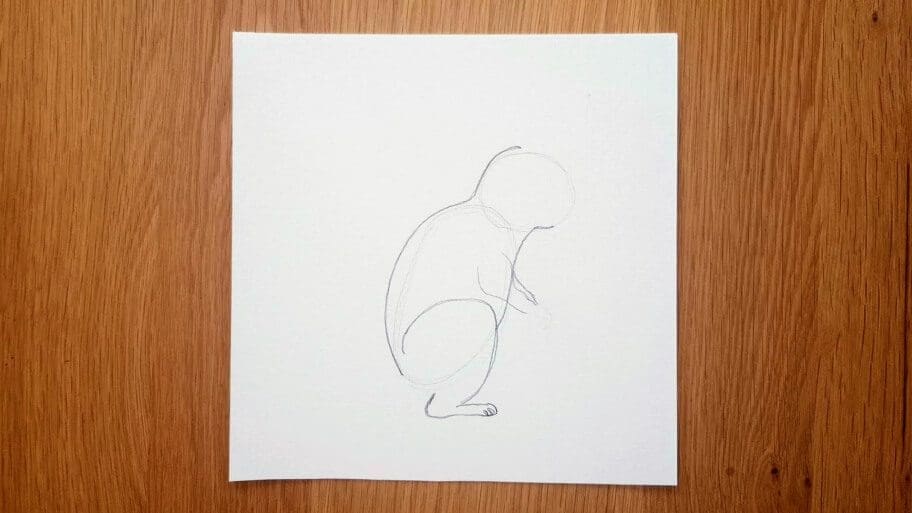
Step 7: Draw the Front Paws
Create a front paw by adding a few small lines at the end of the front leg.

Step 8: Draw the Tail
Draw two long curved lines to form the shape of your squirrel’s tail.
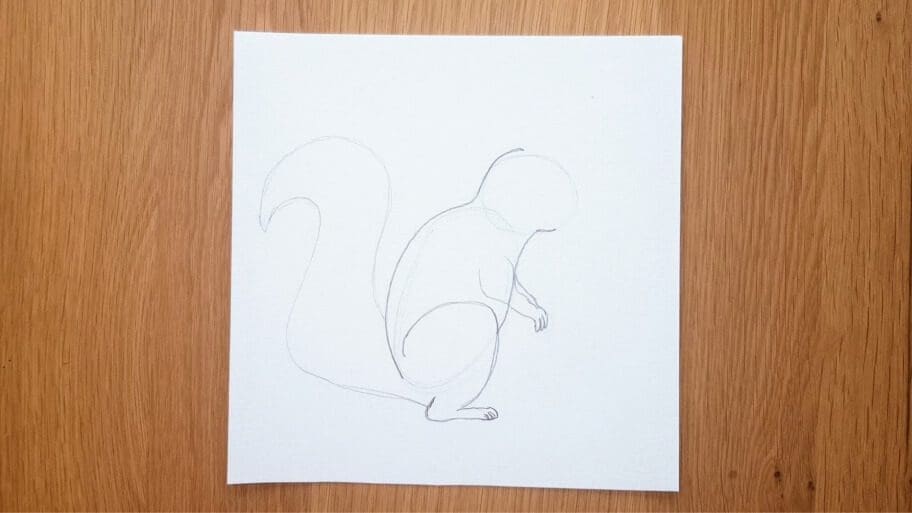
Step 9: Draw the Squirrel’s Ears
Draw two triangular shapes for the ears.

Step 10: Draw the Face
Draw two curved lines, leaving the space in between them for the nose.
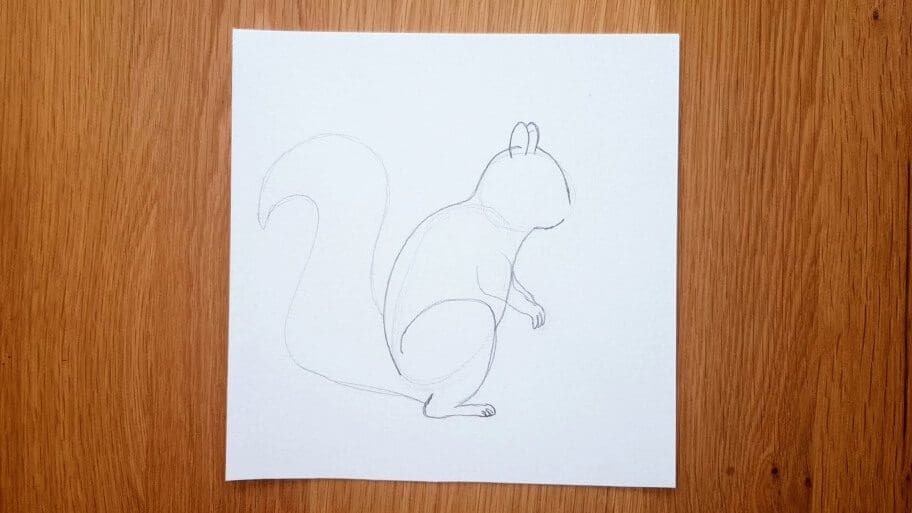
Step 11: Erase Your Pencil Marks
Erase any unwanted pencil marks.
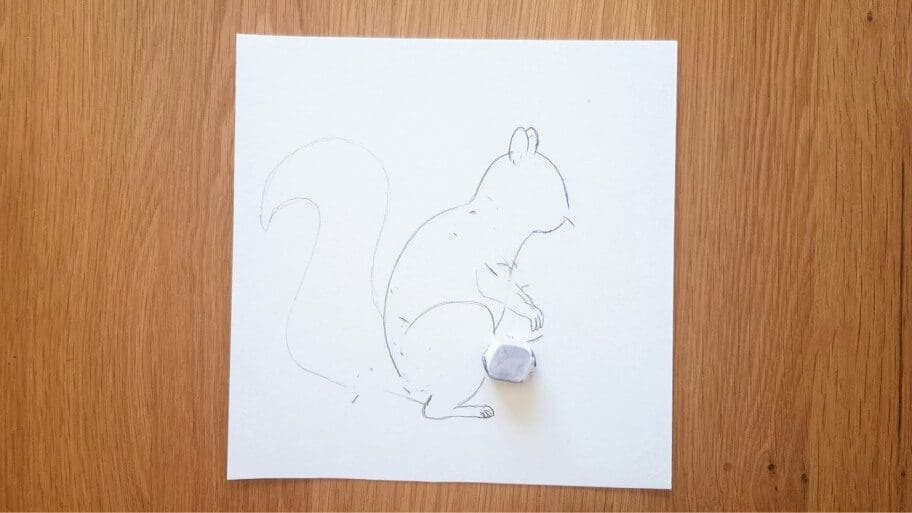
Step 12: Draw the Nose
Draw a small curved line in the middle of the face to create the nose.

Step 13: Add the Eye
A. Draw a small oval for an eye.

B. Shade the eye with your pencil.
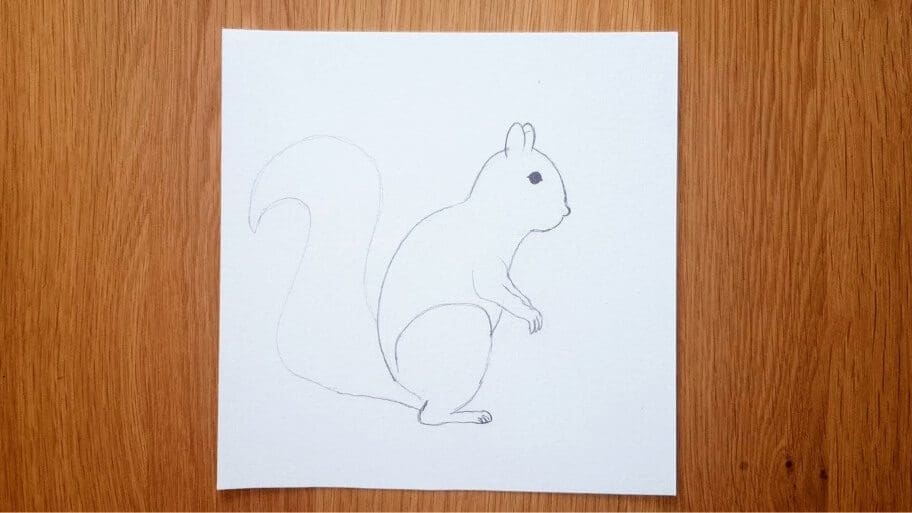
Step 14: Draw the Whiskers
Draw a few short whiskers on each side of the nose.
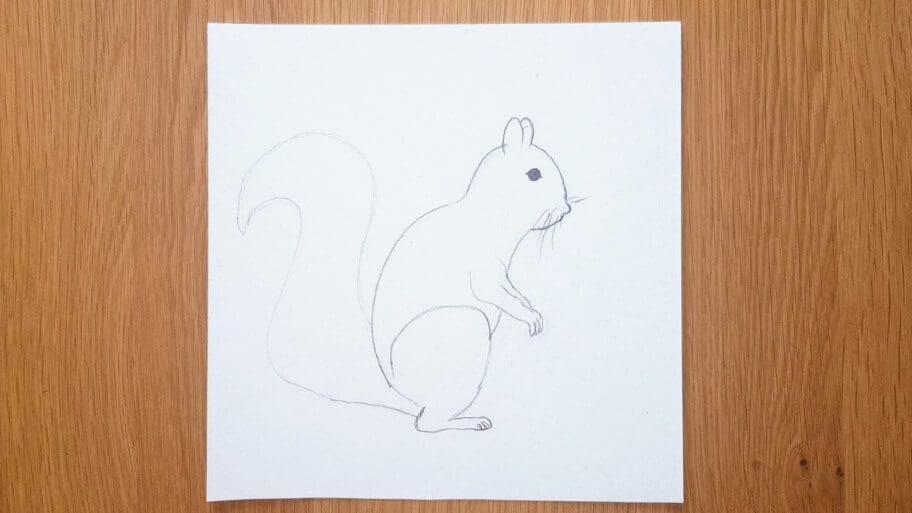
Step 15: Add the Fur and Second Back Leg
Draw rough edges all around the body to create fur. Then add second back leg.
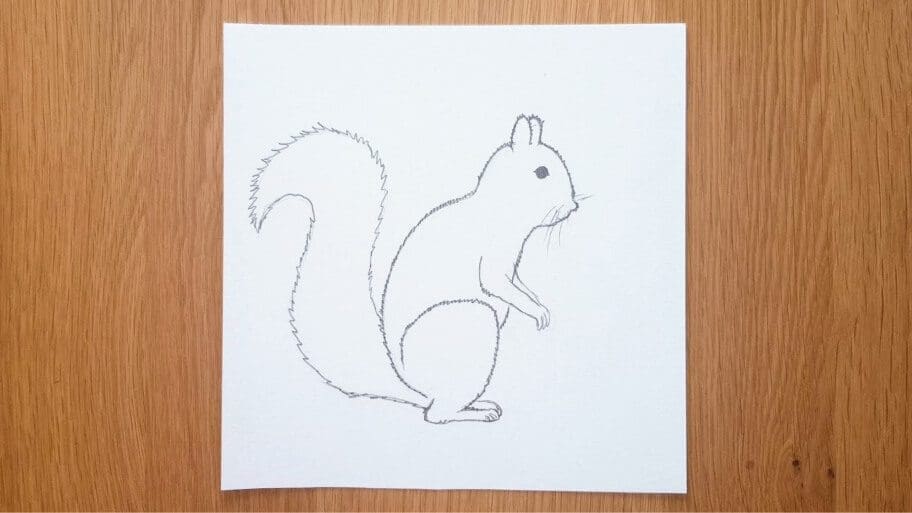
Step 16: Add Shading and Add Some Details
Shade the body to give it a more natural look. Then add a few lines for a more realistic look.
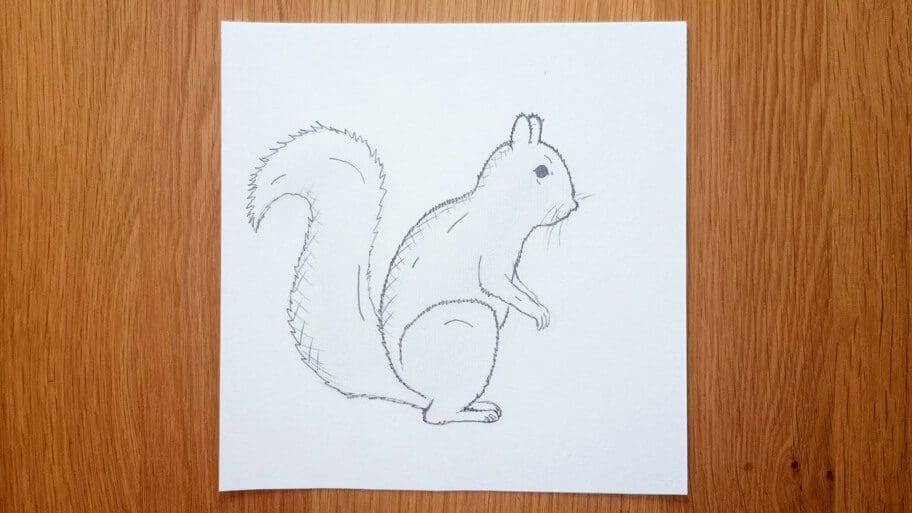
Congratulations!
Now you know how to create a squirrel easy drawing.
Don’t worry if your squirrel drawing isn’t perfect the first time, the more you practice the better you will get!
Be sure to practice this squirrel drawing until you get it just right. Then, try drawing other animals like a cat or a dog.
Bonus Tips on How to Improve Your Squirrel Drawing:
1. Use reference photos to get a better idea of the shape and size of each part of your squirrel.
2. Try drawing from different angles to make your drawings more dynamic.
3. Practice shading with different pencil pressures to create texture and depth in your drawings.
4. Use different art tools such as markers, pens, and colored pencils to add details and color to your drawings.
5. Take a break every once in a while so that you don’t get tired of drawing.
6. Don’t be afraid to experiment with different techniques! Draw as many squirrels as you can.
7. Don’t forget little details like whiskers and fluffy fur to make your drawings look realistic.
8. Challenge yourself by drawing complex poses or adding more details like trees and foliage.
9. Have fun! Drawing is a great way to relax and express your creativity.
Soon, you’ll be a master at drawing animals!
Looking for more drawing tutorials? Search our list of 101+ Drawing Ideas.
Happy drawing


