There are no results matching your search
How to Draw a Superhero Step by Step - 12 Easy Steps!

- By Joanna | updated in December, 2023

In this fun and easy superhero drawing tutorial, you’ll learn how to draw a superhero step by step.
This batman drawing easy tutorial is great for beginner artists (both kids and adults) who want to improve their drawing skills.
Fun Fact: Did you know that Marvel Comics first released their superhero, Batman in 1939?
Table of Contents
ToggleWhat You’ll Need
You’ll need the following materials to create your superhero drawing:
- A piece of paper
- A pencil
- An eraser
How to Draw a Superhero Step by Step
In this tutorial, you will learn how to draw Batman.
We’ll go through the whole process, from start to finish, so you can create your own Batman drawing in simple steps by the end.
Using basic shapes, we’ll sketch out the Batman proportions and we’ll add the face, the mask, and the cape.
So, let’s get started!
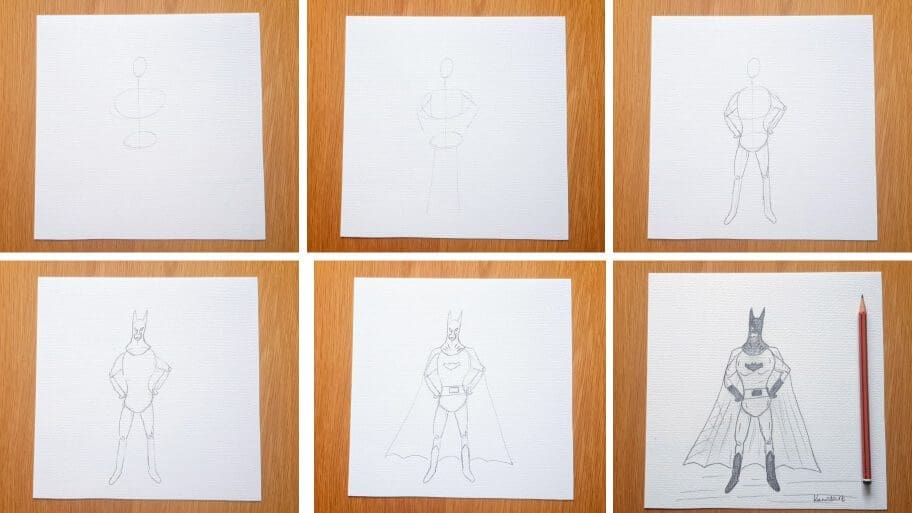
The collage above shows each step of the process so you know what your Batman drawing should look like at each stage.
Instructions for Superhero Drawing Easy Tutorial
Tip: Make sure you don’t press too hard on the paper when you draw your pencil outlines so that you can correct your mistakes with an eraser as you go through the tutorial.
How to Draw a Superhero Sketch
Follow this superhero tutorial and learn how to draw your own superhero character.
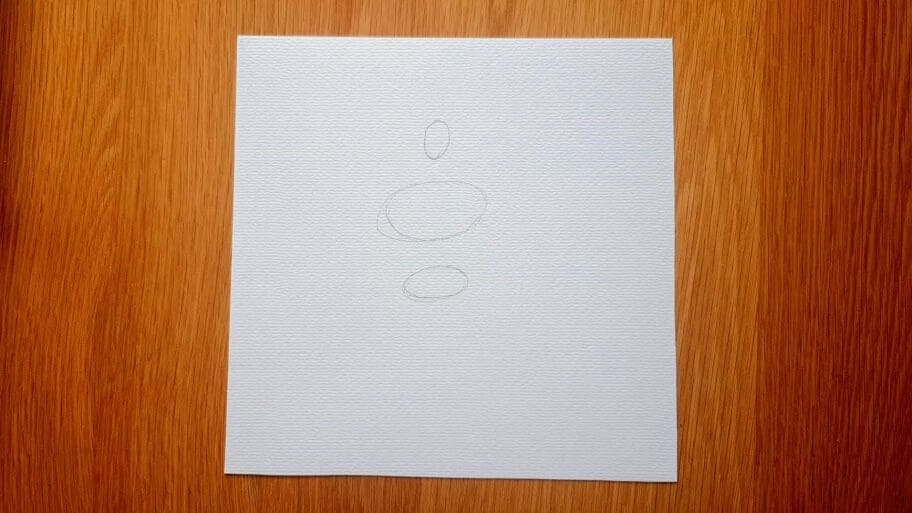
Step 1: Draw the Overall Structure for the Body
Draw three ovals using a light pencil.
Start by drawing a small oval to form your character’s head, then draw a larger oval below it to create the body. Finally, add a medium-sized oval at the lower end of the large oval to complete the body shape.
Step 2: Connect the Ovals Using Auxiliary Lines
Now using auxiliary straight lines, connect the three ovals.
A. Draw one long vertical line starting from the head’s center bottom and extending across two ovals.
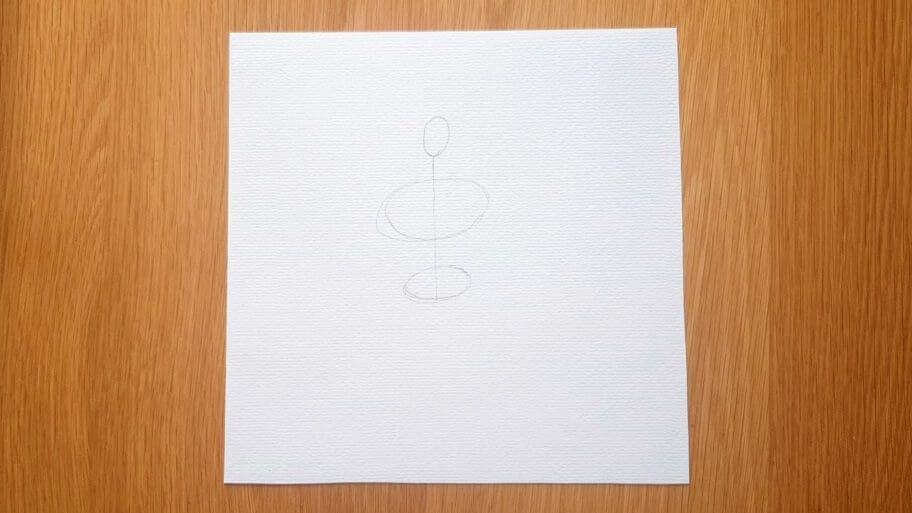
B. Draw two long vertical lines extending out from the bottom oval to form the structure of the legs.
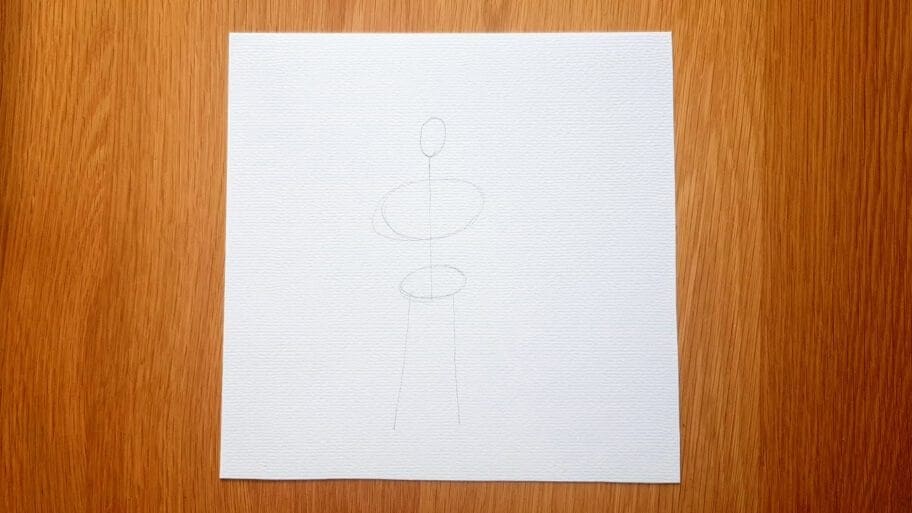
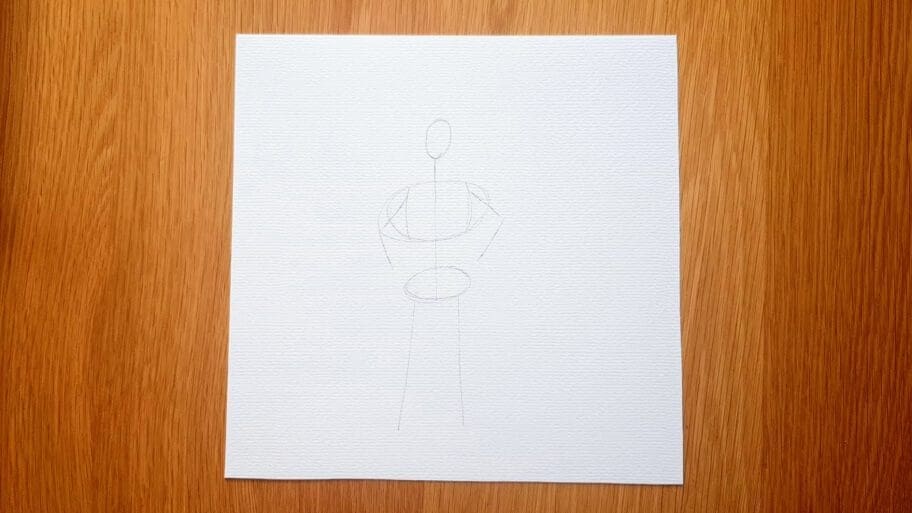
C. Draw two curved lines in the middle of the second oval to create a torso structure. Then add two small lines coming out from the top of the second oval, and extend them further to create the structure for the arms. Finish off by drawing two more lines, connecting them with the ones you just drew to complete the arm structure.
You should have a classic superhero shape that looks like this.
Step 2: Finish the Superhero’s Torso
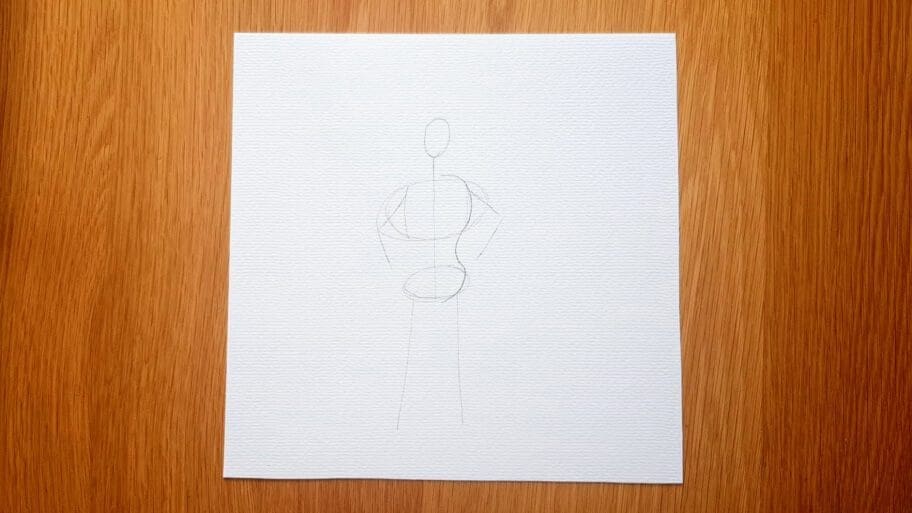
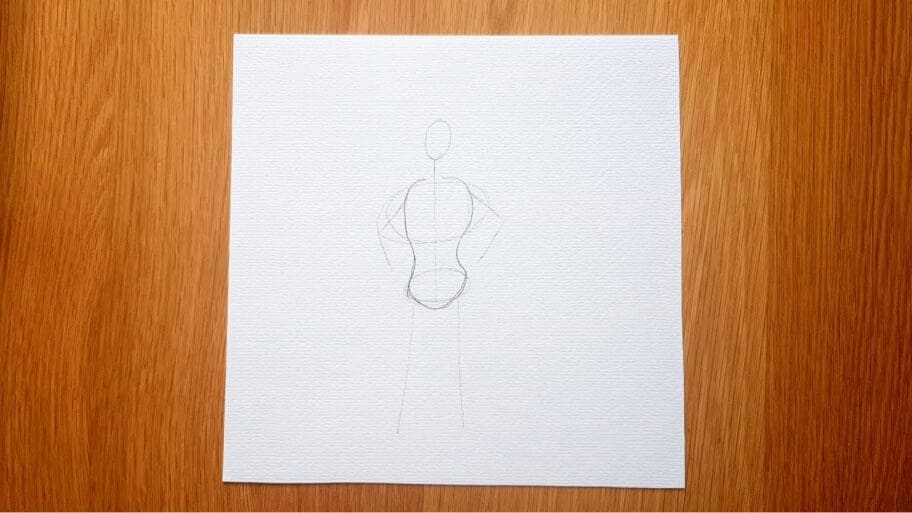
Using the auxiliary lines as a guide, draw the contours of the superhero’s torso by connecting them with curved lines.
The top line should be slightly curved around the neck area. The bottom lines should have a more drastic curve to create an hourglass shape.
A. Draw a curved line on the right side of the second and third oval.
B. Draw a curved line on the left side of the second and third ovals. Then connect both curved lines in the middle bottom of the third oval.
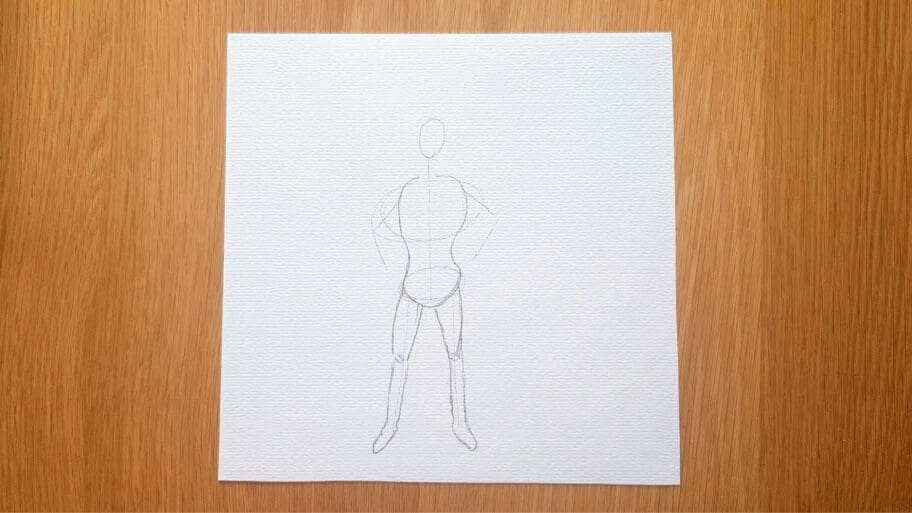
Step 3: Draw the Legs
Draw the legs by connecting the auxiliary lines with curved lines.
Draw two diagonal curved lines starting from the bottom of each leg line on the oval and curve around to meet at the knee joint.
A. First leg
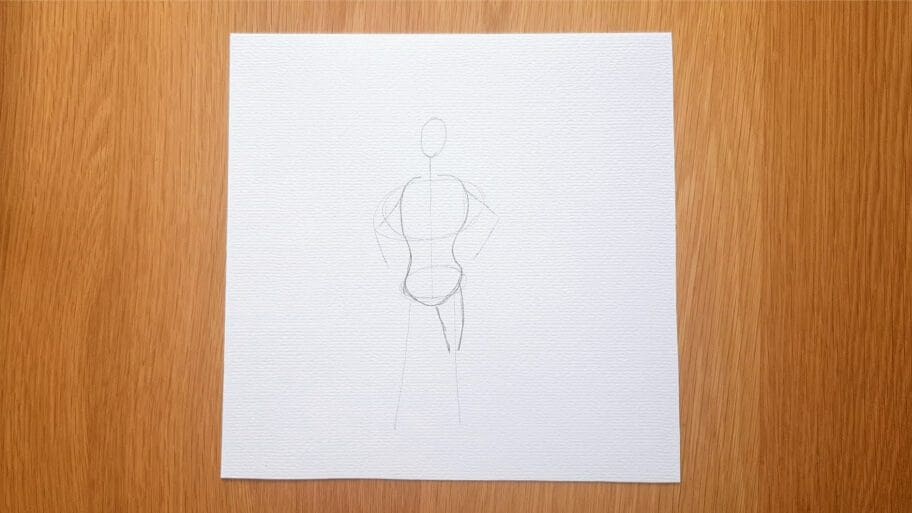
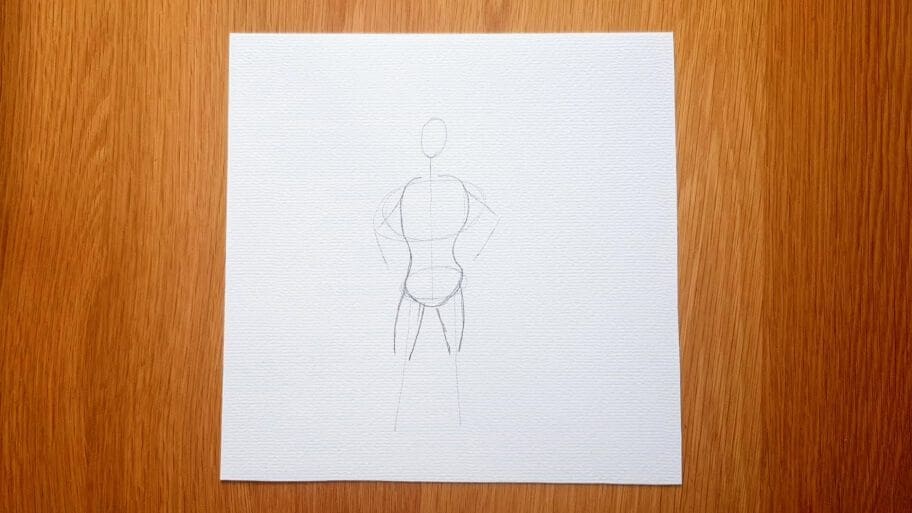
C. Draw a tiny oval shape on each leg to create the knee joint.
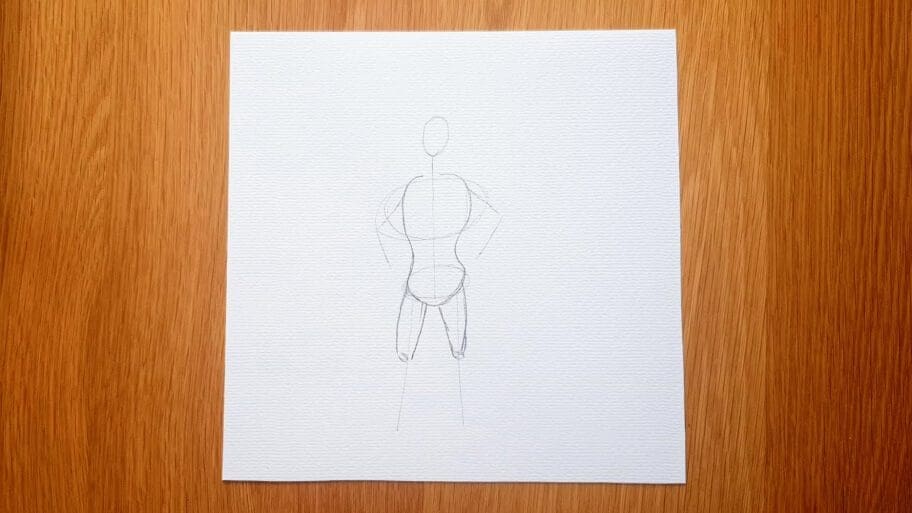
D. Draw another two vertical curved lines from each of the knee joints.
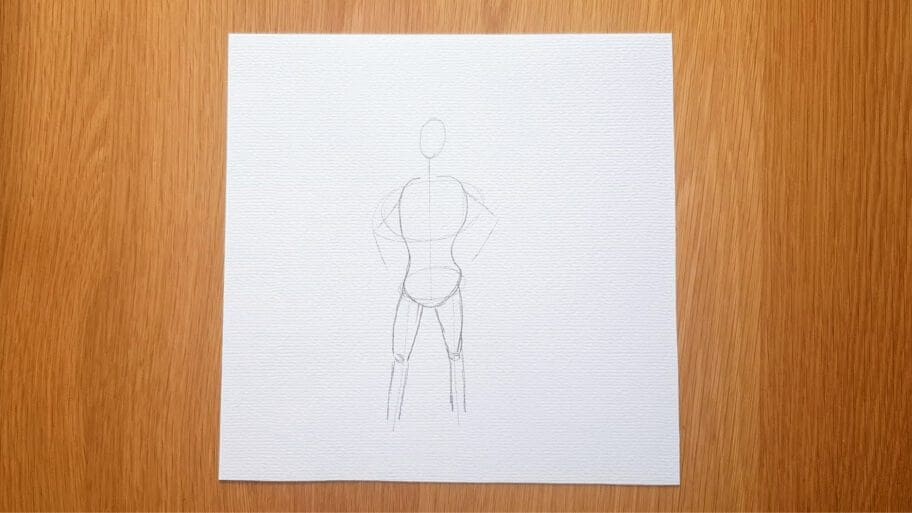
E. Then create the shape of the feet by drawing a small oval at the end of each leg.
Step 4: Draw the Arms
Draw the arms by connecting the auxiliary lines with curved lines.
A. Starting at the shoulder joint, draw two diagonal, curved lines that converge at the elbow joint.
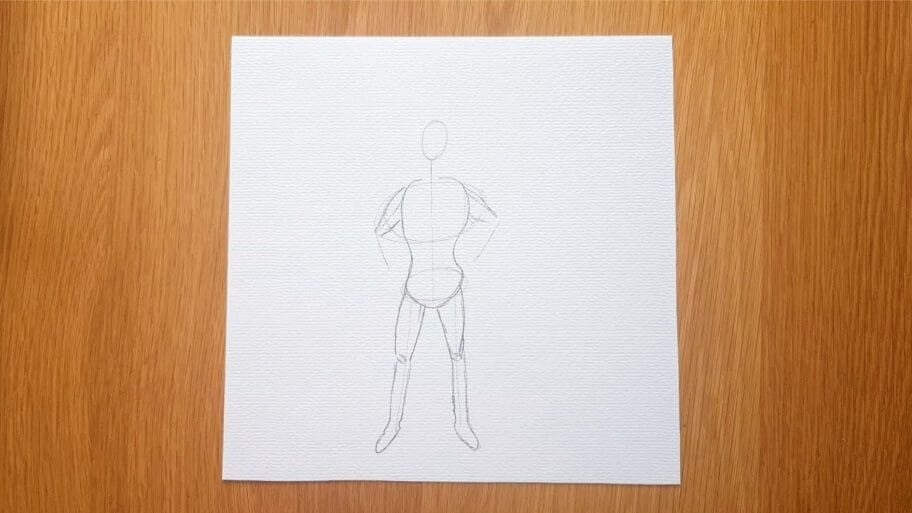
B. Draw a circle to create the elbow joint on each side of the body and then two more curved lines extending from the circumference of the circle to complete the arms.
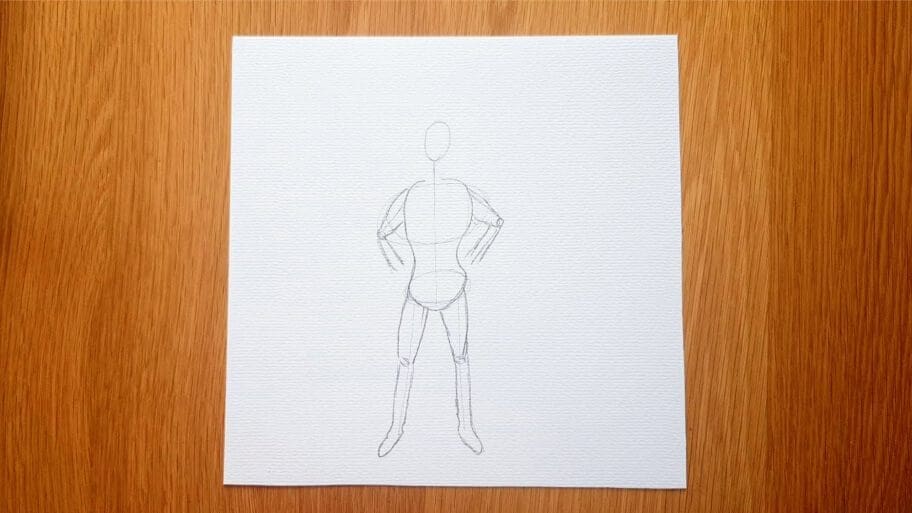
C. Finally, draw a small oval at the end of each arm to create the shape of the hands.
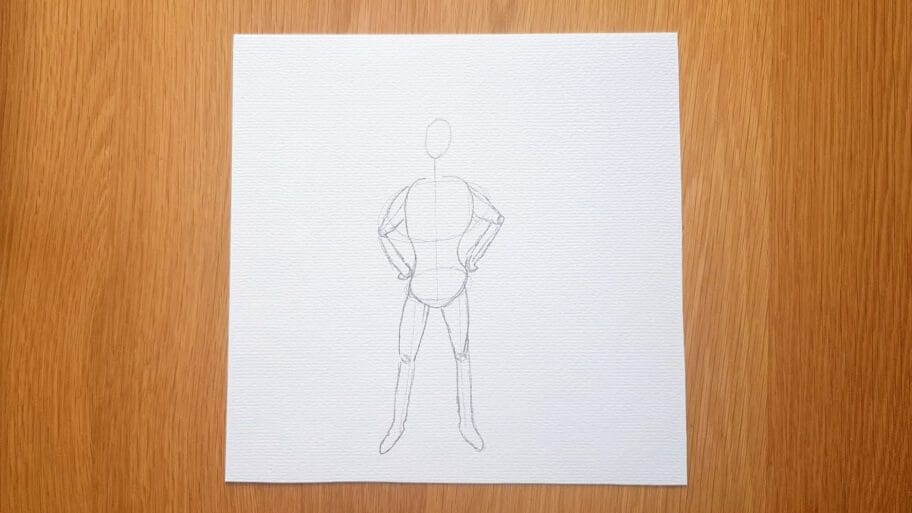
Step 5: Erase the Pencil Marks
Erase any unwanted pencil marks.

Step 6: Create the Mask
A. Draw two triangle shapes emerging from the sides of the head to form the ears.

B. Draw two tiny triangle shapes inside the head to form the eyes.
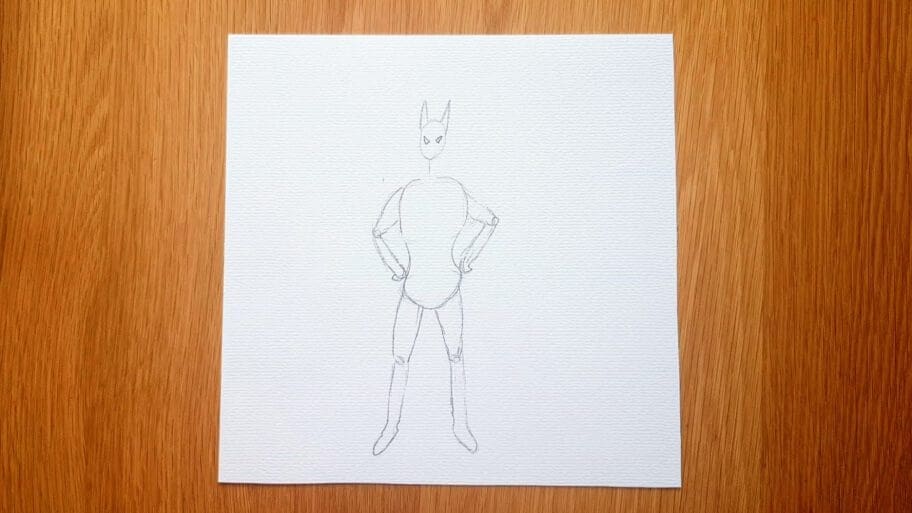
C. Draw two tiny lines coming out of the eyes to create the nose.
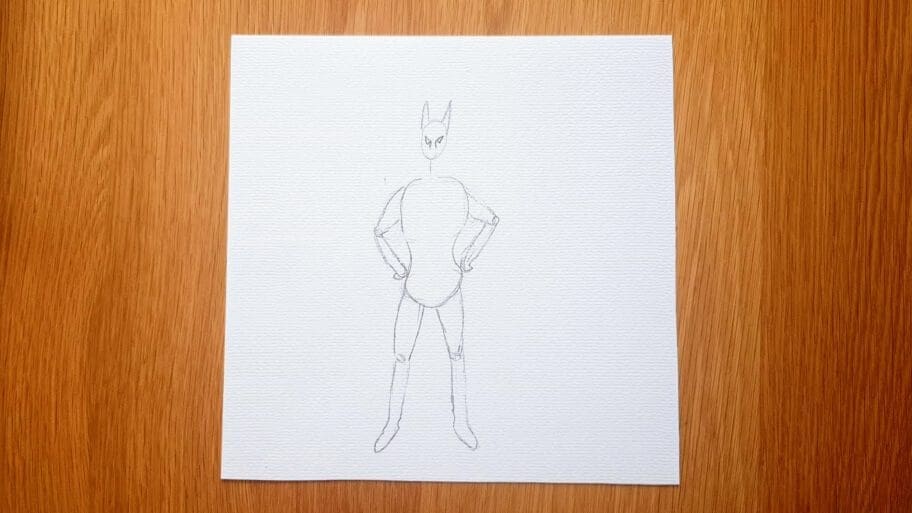
D. Draw a wide, curved line just below the nose to create the mask. Then, draw two small vertical lines and connect them to the initial curved line.
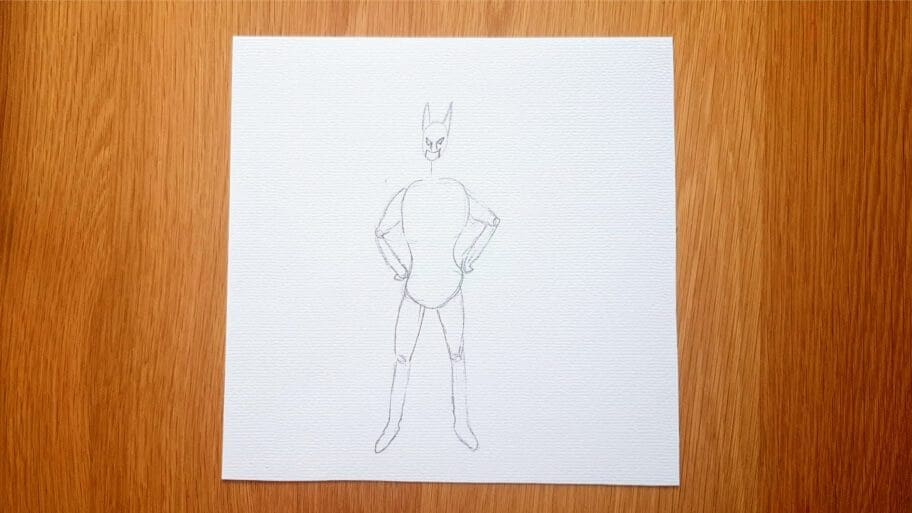
E. Then draw two small vertical lines coming out of the bottom head to form the neck.
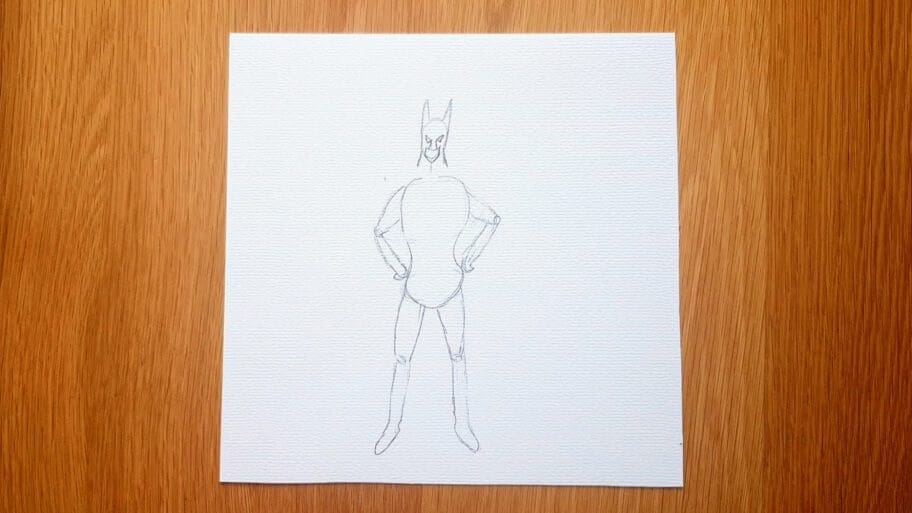
F. Draw a half-circle shape around the neck to complete the mask.
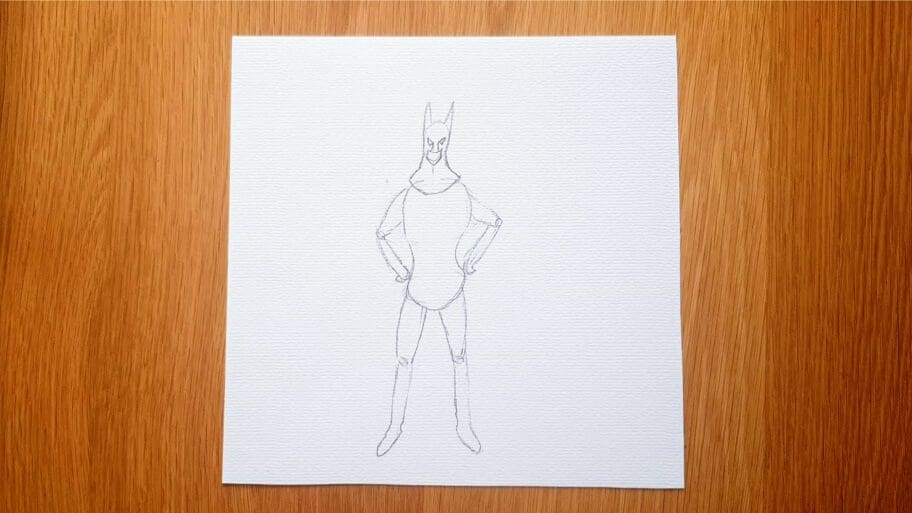
Step 7: Draw the Superhero’s Mouth
Draw a tiny curved line just below the nose to create the shape of a mouth.
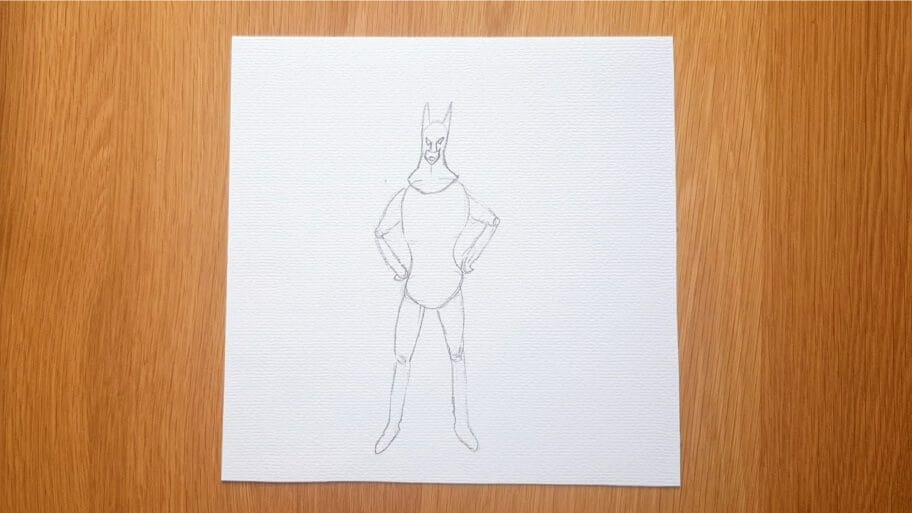
Step 8: Add Details to the Mask
Draw a few small lines just below the neck to finish the mask.
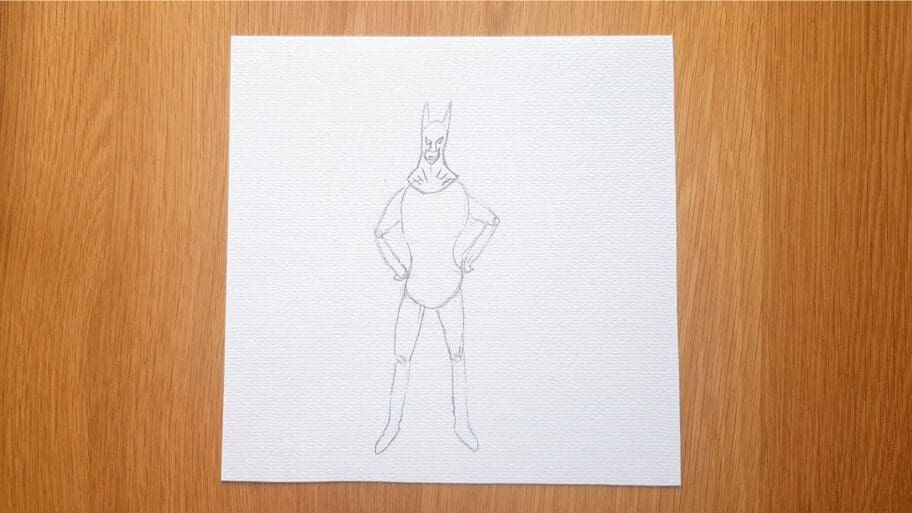
Step 9: Draw the Superhero’s Cape
A. Draw a small horizontal line coming out from the right shoulder. Then, draw a small vertical line and connect it to the original horizontal line.
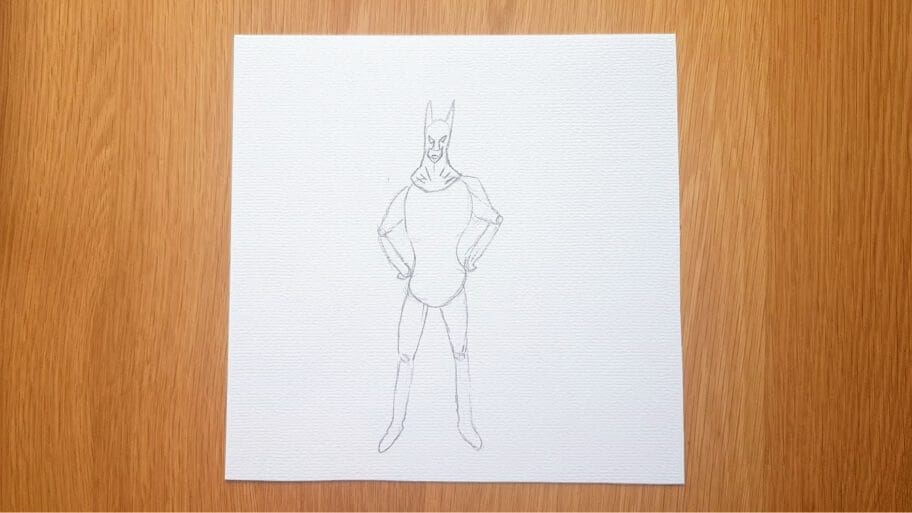
B. Repeat the process on the left side.
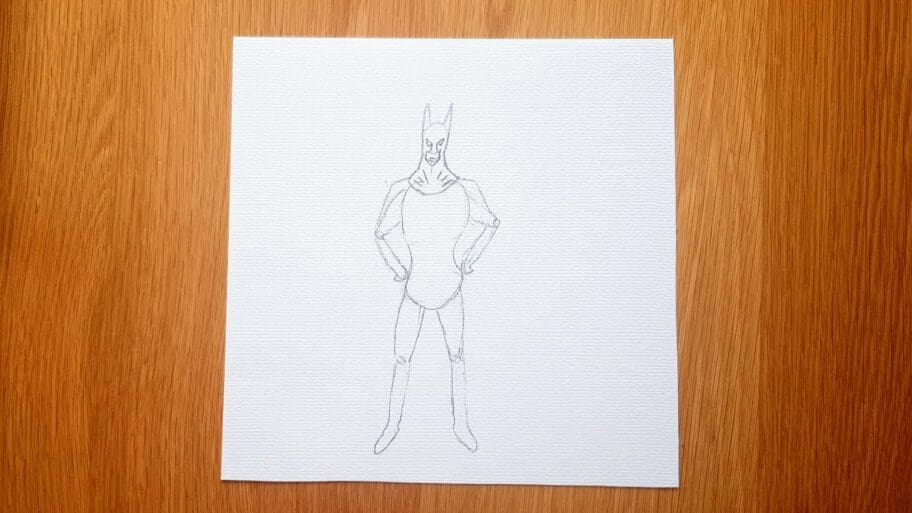
C. Draw a long vertical line on the left side, extending it up to connect with the lines previously drawn.
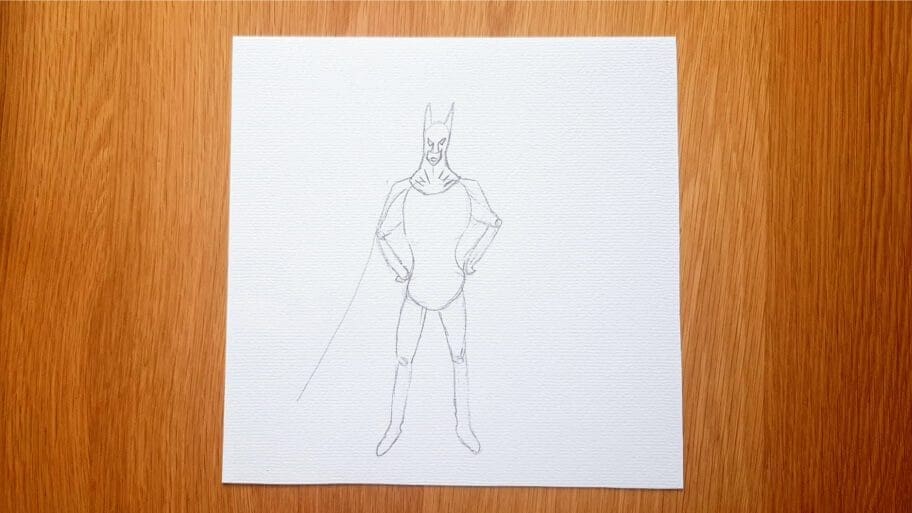
D. Draw another long vertical line on the right side, extending it up to connect with the lines previously drawn.
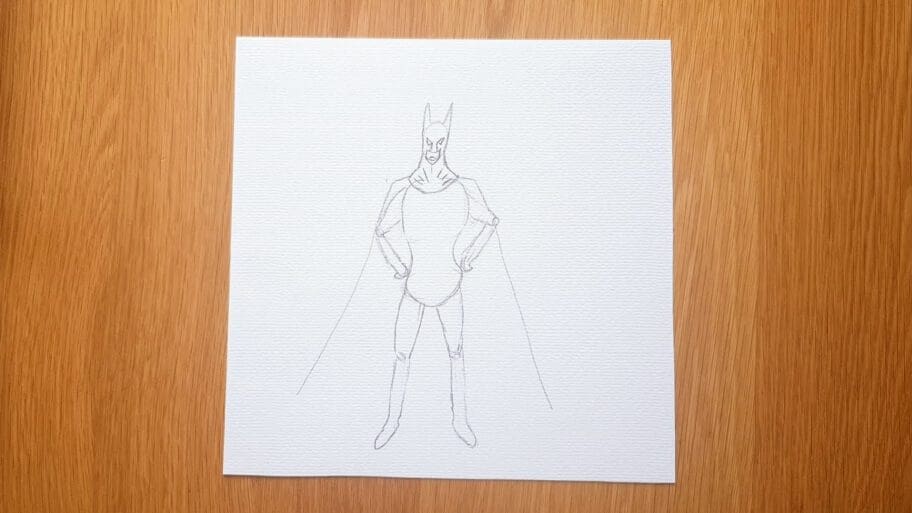
E. Draw a few curved lines between those two long lines you just drew, creating a wave-like shape.

Step 10: Draw the Superhero’s Costume Details
Draw any additional details such as a belt, shoes, or emblem on the chest.
A. Draw an upside-down “V” letter shape just below the knees to create shoes.

B. Draw two vertical lines between hands. Then draw a small rectangle shape inside those lines to create a belt, making sure the sides are even.
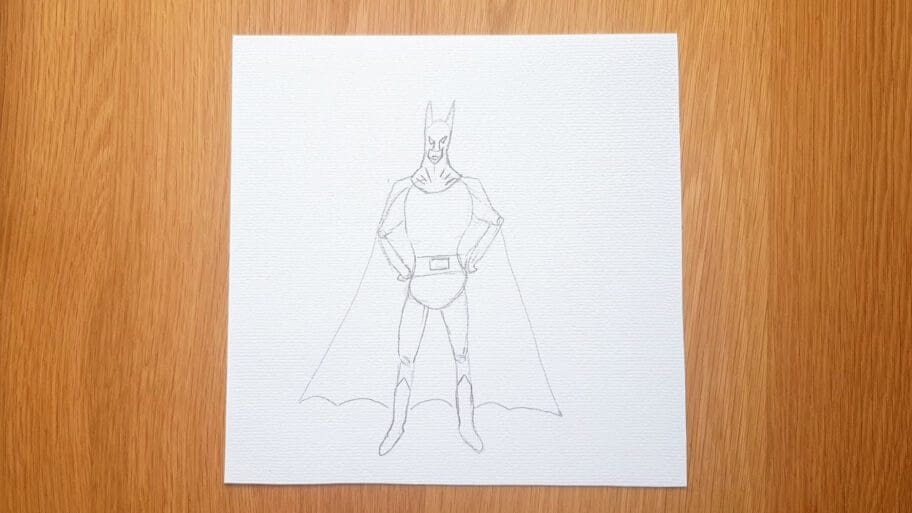
C. Draw a small triangle shape with a few curves to create a Batman emblem.
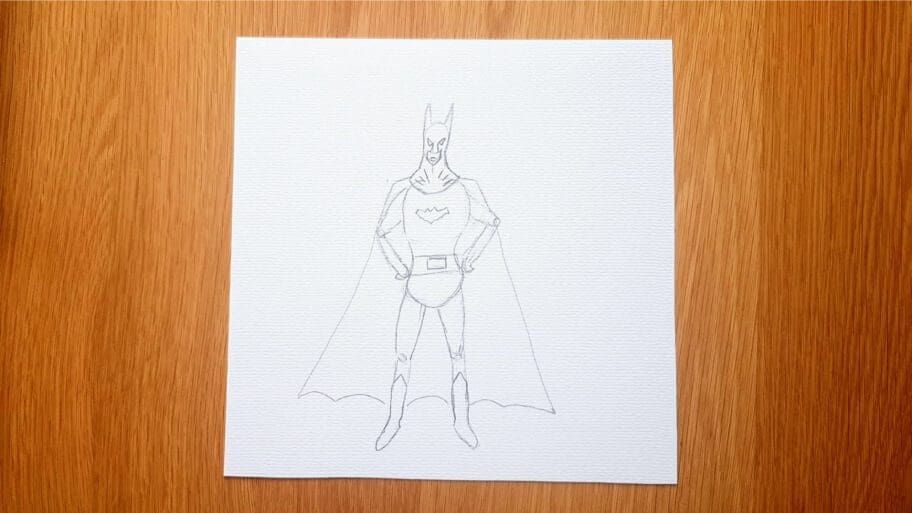
D. Draw a thin line above each hand to create gloves.
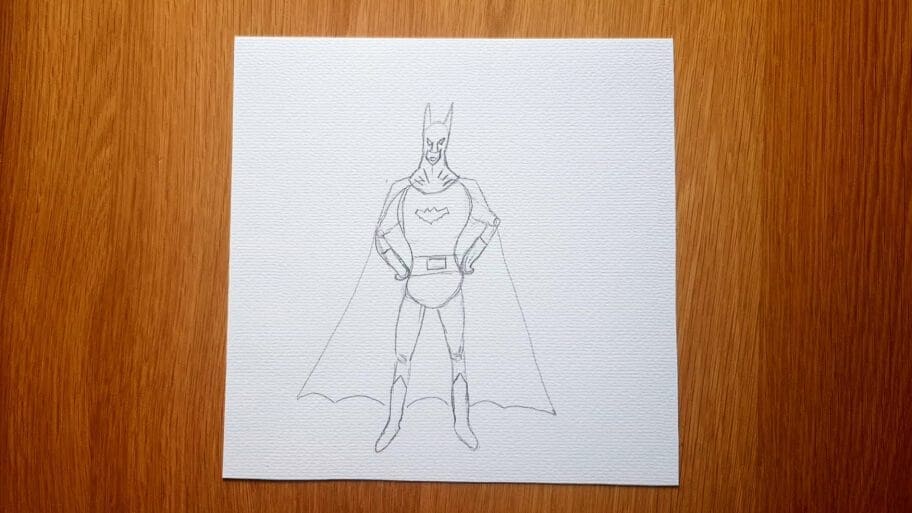
Step 11: Outline and Shade Your Drawing
- Using your fingers smudge your drawing to add more texture.
- Finish the torse by drawing two “V” letters just below the emblem.
- Next, use a darker pencil stroke to shade the mask, shoes, emblem, and gloves.
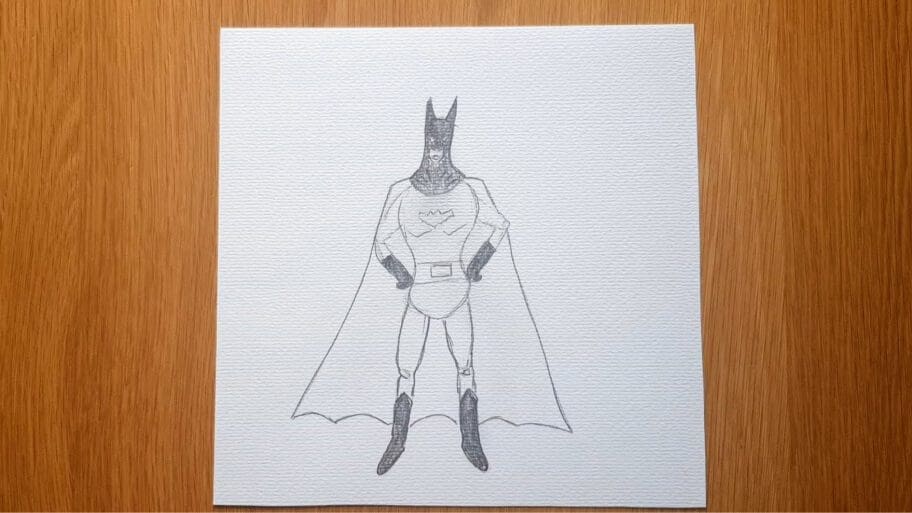
Step 12: Add Final Details
- Finally, draw a few horizontal lines for the floor.
- Add a few vertical lines inside the cape to add more definition.
- Then add a few tiny lines to the body.
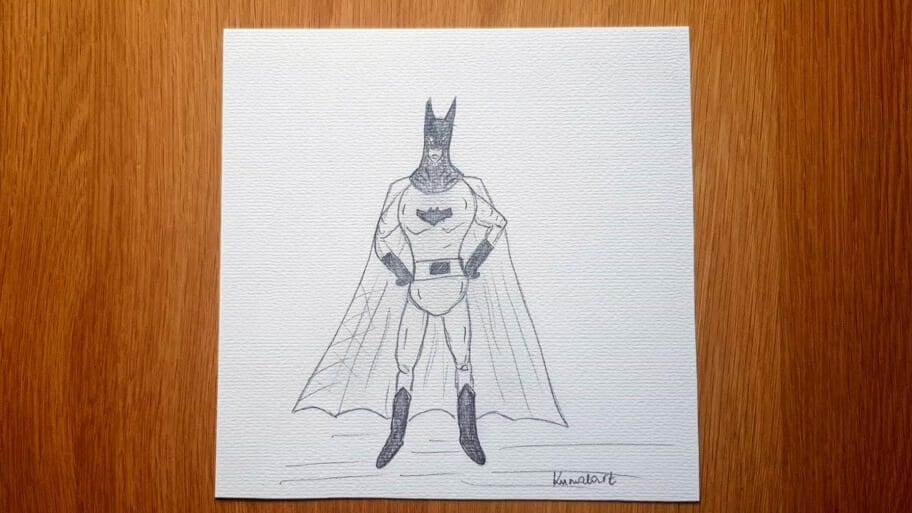
Congratulations!
There you have it. Now you know how to draw your superhero easy drawing.
We hope you enjoyed this superhero drawing easy tutorial and learned something new.
This drawing lesson is suitable for all ages, so if you have younger siblings or friends, they can join too.
Don’t worry if your Batman easy drawing isn’t perfect the first time, the more you practice the better you will get!
Be sure to practice this super hero drawing easy tutorial until you get it just right.
Bonus Tips on How to Improve Your Superhero Drawings Easy Skills:
- Get inspiration from comic books or movies. Take a look at a reference picture, or a superhero coloring page to get some ideas of how you want your drawing to look.
- Try drawing other superheroes, like Wonder Woman or a Green Lantern, or try to draw Iron Man or Superman.
The possibilities are endless so have fun and get drawing!
Soon, you’ll be a master at easy superhero drawings in pencil!
Looking for more recommended drawing tutorials like this? Search our list of 101+ Drawing Ideas.
Happy drawing!


