There are no results matching your search Reset filters?
How to Draw Grapes Step by Step - 8 Easy Steps!

- By Joanna | updated in February, 2024
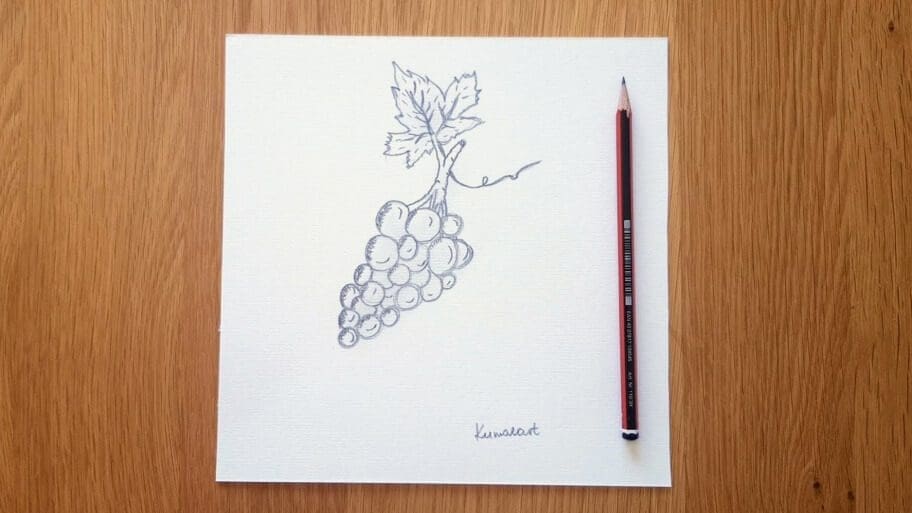
In this fun and easy grapes drawing tutorial, you’ll learn how to draw grapes step by step.
This tutorial is great for beginner artists (both kids and adults) who want to improve their drawing skills.
Drawing grapes can be very easy if you use some basic shapes to map out your drawing before adding any details.
Fun Fact: Did you know that grapes are one of the oldest cultivated fruits?
This grapes drawing shading easy tutorial will show you how to draw grapes step-by-step.
Once you have your supplies ready, follow these steps to create your grape cluster drawing.
Table of Contents
ToggleWhat You’ll Need for Your Grapes Drawing Step by Step Sketch
We’ll be creating our grapes sketch using the following materials:
- A piece of paper
- A pencil
- An eraser
How to Draw Grapes Step by Step
Follow along and learn how to draw grapes easy.
We’ve included all of the steps in detail so that the process is easy to follow.
So, if you’ve got your art supplies ready, let’s get started!
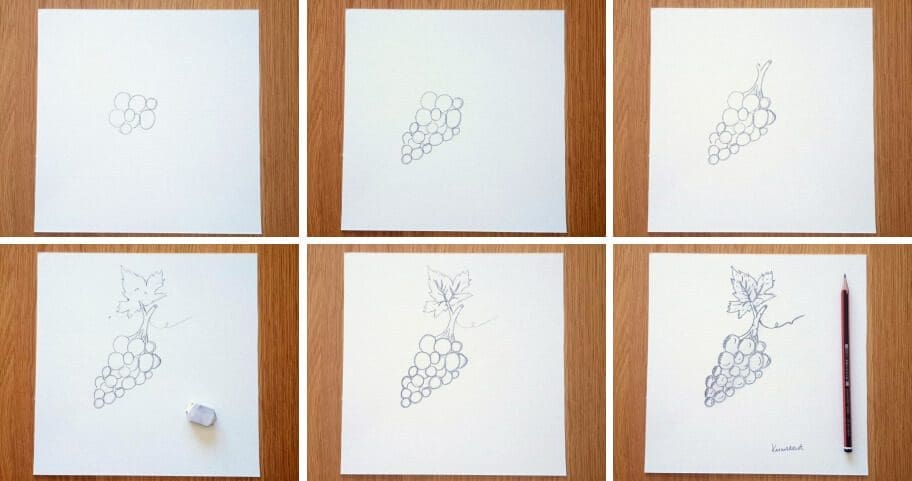
The collage above shows each step of the process so you know what your grapes drawing easy sketch should look like at each stage.
Instructions
Tip: Make sure you don’t press too hard on the paper when you draw your pencil lines so that you can correct your mistakes with an eraser as you go through the tutorial.
Step 1: Draw the Outline of the First Grape
Start by drawing a small circle in the middle of your paper.

Step 2: Add More Grapes
Create more grapes by drawing more small circles on top of each other and slightly overlapping with the first one.
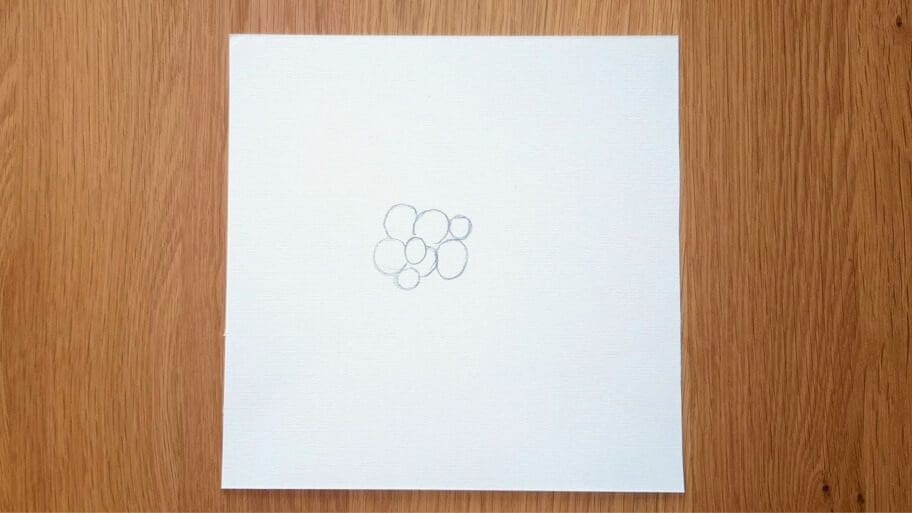
Step 3: Repeat the Process
Repeat the process until you have a bunch of grapes. Make sure that you have at least 20 grapes.
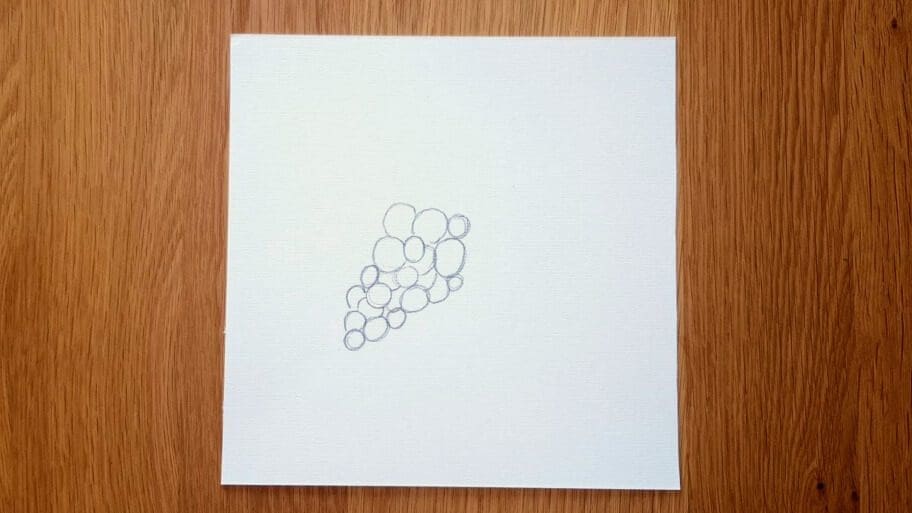
Step 4: Draw the Stem and a Few Stalks
A. Draw two small curved lines coming from each of the three grapes at the top to create the stalks.
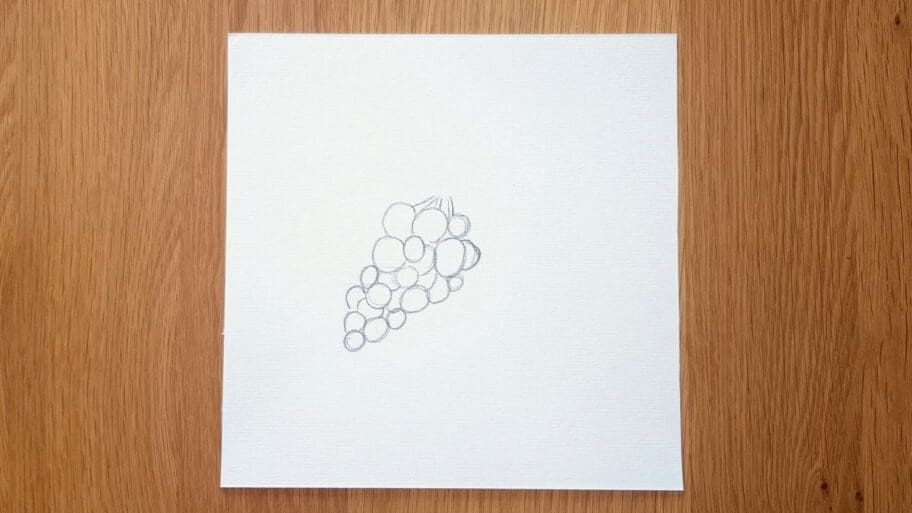
B. Connect them all with a two long curved lines to create a stem.
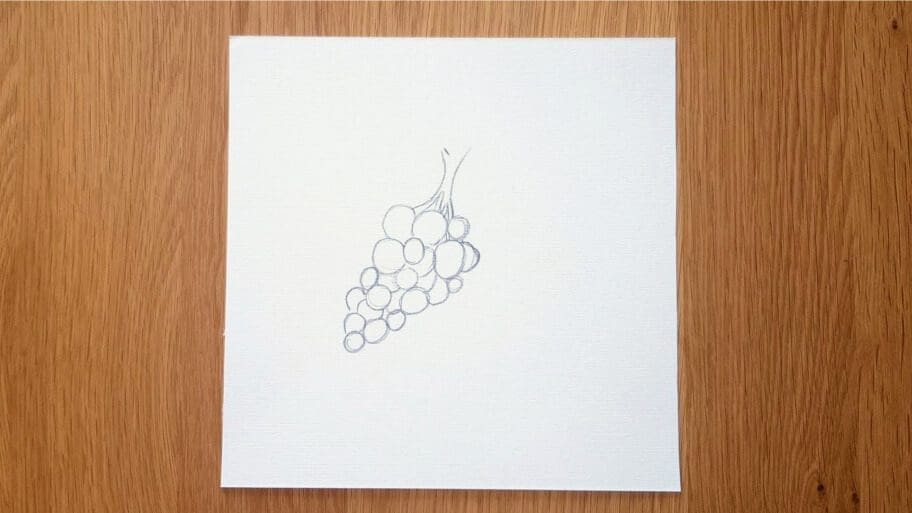
C. Add a curved line in the middle of the two long curved lines and add a small circle at the top to finish your stem.
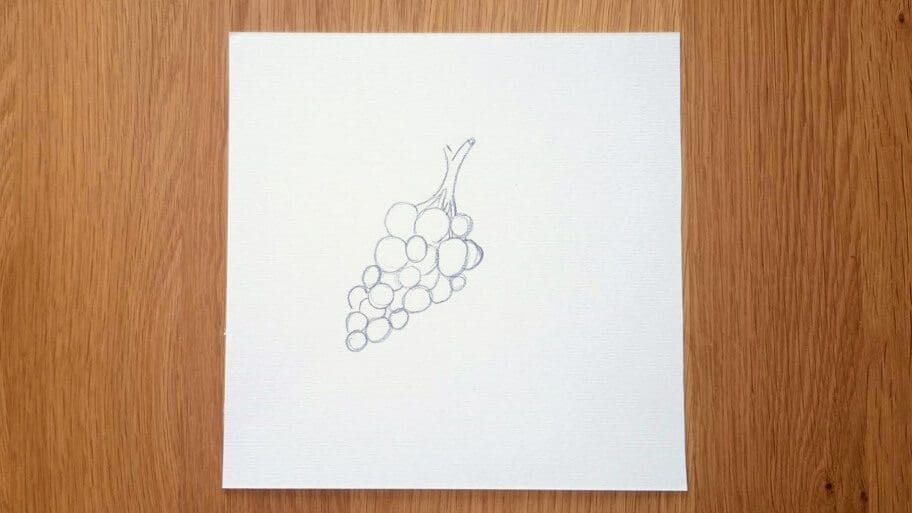
D. Add a long thin curved line on the right side.
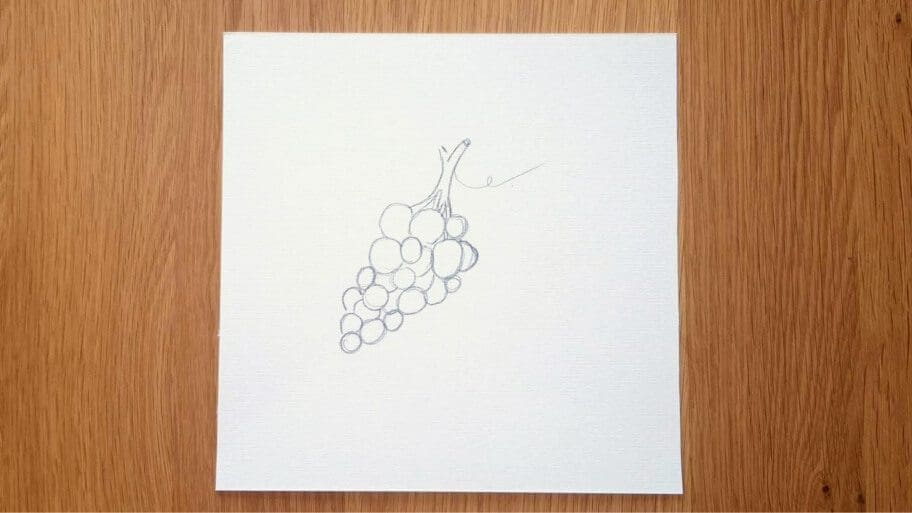
Step 5: Draw a Leaf
A. Draw three triangles above your stem to create a grape leaf.
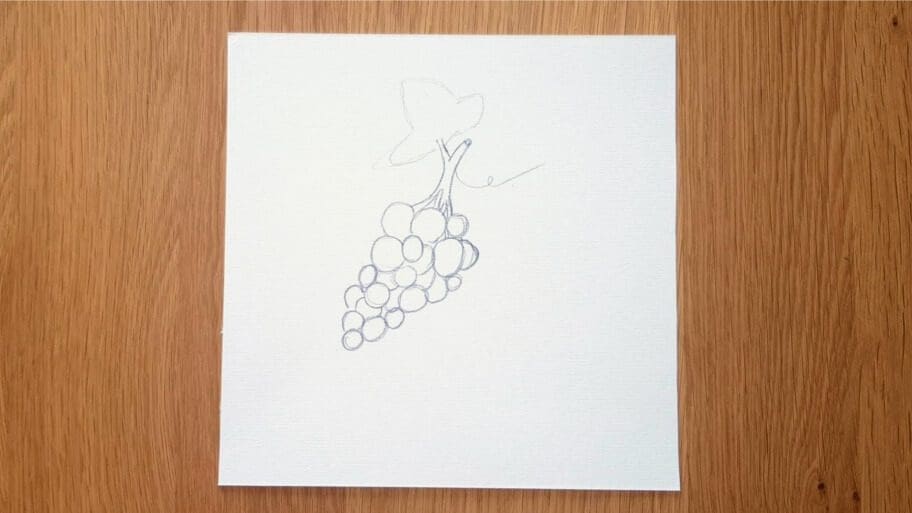
B. Draw rough edges around the leaf.
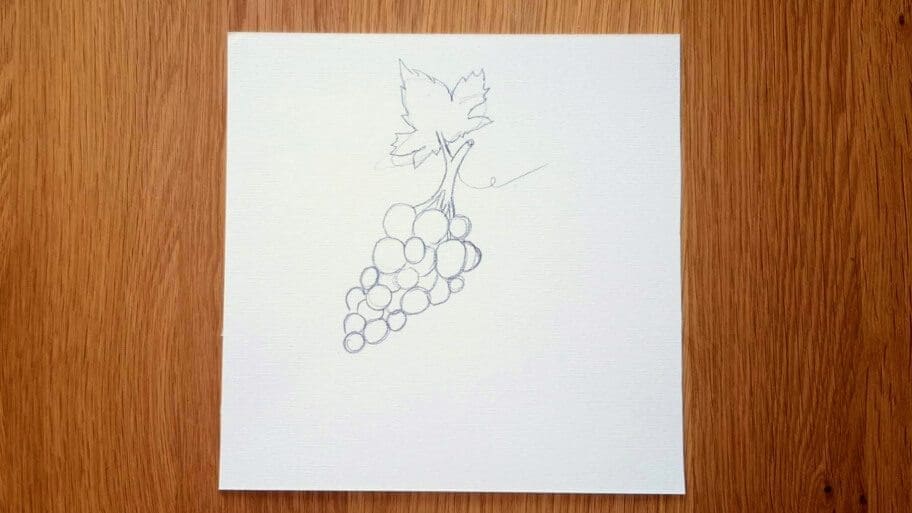
C. Erase any unwanted pencil marks.
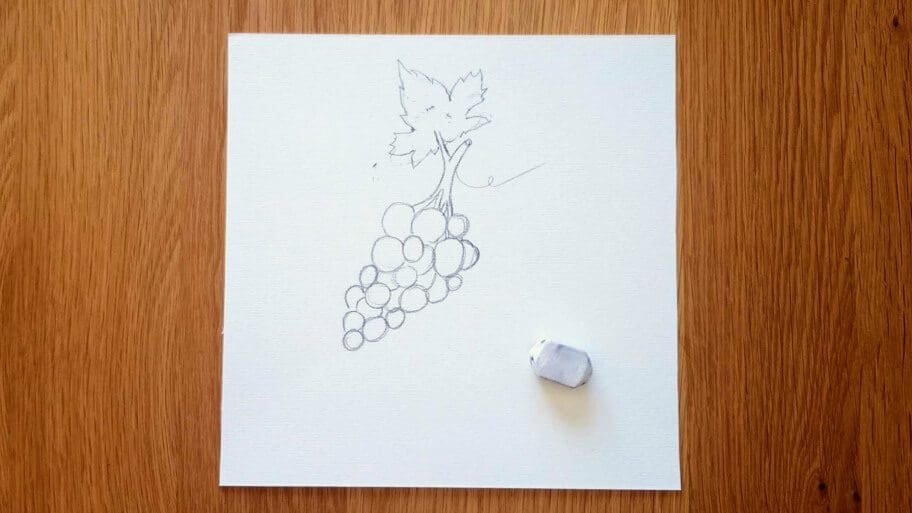
D. Add small lines inside each triangle.
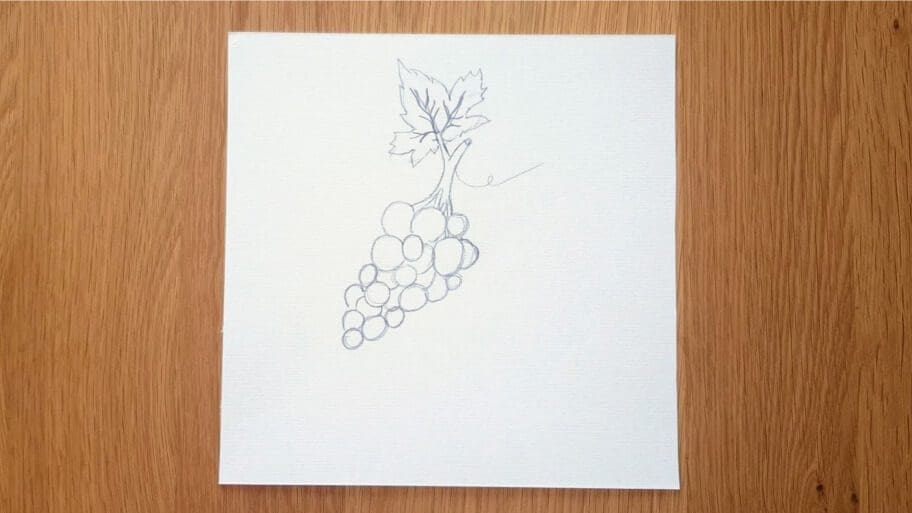
You can draw more grape leaves if you like.
Step 6: Outline Your Grapes Line Drawing
Outline all of the grapes with darker pencil marks. You can use the eraser to fix any mistakes if needed.
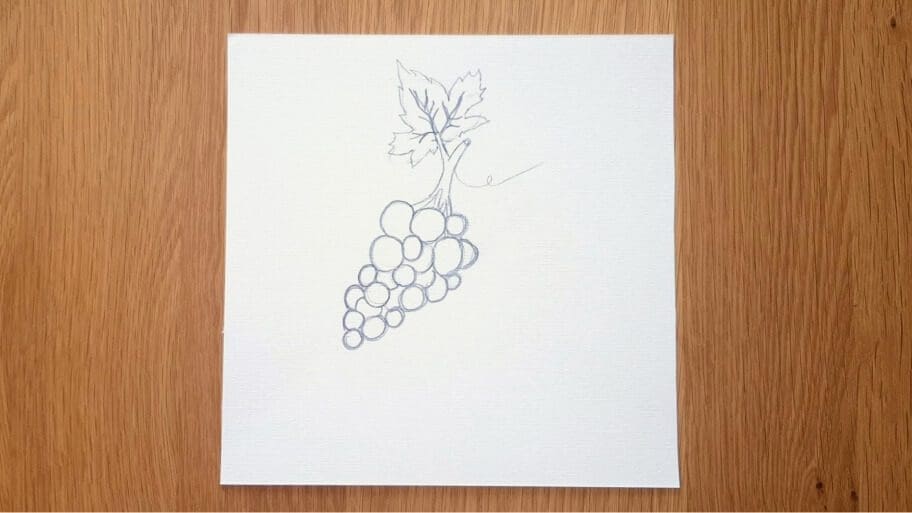
Step 7: Add the Texture and the Details to Your Grapes
Add some light reflecting on each grape by drawing thin curved lines inside.
Then add some shading on the inside edges of the grapes on the left side of the bunch.
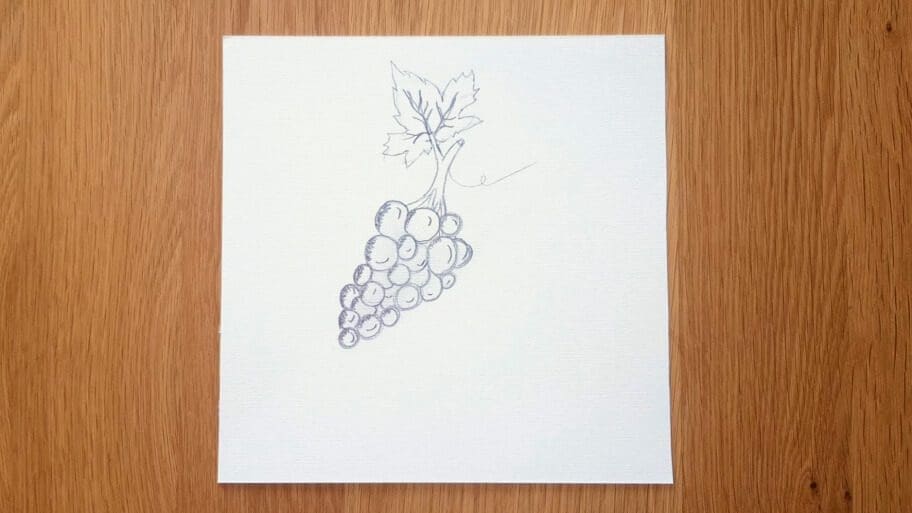
Step 8: Add Texture to Your Stalks
Draw rough edges around the stalks using darker pencil lines. Then add a few tiny lines to create texture.
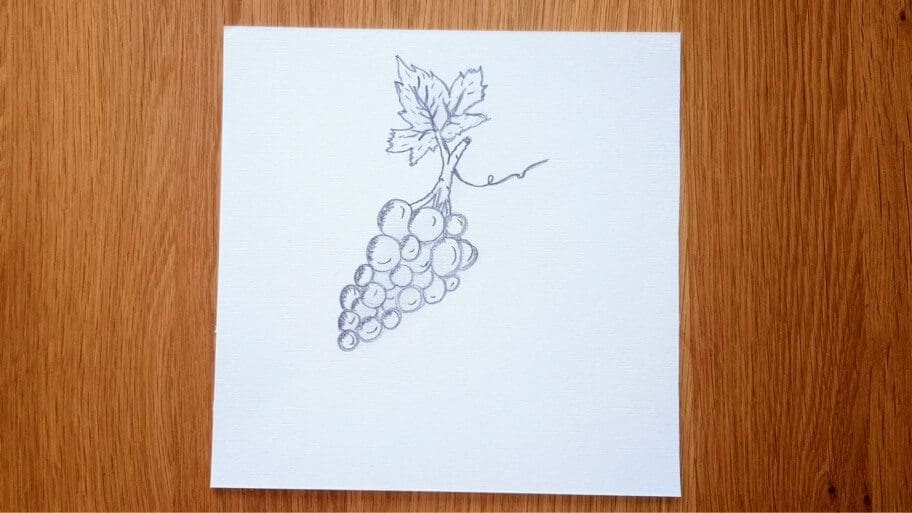
Congratulations!
There you have it. Now you know how to draw a grape!
Don’t worry if your grapes simple drawing isn’t perfect the first time, the more you practice the better you will get!
Be sure to practice these grapes drawing until you get it just right. Then, try drawing other fruits, like blueberries or strawberries.
Soon, you’ll be a master at drawing fruits!
Top Tips on How to Improve Your Grapes Drawing
Here are some tips to help you make the best grapes drawing!
Use Different Tools
Practice with different pencils and paper until you find the right combination that suits your needs.
Use Different Mediums
Use colored pencils, watercolor paints, markers, or even digital painting to add more details and texture to your drawing.
Video Tutorials
Watch YouTube video tutorials to learn more about shading and other techniques.
Work from Reference Images
Try working with reference photos of drawings of grapes often showcase a range of styles, from detailed realistic sketches to whimsical and artistic interpretations, providing a rich source of inspiration for artists of all levels. This will help you understand the shapes and structure of the fruit better.
Take Your Time
It’s important to take your time when drawing, as it will help you create more accurate details.
Have Fun!
Finally, have fun and enjoy the process of creating your grape drawing.
Looking for more drawing guides? Search our list of 101+ Drawing Ideas!
Happy drawing!

Joanna
Latest Posts
Trending
There are no results matching your search Reset filters?

