There are no results matching your search
How to Draw Mountains Step by Step - 12 Easy Steps!

- By Joanna | updated in January, 2024
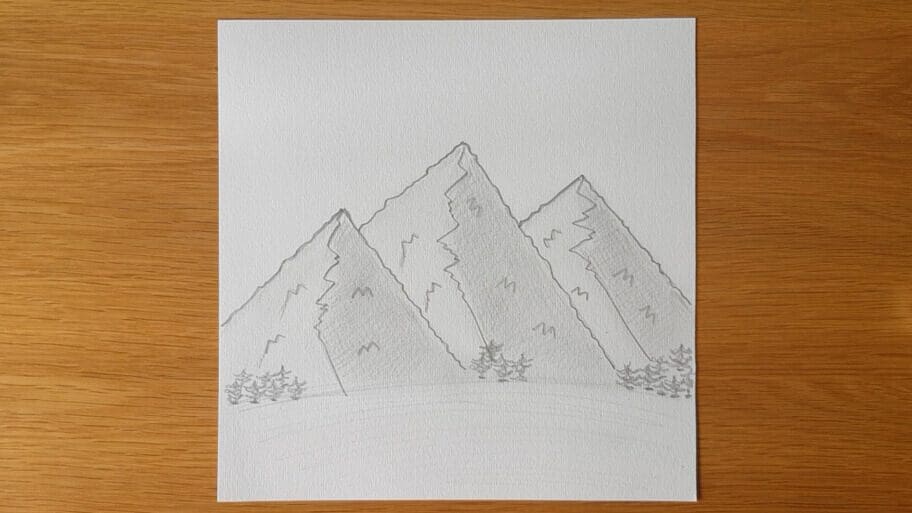
In this fun and easy mountain drawing tutorial, you’ll learn how to draw mountains step by step.
This mountain drawing easy tutorial is great for beginner artists (both kids and adults) who want to improve their drawing skills.
Mountains are a great subject for drawings and paintings. They can be simple or complex, depending on your skill level.
Did you know that when you draw mountains they don’t always have to be symmetrical?
If you want to make it easy to draw mountains drawing more realistic, try making some of the mountain peaks higher than others. You can also use digital art techniques such as vectors to create a more three-dimensional image, and filters to create shadows and highlights.
Table of Contents
ToggleWhat You’ll Need for Your Mountain Drawing
Now let’s get started on how to draw a mountain step by step.
We’ve made this mountain sketch easy to create with just a few basic items. We’ll be creating our mountain drawing using the following materials:
- A piece of paper
- A pencil
- An eraser
- A ruler (optional)
- Colored pencils (optional)
- Watercolor paints (optional)
If you don’t have any of these materials yet, you can practice just with a pencil and a piece of paper.
How to Draw Mountains Step by Step
Follow along and learn how to draw mountains in 12 simple steps.
We’ve made this mountain sketch easy and we have included all of the steps in detail so that the process is easy to follow.
Let’s get started with this simple mountain drawing!
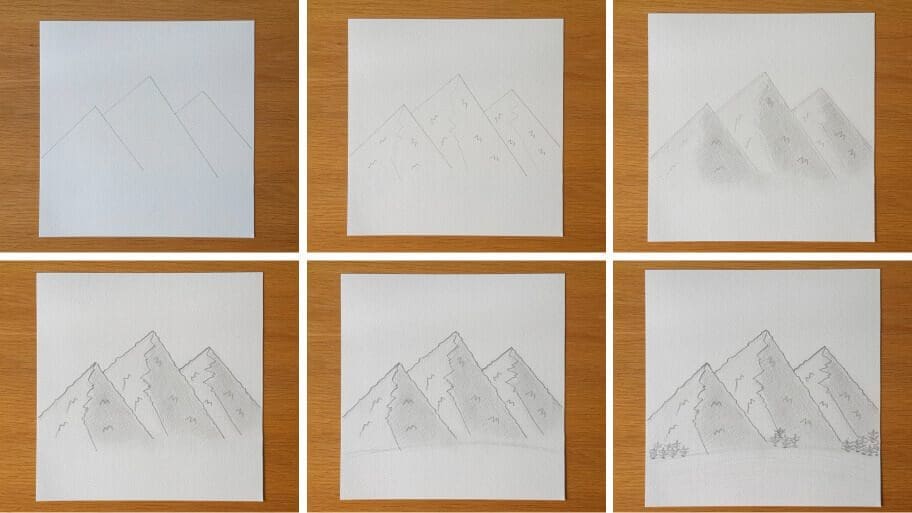
The collage above shows each step of the process of drawing mountains, so you know what your mountain drawing pencil easy sketch should look like at each stage.
Instructions on How to Draw a Mountain Easy Step by Step
Tip: Make sure you don’t press too hard on the paper when you draw your pencil lines so that you can correct your mistakes with an eraser as you go through the tutorial.
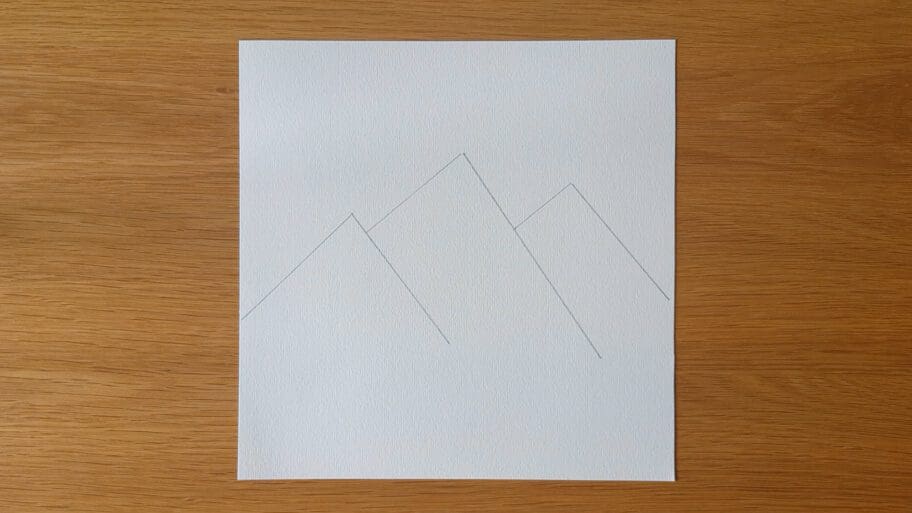
Step 1: Create the Basic Outline of Your Mountains
Start by drawing a few diagonal lines that meet in the middle. You can use a ruler.
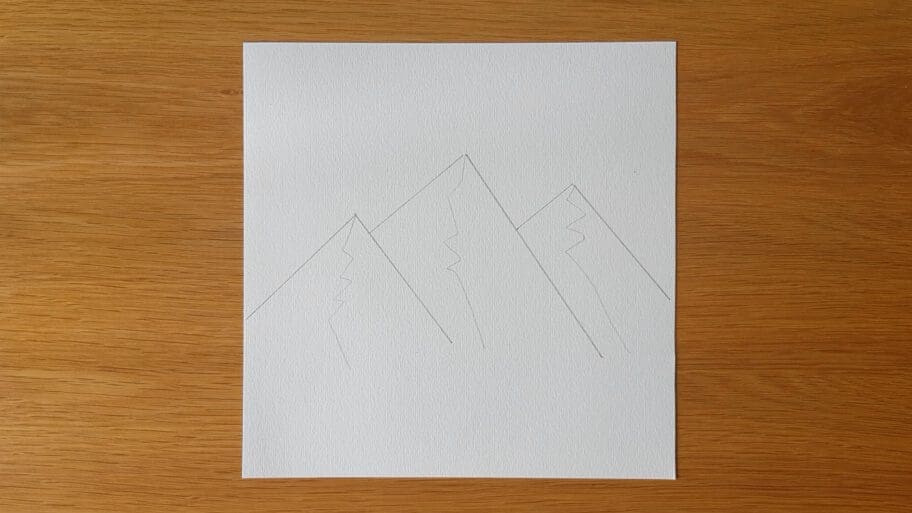
Step 2: Add the Ridges to Your Mountain
Draw a vertical zigzag from the middle of each mountain.
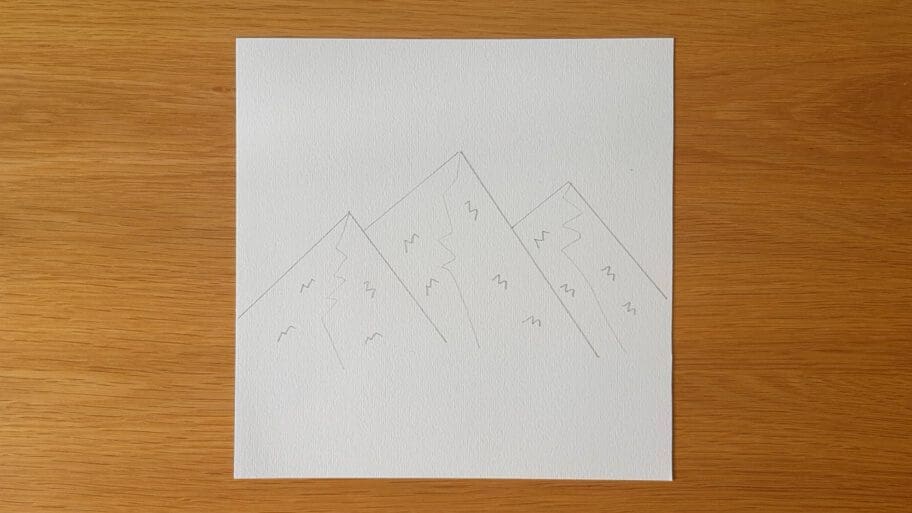
Step 3: Create Some Texture
Add lots of small random-shaped lines on each side of the zigzags.
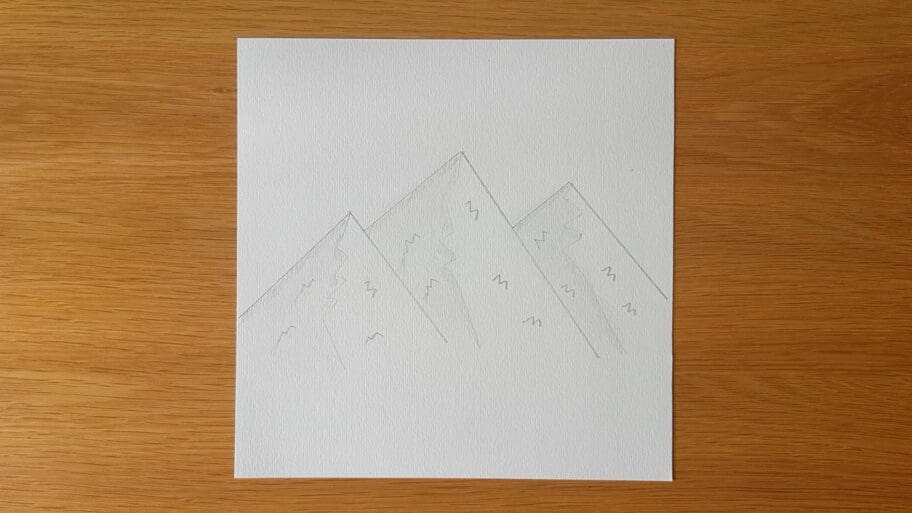
Step 4: Draw Some Light Shadow
Draw some light shadow to the left-hand side of each of the mountains.
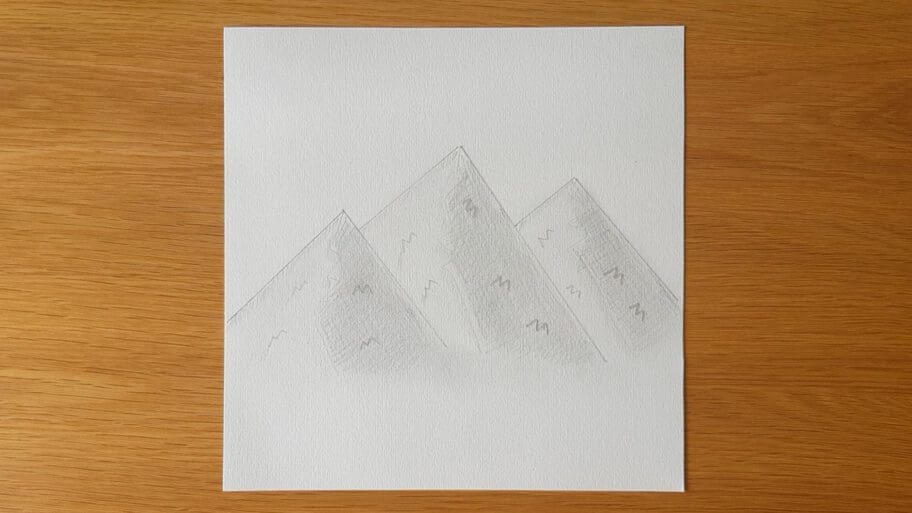
Step 5: Draw Some Darker Shadow
Draw some darker shadow on the right-hand side of each of the mountains. You can also fade the pencil shading with your finger to create a more realistic look.
Step 6: Add Surface Texture
Add some rough surface texture to the diagonal surfaces of the mountains by drawing thicker rough zigzag pencil lines over the main mountain lines.
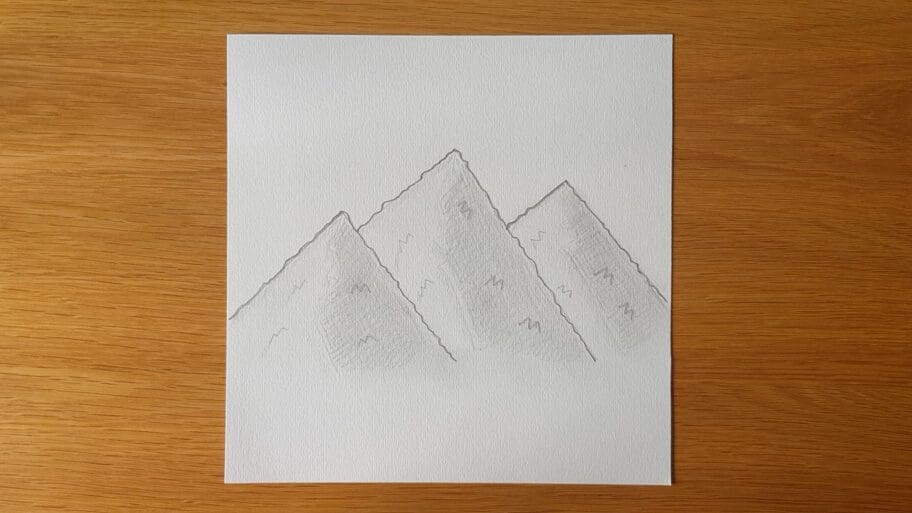
Step 7: Make the Details More Visible
Draw over some of the lines to make the mountain surface more visible. E.g., on the ridges from Step 2 and the zigzag lines from Step 3. Then draw some vertical jagged lines up the middle of the mountains up to the mountain peak.
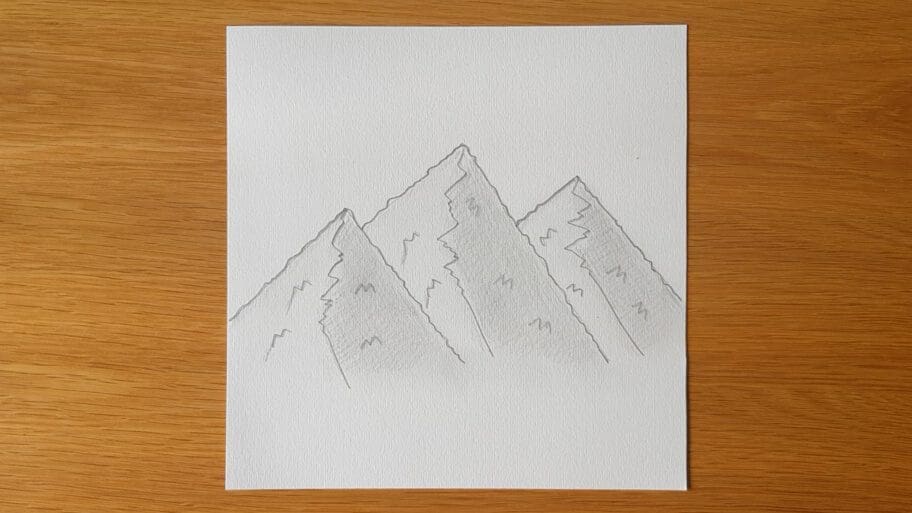
Step 8: Draw the Floor Line
Draw a curved horizontal line across the bottom of your mountains to create the floor.
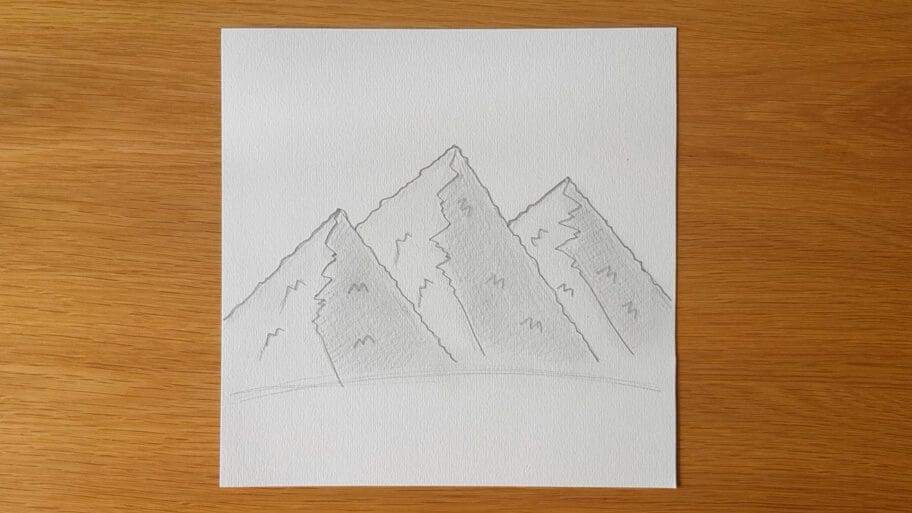
Step 9: Draw Some Trees
Add some trees or any other details you want.
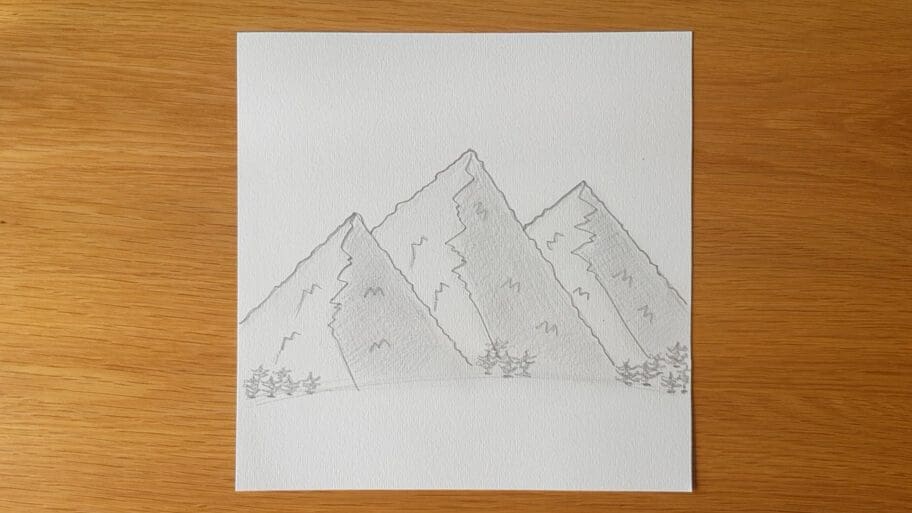
Step 10: Add More Lines to the Floor
Add some more curved horizontal lines at the bottom to finish the floor.
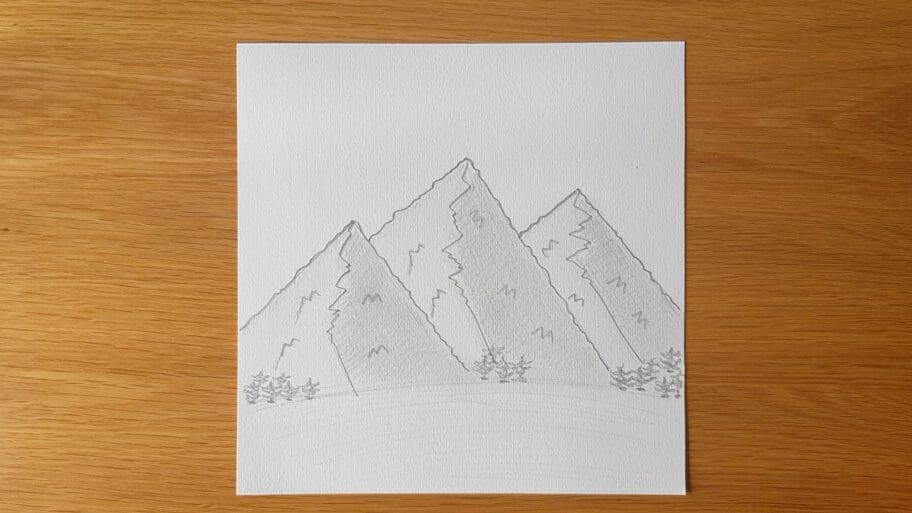
Step 11: Erase Rough Pencil Lines
Use an eraser to remove any unwanted rough pencil lines.
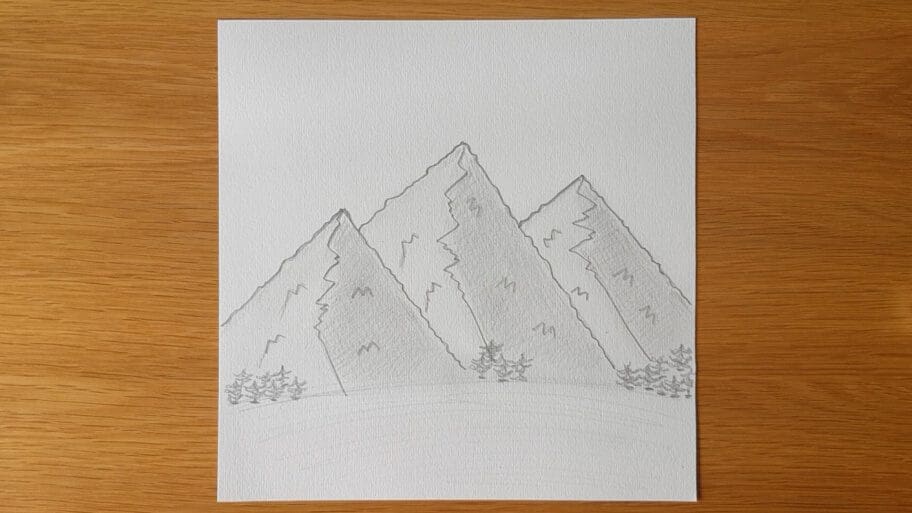
Step 12: Add Color (Optional)
Add a bit of color to your drawing using colored pencils, markers, or paints.
And that’s it!
You’ve successfully learned how to draw mountains easy. Hope you enjoyed this easy drawing of mountains and you learned something new today!
Now you can sign, save, and frame your artwork and display it or give it to loved ones, so they can appreciate your beautiful drawing!
Be sure to practice these mountains drawing easy tutorial at any time to refine your skills, experiment with different styles, and bring captivating landscapes to life with your unique artistic touch.
Looking for more drawing ideas? Search our list of 101+ Drawing Ideas to continue your drawing journey.
Happy drawing!


