
In this fun and easy vines drawing tutorial, you’ll learn how to draw vines step by step.
This vines drawing simple tutorial is great for beginner artists (both kids and adults) who want to improve their drawing skills.
Don’t worry if this is your first easy vine drawing, drawing vines can be very easy if you take it one step at a time.
Drawing of vines can be a captivating journey into intricate patterns and organic forms. With delicate lines and attention to detail, drawing vines offers the chance to explore nature’s twists and turns, creating mesmerizing and dynamic compositions that bring life and movement to your art.
Do not worry if you have not drawn vines before. This step-by-step guide will walk you through drawing vines effortlessly. Experimenting with different styles and arrangements can yield beautiful and diverse vine illustrations.
Creating a vine easy drawing doesn’t have to be complicated. You can draw simple lines with curves, as well as long flowing shapes that create intricate designs.
Fun Fact: Did you know that many plants rely on vines to climb or wind around outside structures?
Once your supplies are ready, follow these easy steps to create your easy draw vines.
We’ll be creating our easy to draw vines sketch using the following materials:
Follow along and learn how to draw simple vines.
We’ve included all of the steps in detail so that the process is easy to follow.
So, if you’ve got your art supplies ready, let’s get started!
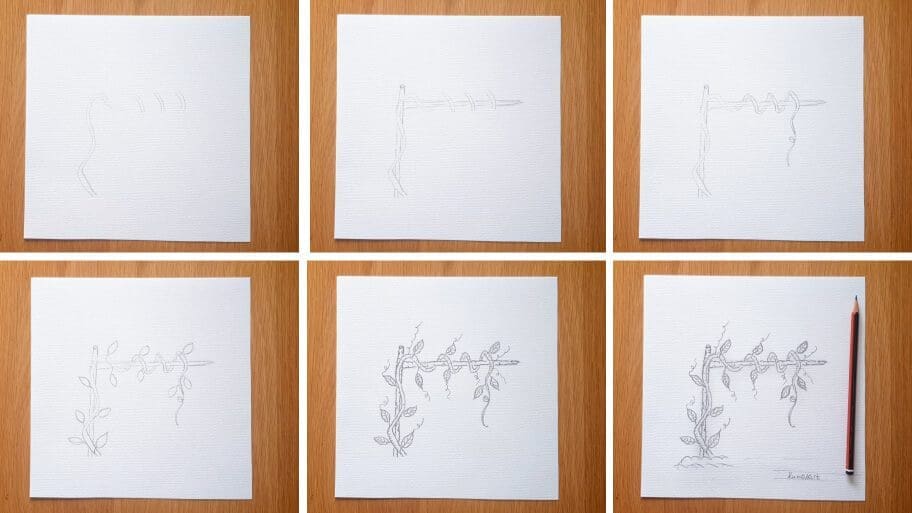
The collage above shows each step of the process so you know what your vines easy drawing should look like at each stage.
Tip: Make sure you don’t press too hard on the paper when you draw your pencil lines so that you can correct your mistakes with an eraser as you go through the tutorial.
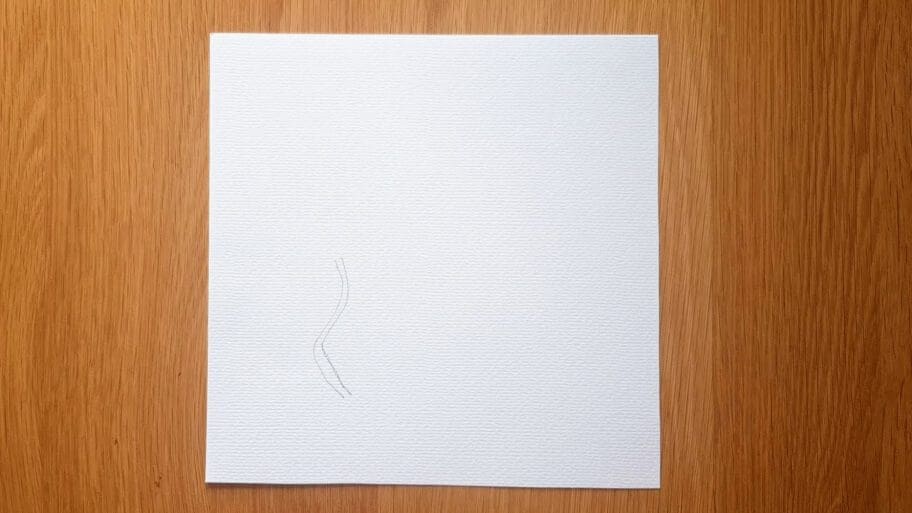
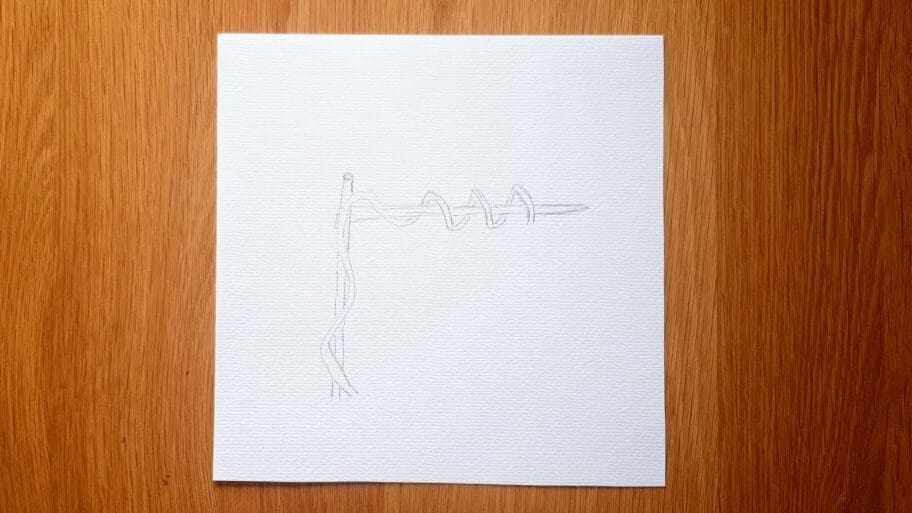
Begin by drawing a wavy vertical line, then repeat to create a second line next to the first line.
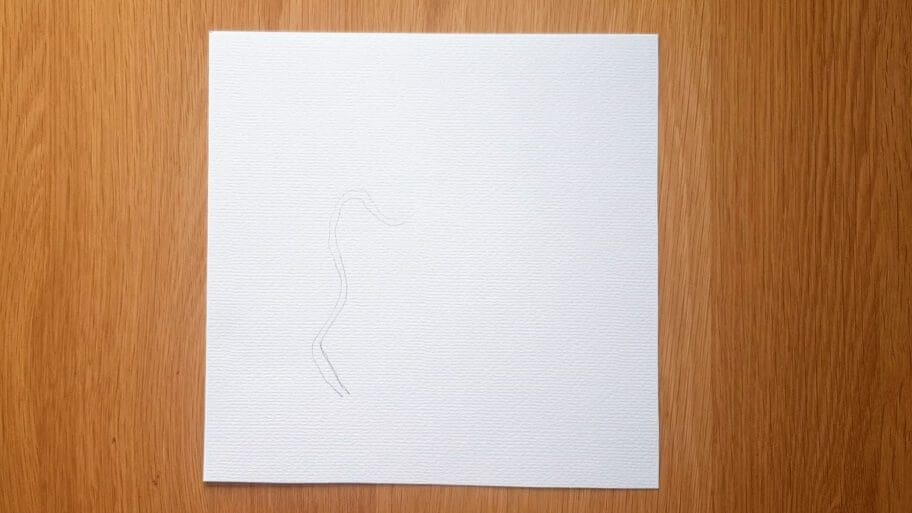
Next, extend the two vertical lines from the top and curve them around to the right creating half of a “U” shape.
Vine stems wrap around objects so in this step we’ll create this wrap-around effect.
First, add two short curved lines next to each other, leaving a gap between the lines and the “U” shape you created in step 2.

Next, repeat step 3 to create two more sets of 2 lines.

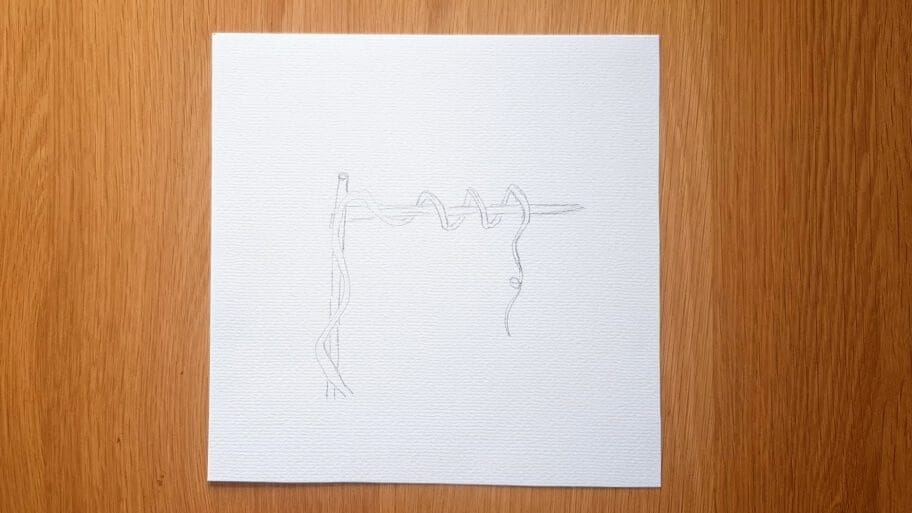
Now we will show you how to draw vines wrapping around something.
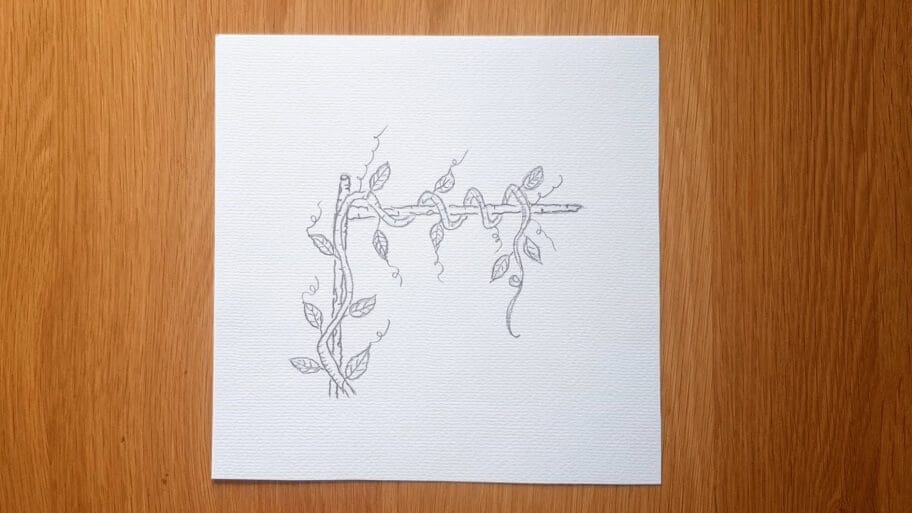
A. Draw several vertical lines in between your vine to create a wooden post that holds the vine up. Try to avoid drawing the lines over the top of the vine. This way, it will look like the wooden post is behind your vine.
Then, add a small circle at the top of the wooden post.

B. Repeat the previous step to create a horizontal line for the wooden post, joining the lines into a point at the right-hand side.
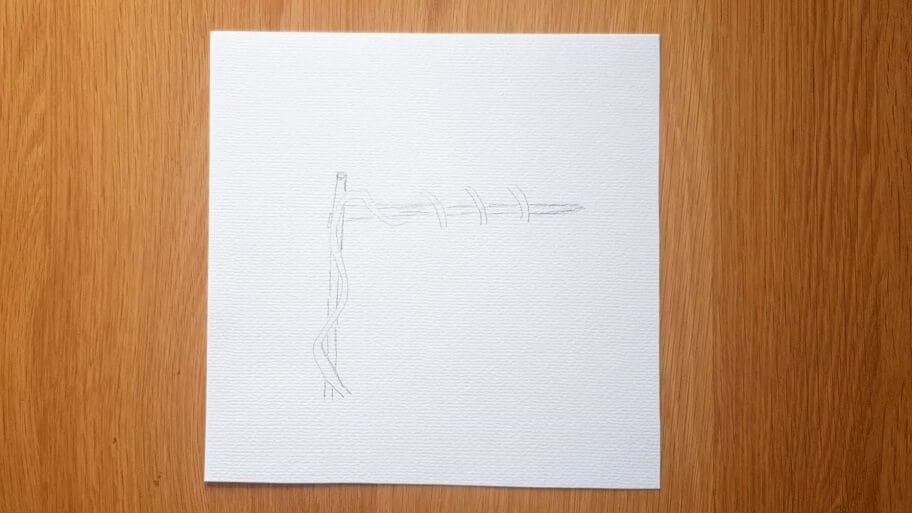
A. Outline the curved stem lines you created in steps 3 and 4 and join them together, making sure you don’t draw over the wooden post.
You can also add some light lines inside the stem to make it look more realistic.
B. Extend the stem lines at the right side of your drawing.
In the previous step, we learned how to draw vines. Now is the time to add some outside structures to your vines. These can be anything from berries and leaves to flowers and other fruits.
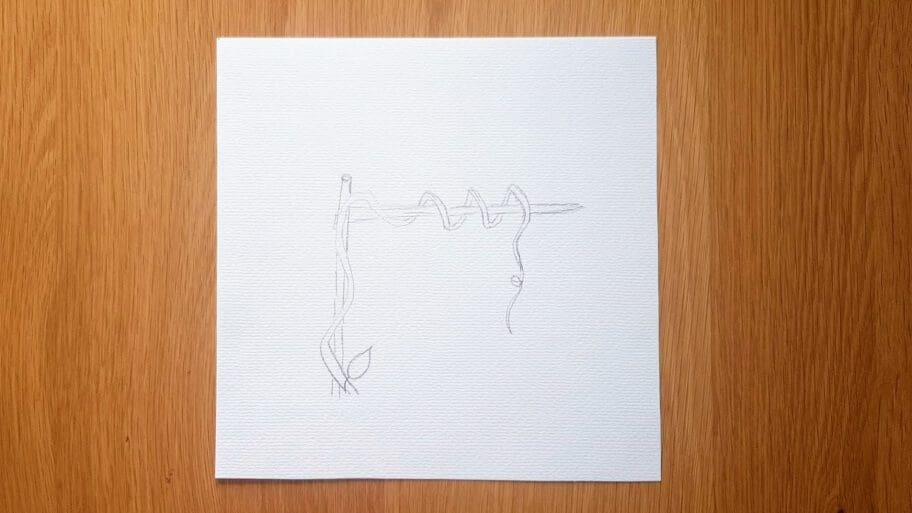
In this drawing lesson, we will show you how to add basic leaf shapes.
Draw a leaf shape at the bottom of the main stem. Add a short curved line for the stalk.
Continue adding more leaves around the stems, varying the shape and size of each one. Make sure that each leaf has a tiny stalk.
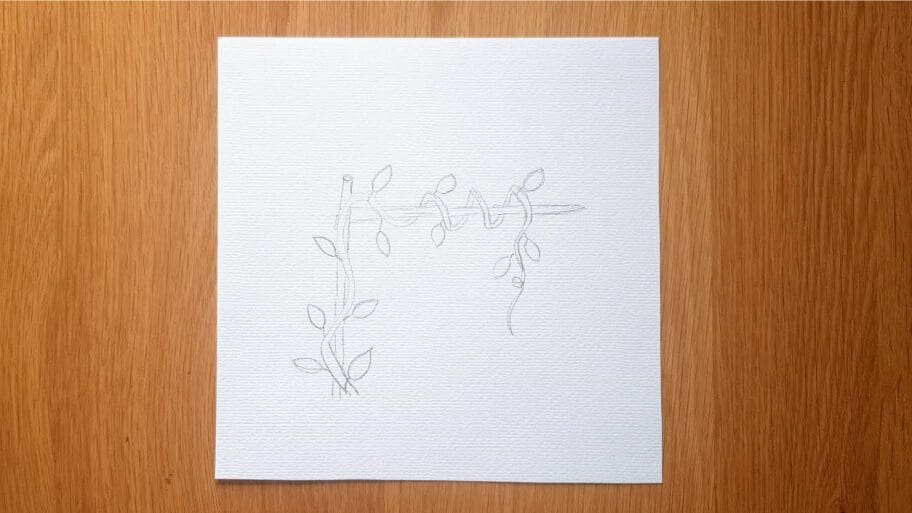
Outline your leaves using a darker pencil stroke.
Draw a middle line on each of the leaves with several small lines connected to the middle line inside of each leaf.
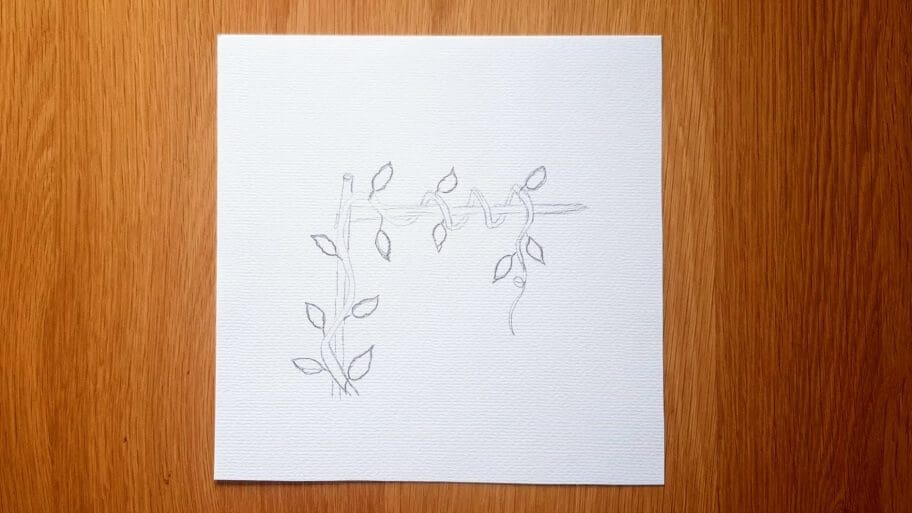
Outline the wooden post using a darker pencil stroke. Add a few small lines and bumps to it to make it more realistic.
Outline the vine stem using a darker pencil stroke. Then add a few small lines to the vines to add texture.
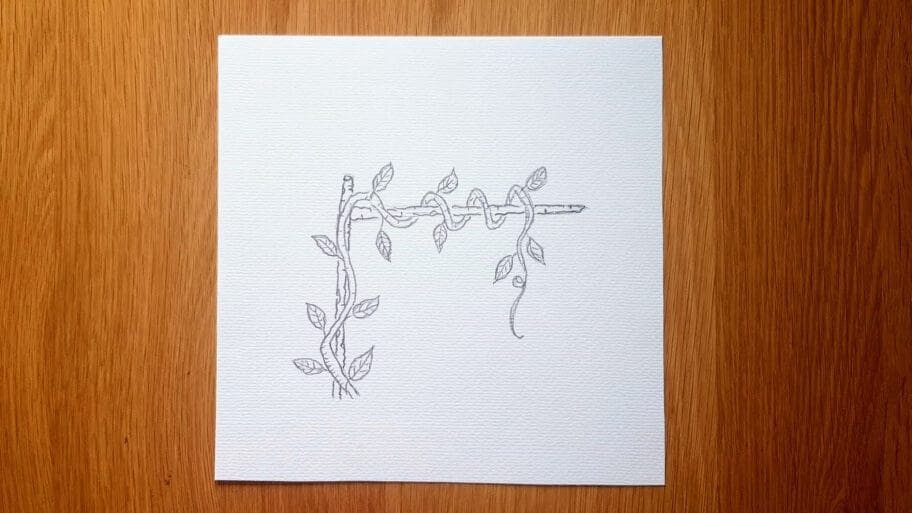
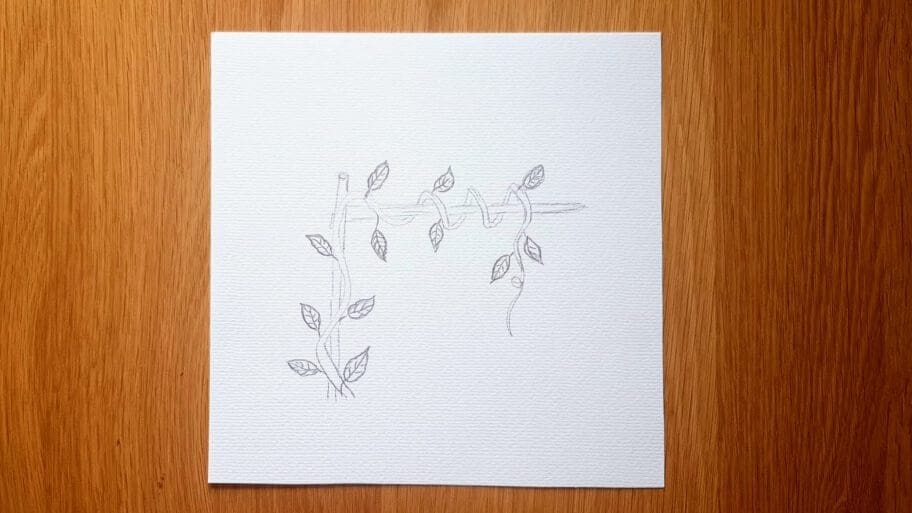
Draw a few spirals on top of the leaves and a few on the vines.
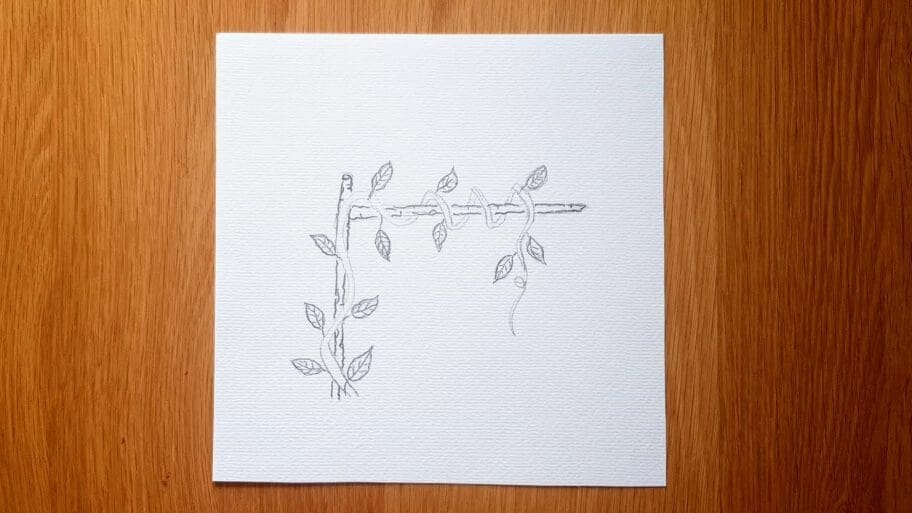
Draw a few curved lines just below the vines to create the floor.

Using your fingers smudge the pencil marks to add some depth and texture to your drawing.
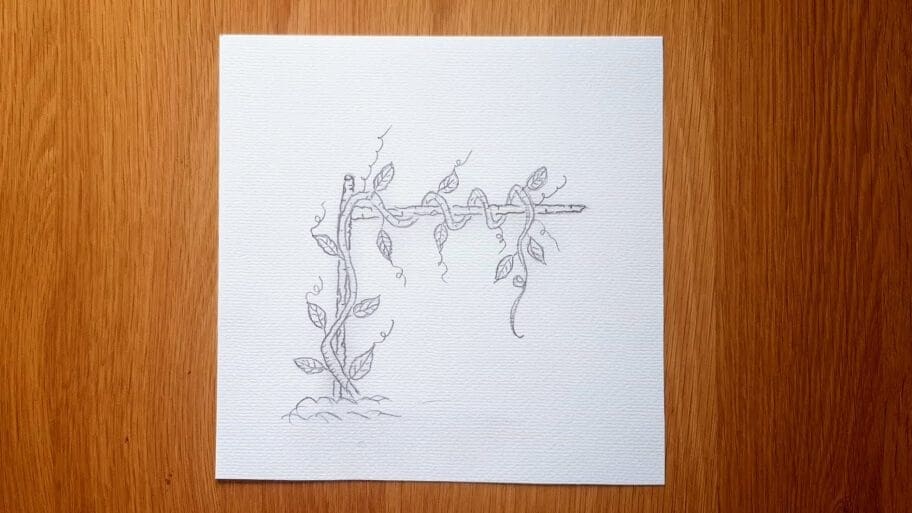
The final step is to draw a few horizontal lines on the right-hand side of the page to finish the floor.

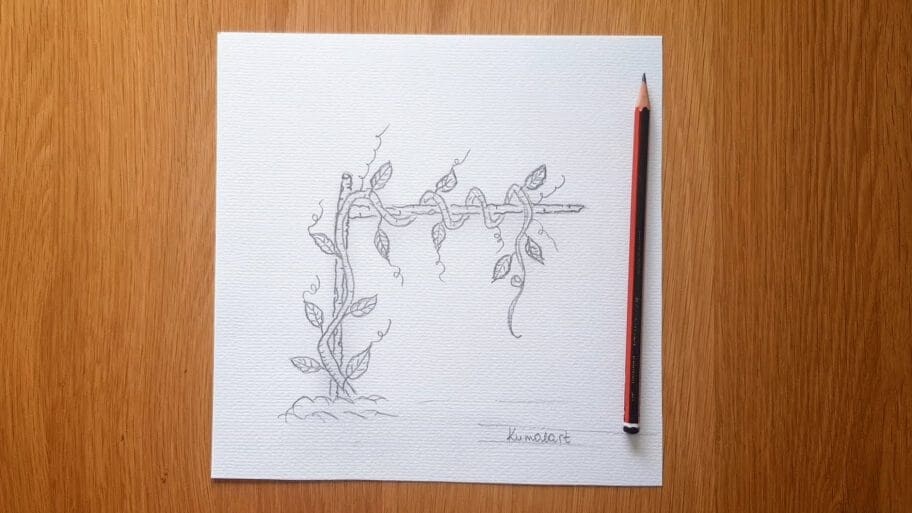
There you have it. Now you know how to draw vines and leaves! Hope you enjoyed our vines drawing easy tutorial.
As you can see drawing vines and leaves can be a creatively satisfying experience!
If you want to know how to draw a vine, look at nature’s effortless elegance, and observe the graceful curves and intertwining patterns found in real vines and foliage for inspiration and guidance.
Don’t worry if your realistic vines drawing isn’t perfect the first time, the more you practice the better you will get!
Be sure to practice this easy vines to draw tutorial until you get it just right.
Soon, you’ll be a master at drawing plants!
Are you looking for more drawing guides? Search our list of 101+ Drawing Ideas!
Happy drawing!

