There are no results matching your search
How to Draw a Pig Step by Step - 21 Easy Steps!

- By Joanna | updated in January, 2024
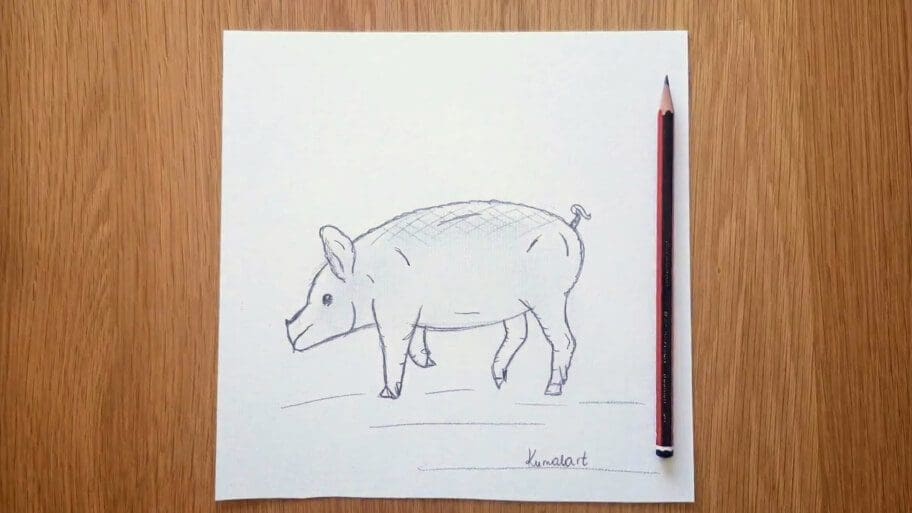
In this fun and easy pig drawing tutorial, you’ll learn how to draw a pig step by step.
This how to draw a pig step by step easy tutorial is great for beginner artists (both kids and adults) who want to improve their drawing skills.
Pigs are one of the most popular subjects for drawing especially in books, songs, cartoons, and games. They’re often featured in nursery rhymes as well!
Fun Facts 1: Did you know that domestic pigs can weigh up to 800 pounds? They are also one of the most intelligent animals in the world and can be trained to perform tricks.
Fun Facts 2: Did you know that wild pigs can have up to 24 different colors in their fur?
Once you have completed this tutorial, you’ll end up with an awesome pig drawing.
Table of Contents
ToggleWhat You’ll Need
You’ll need the following materials to create your pig drawing:
- A piece of paper
- A pencil
- An eraser
How to Draw a Pig Step by Step
Follow our how to draw a pig standing up tutorial.
We’ve included all the steps in detail so that the process is easier to follow.
So, let’s get started!
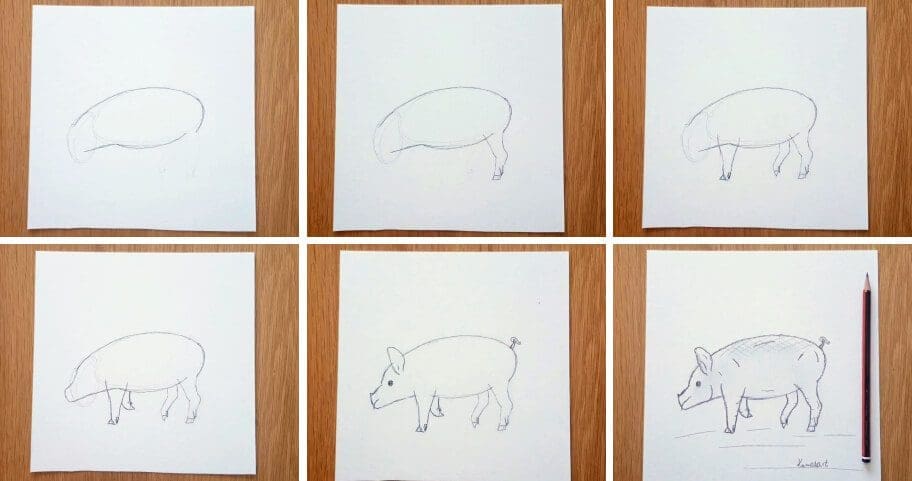
The collage above shows each step of the process so you know what your pig drawing should look like at each stage.
Instructions on How to Draw Pig Step by Step Sketch
Tip: Make sure you don’t press too hard on the paper when you draw your pencil lines so that you can correct your mistakes with an eraser as you go through the tutorial.
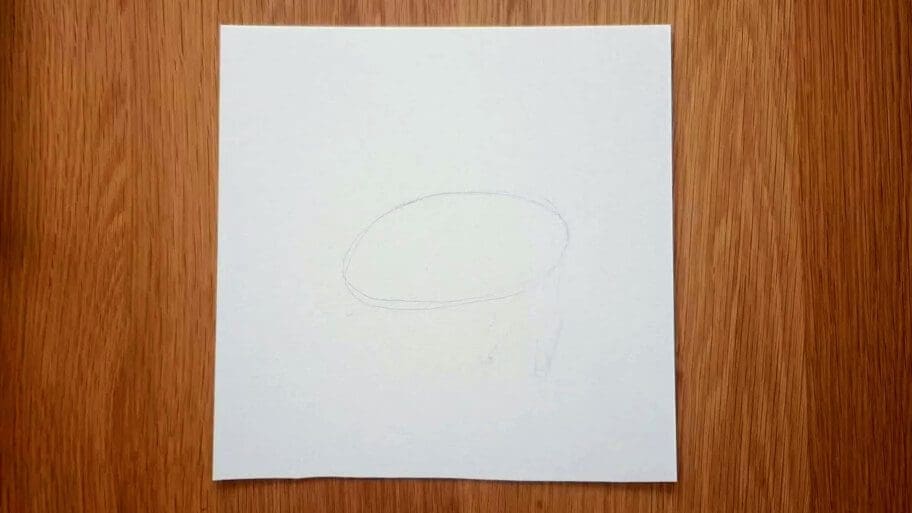
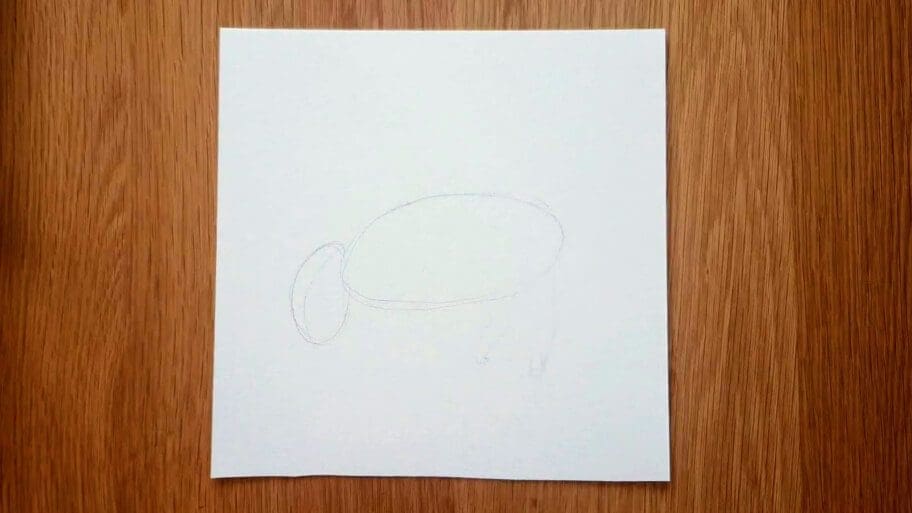
Step 1: Draw Pig’s Body Shape
Start by drawing an oval that will form the main body of your pig using a light pencil stroke.
Step 2: Draw the Pig’s Head
Once have your outline completed, draw a much smaller oval for the head.
Step 3: Connect the Head with the Body
A. Draw a long, curved line starting on top of the head and curving down to the back of the body using a darker pencil stroke.
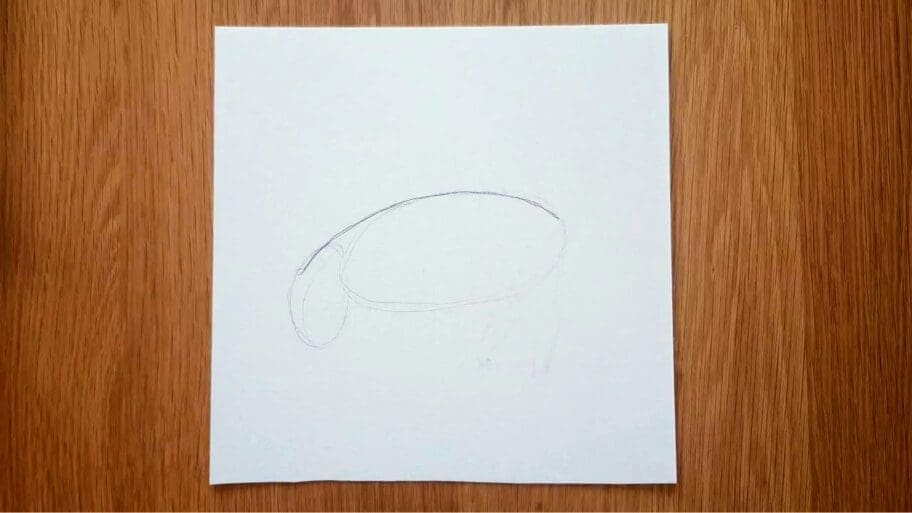
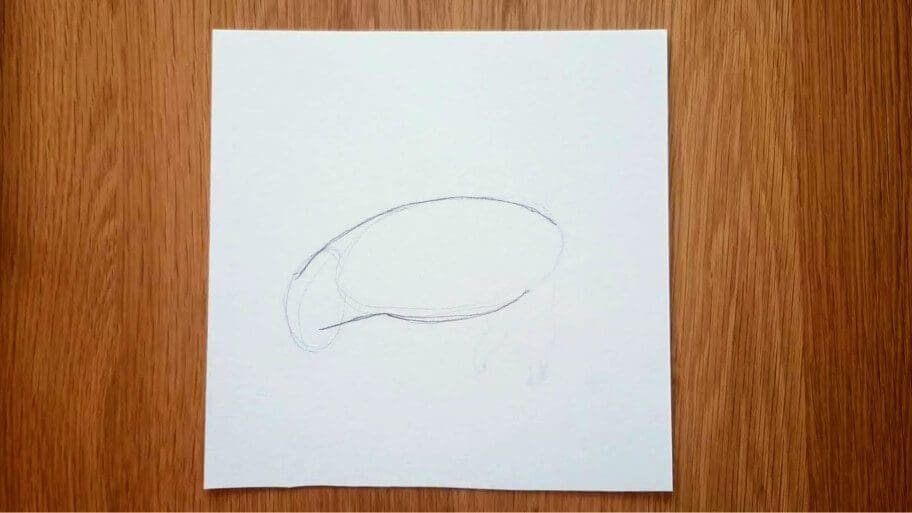
B. Draw another this time a shorter curved line coming from the bottom of the head and curving up to the back of the body.
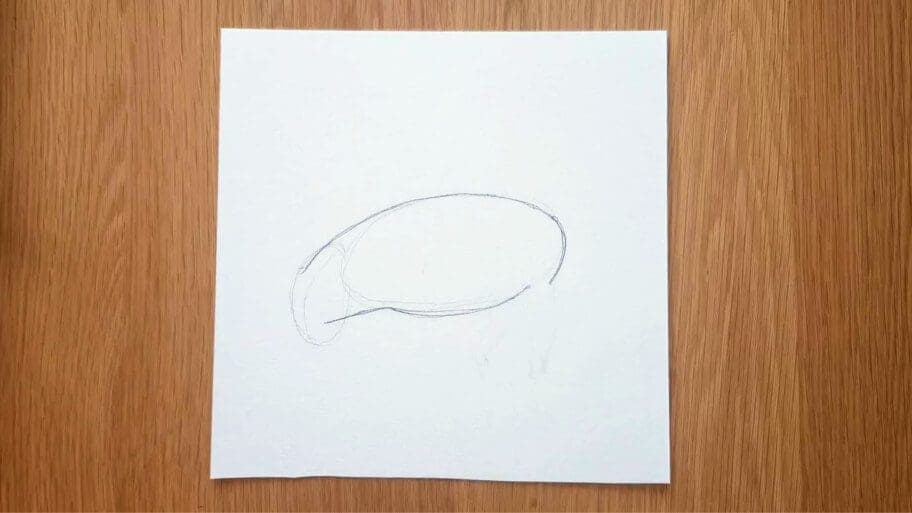
Step 4: Create the Back of the Pig
Draw a vertical curved line at the back of the body.
Step 5: Draw the First Hind Leg
Using two vertical, slightly curved lines draw the hind leg and connect it to the body.
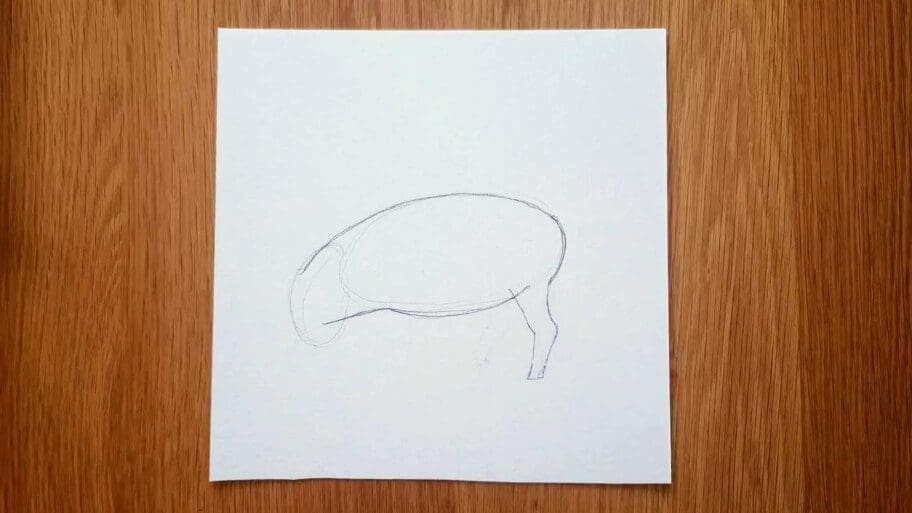
Step 6: Draw the First Back Foot and Dew Claw
Draw a small rectangle shape for the foot and a small triangle for a dew claw.
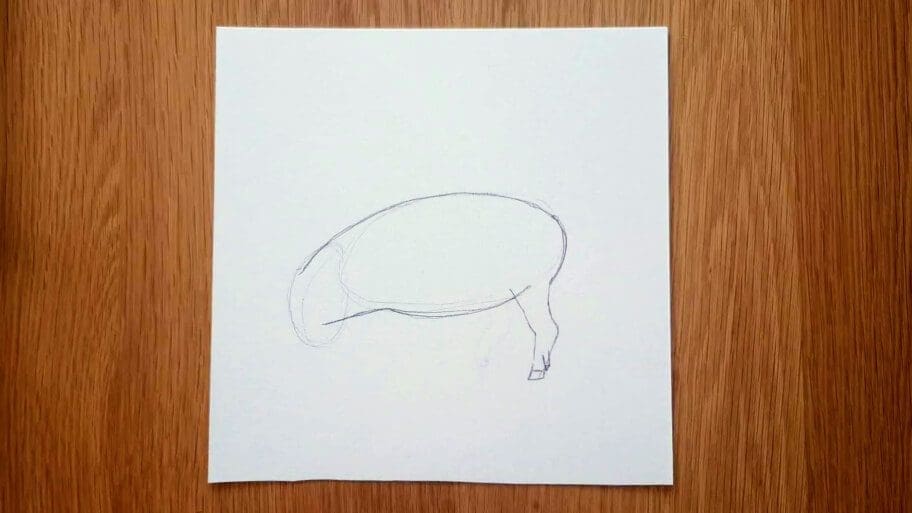
Step 7: Draw the Second Back Leg
Draw the second leg and connect it to the body.
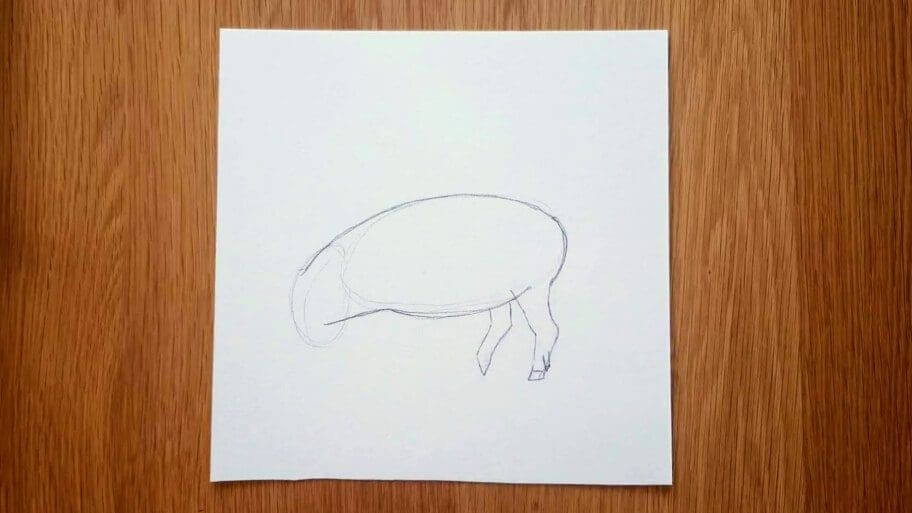
Step 8: Draw the Second Back Foot and Dew Claw
Draw a small triangle shape for the foot and another smaller triangle for the dew claw.
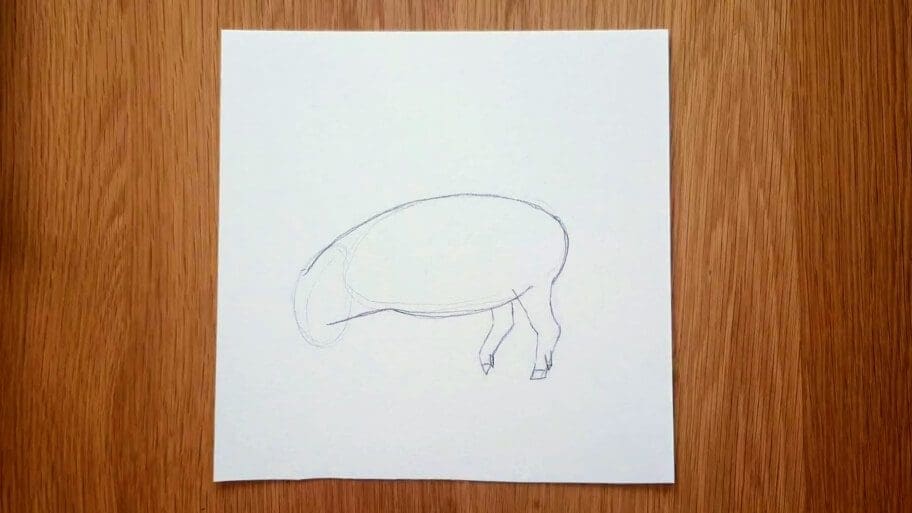
Step 9: Draw the First Front Leg
Draw two vertical lines connected to the front oval to form the first front leg.
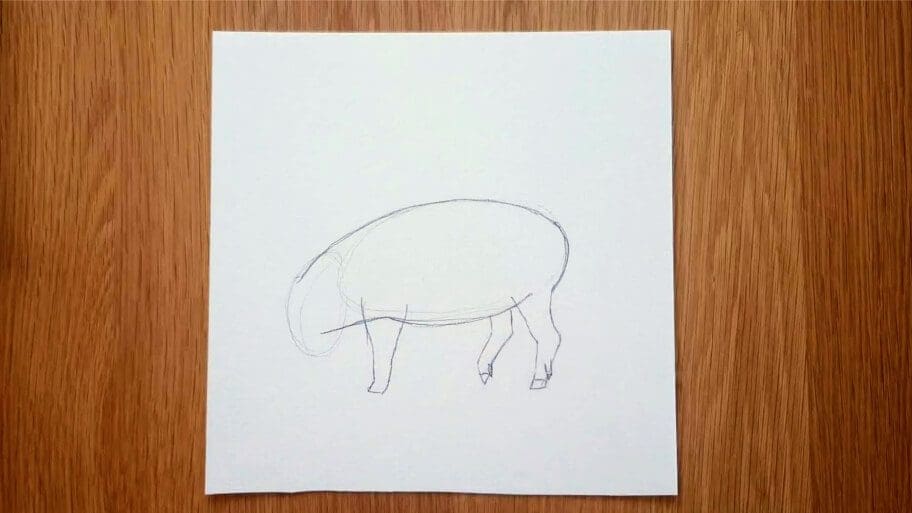
Step 10: Draw the First Front Foot and Dew Claw
Draw a small triangle for the foot and another smaller one for the dew claw.
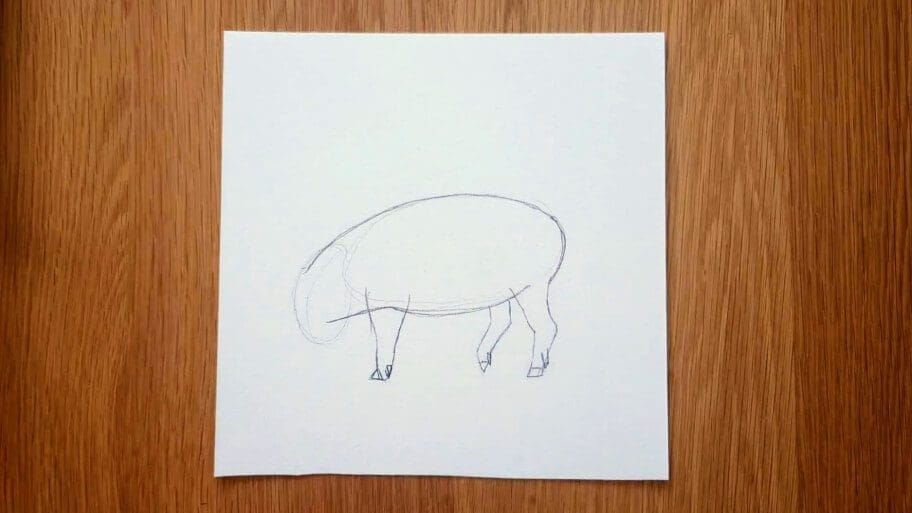
Step 11: Draw the Second Front Leg, Foot, and Dew Claw
Draw two short curved lines connected to the front oval to form the second front leg. Next, draw a small triangle for the foot and another smaller one for the dew claw.
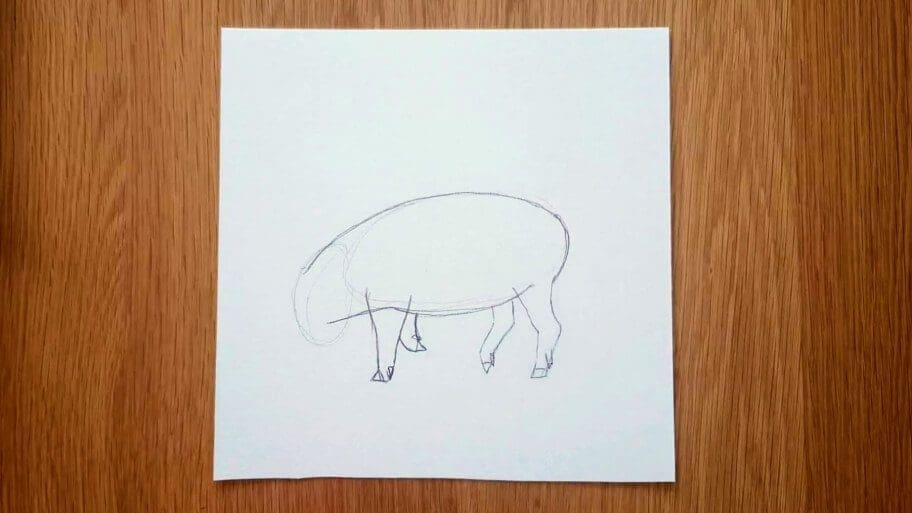
At this point, you should have four legs, four toes, and four dew claws. Now it is time to create a pig face.
Step 12: Draw the Pig’s Face
Draw a small, curved line on the left side of the head. Then, draw another slightly smaller curved line on the right side. Connect these two lines with a short, straight line in between.
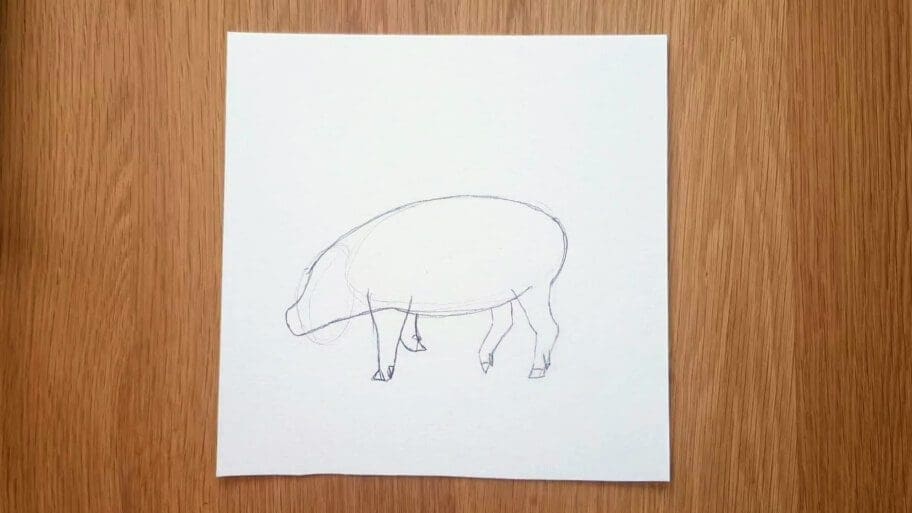
Step 13: Erase the Pencil Marks
Erase any unwanted pencil marks.
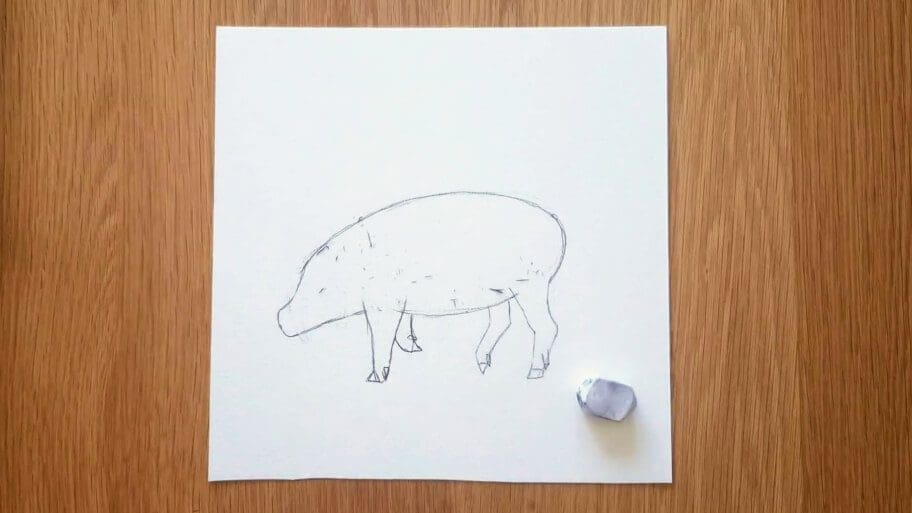
Step 14: Draw the Nose and Mouth
Now we will learn how to draw a pig face. Draw a long snout with a triangle at the end.
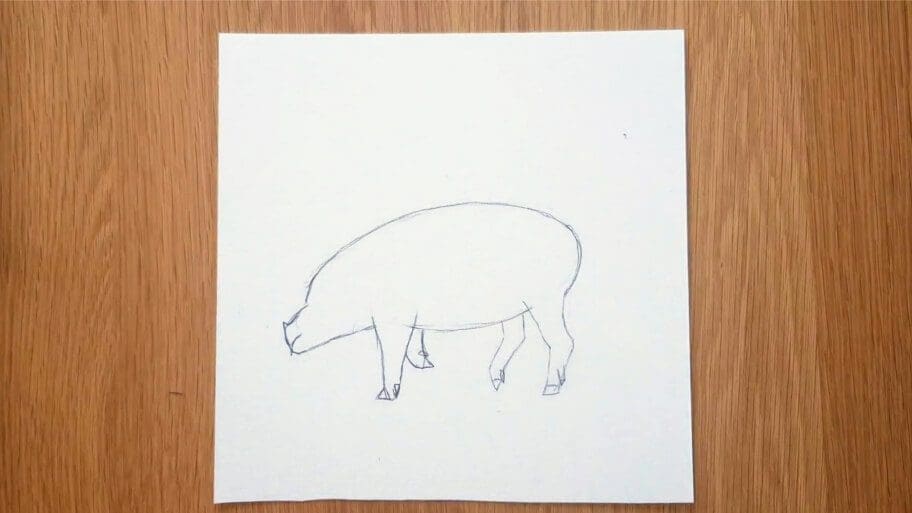
Step 15: Add the Pig’s Eye
Draw a half-circle shape to form the eye.
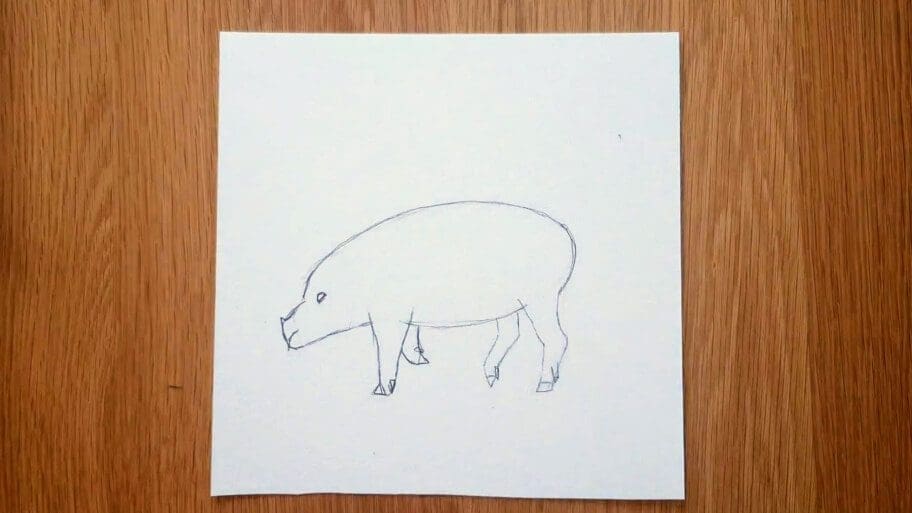
Step 16: Shade the Pig’s Eye
Using your pencil shade the eye in.
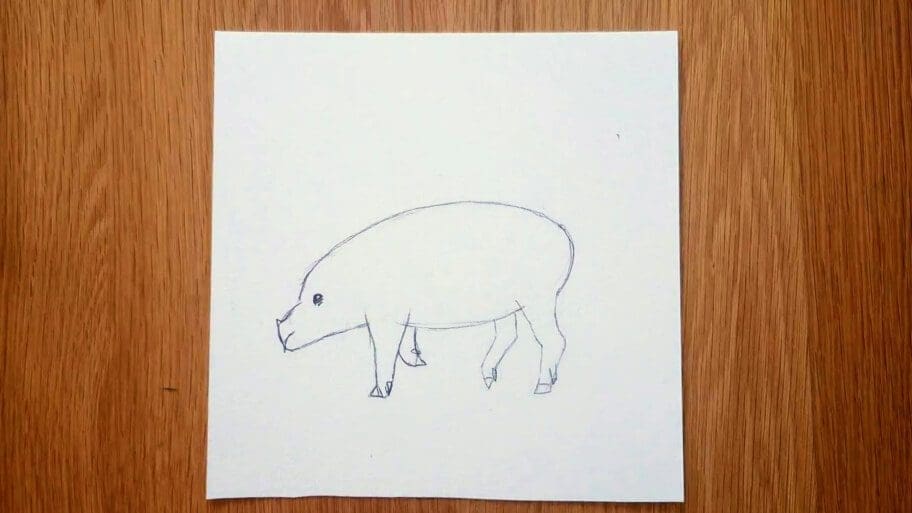
Step 17: Draw the Pig’s Ear
Draw a small oval shape on the top of the head to form the ear. Then add a tiny line inside the ear.
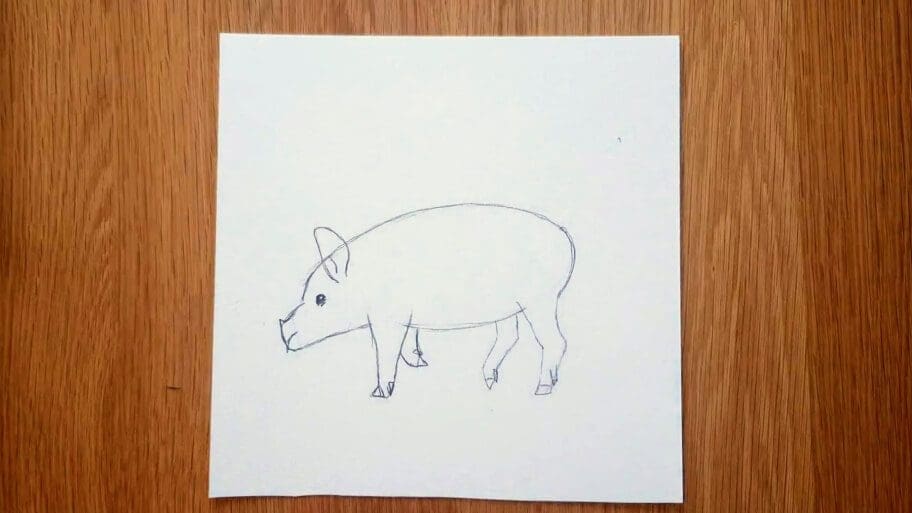
Step 18: Draw the Pig’s Curly Tail
Draw a curved line with small curls at the end to form the tail.
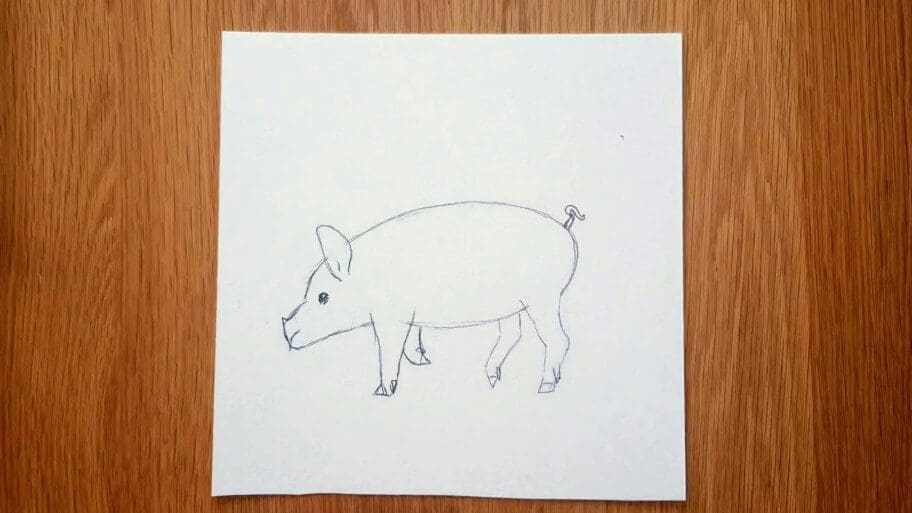
Step 19: Outline the Pig and Add Details
Finally, outline the pig and also add some lines to create a more realistic look.
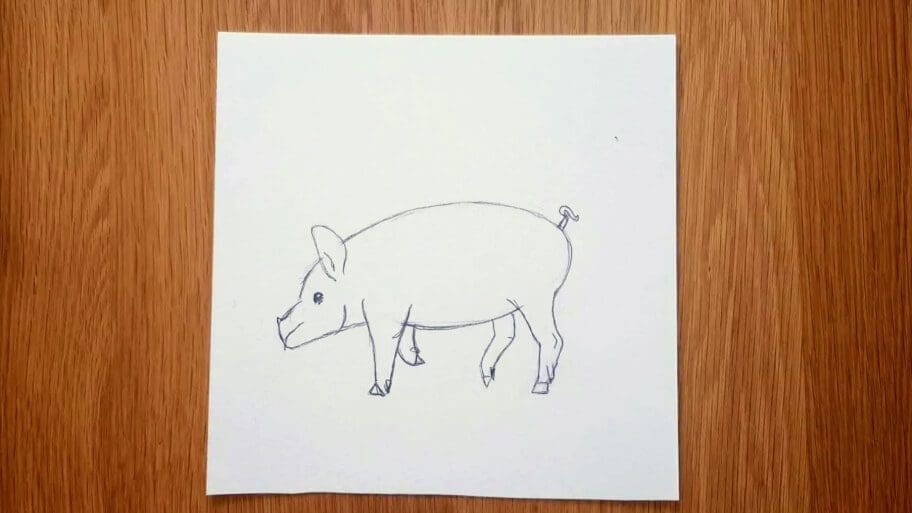
Step 20: Finishing Touches
Using a criss-cross hatching technique, smudge the pencil marks with your fingers. Then draw several small lines to give a more realistic look.
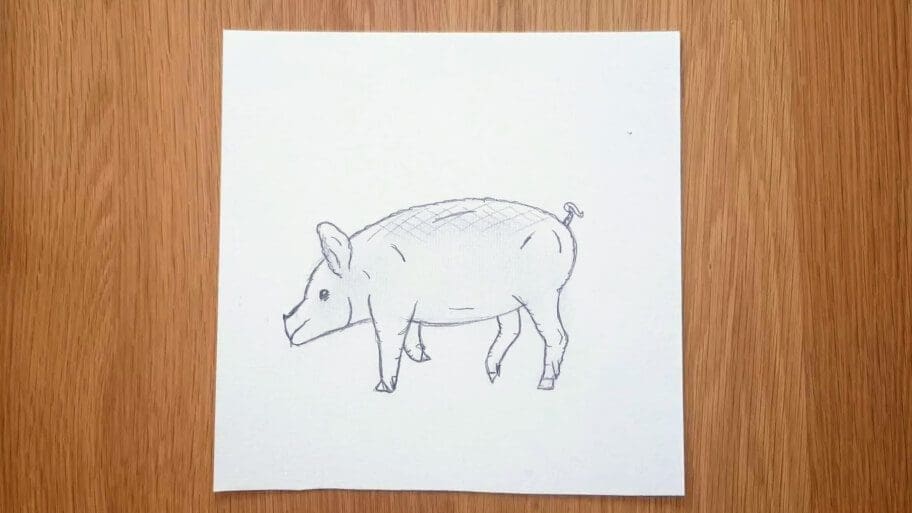
Step 21: Draw the Ground
Draw a few horizontal lines to create the ground.

Congratulations!
Now you know how to draw pigs! Hope you enjoyed this how to draw a pig realistic tutorial.
Don’t worry if your step by step pig drawing isn’t perfect the first time, the more you practice the better you will get!
Be sure to practice this simple pig sketch until you get it just right. Then, try drawing also a pig in different positions like standing, running, or jumping, or a cartoon pig to improve your skills.
Try to draw other animals like a bear or an elephant.
Soon, you’ll be a master at animal drawing!
Are you looking for more similar drawing ideas? Search our list of 101+ Drawing Ideas.
Happy drawing!


