There are no results matching your search
How to Draw a Shrimp Step by Step - 14 Easy Steps!

- By Joanna | updated in February, 2024
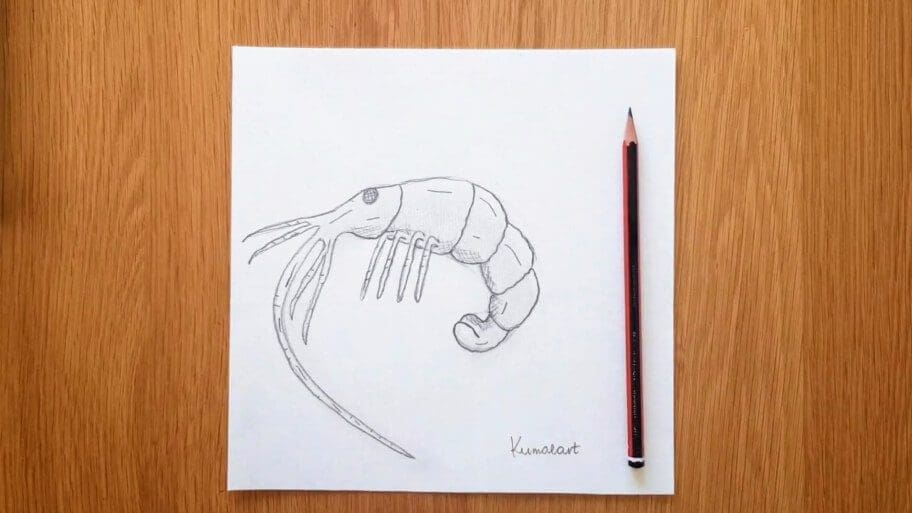
In this fun and easy shrimp drawing tutorial, you’ll learn how to draw a shrimp step by step.
This shrimp drawing easy tutorial is great for beginner artists (both kids and adults) who want to improve their drawing skills. This easy to draw shrimp tutorial includes step-by-step instructions, helpful tips, and visual guidance, ensuring a smooth and enjoyable drawing experience for artists of all skill levels.
Drawing shrimps can be a great way to express creativity in your artwork. With just a few simple steps, you can create an amazing shrimp drawing that is sure to impress family, friends, and anyone else who sees it!
Shrimps have different shapes and sizes, so choose one that you would like to draw. The world’s biggest shrimp is the Norway lobster, which can grow up to 3 feet in length.
Make sure to look at pictures of different shrimps to get the shape just right. You can use royalty-free images as reference material.
Fun Facts:
- Did you know that shrimp can range in size from less than an inch to over 8 inches in length?
- Prawns are a type of shrimp!
- Shrimps also come in a variety of colors, including pink, brown, and white.
Table of Contents
ToggleWhat You’ll Need for Your How to Draw a Shrimp Step by Step Sketch:
We’ll be creating our shrimp drawing using the following materials:
- A piece of paper
- A pencil
- An eraser
How to Draw a Shrimp Step by Step
Follow our How to Draw a Shrimp easy step-by-step tutorial.
We’ve included all of the steps in detail so that the process is easier to follow.
So, let’s get started!
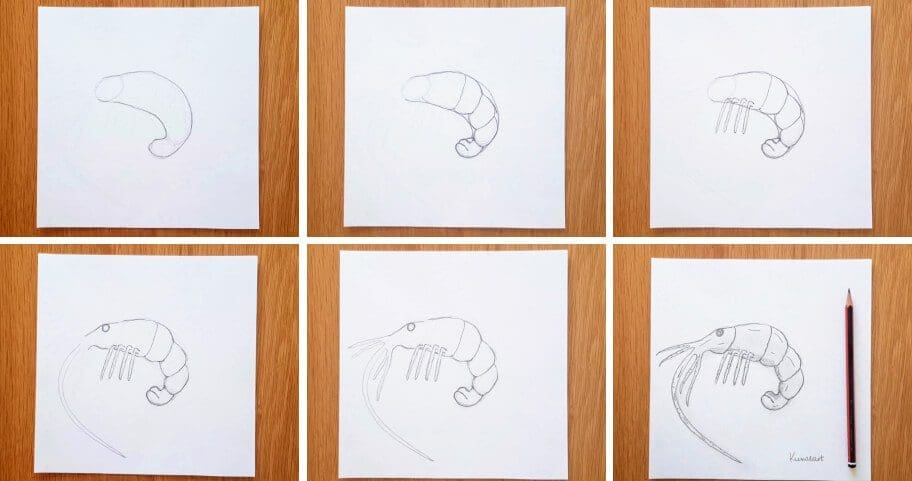
The collage above shows each step of the process so you know how to draw shrimp sketch should look like at each stage.
Instructions for Your Shrimp Drawing
Tip: Make sure you don’t press too hard on the paper when you draw your pencil lines so that you can correct your mistakes with an eraser as you go through the tutorial.
How to Create a Shrimp Sketch
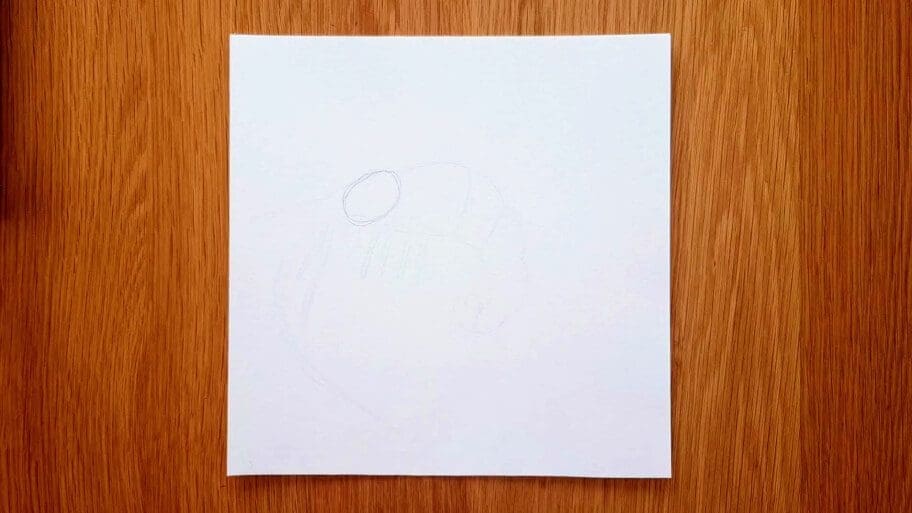
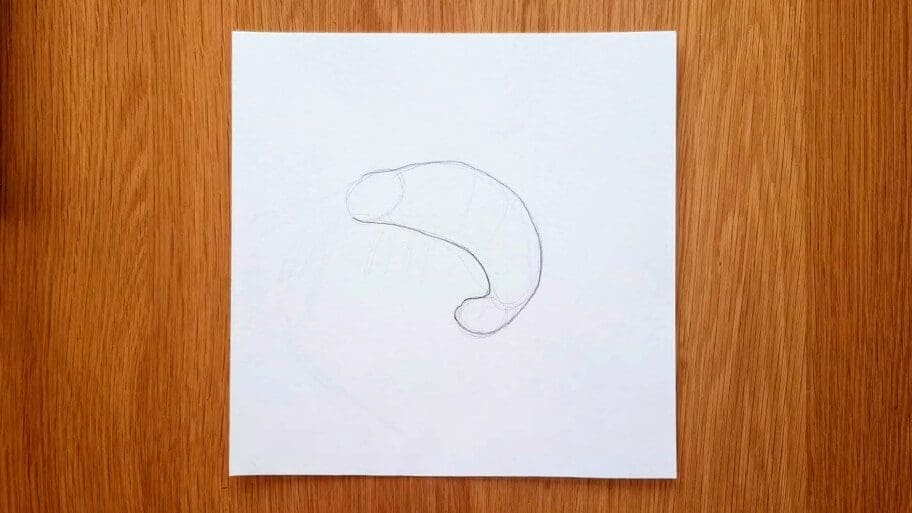
Step 1: Create the Head
Start by drawing a small oval for the head.
Step 2: Draw the Body
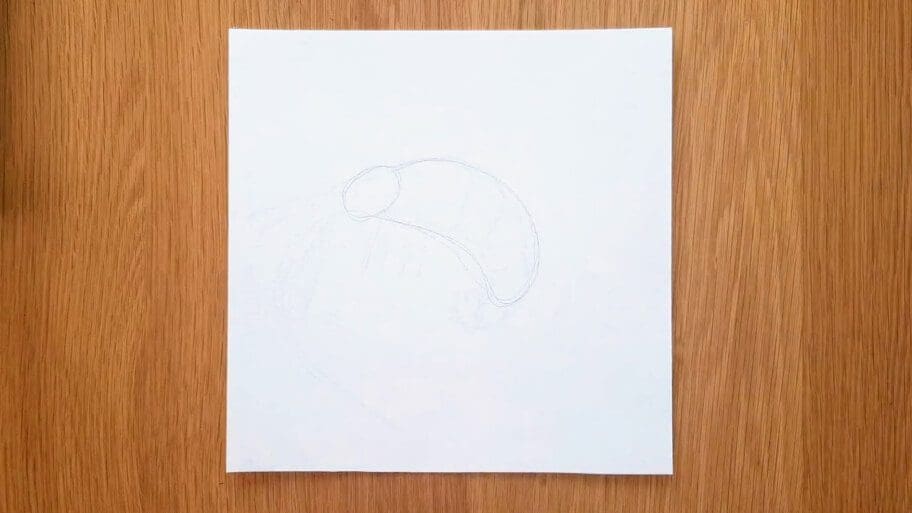
Draw a long medium curved oval shape for the body.
Step 3: Draw the Tail
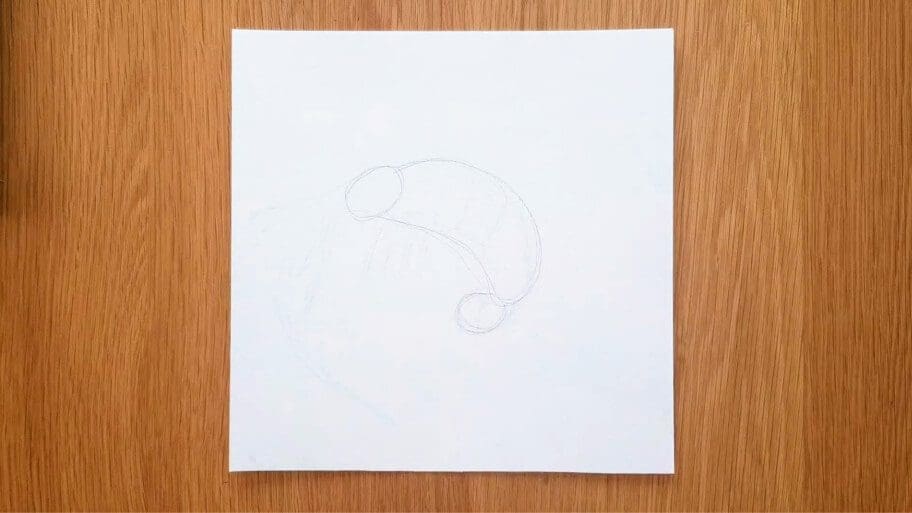
Draw another small oval shape for the tail and connect it with the medium oval’s end.
Step 4: Connect the Head with the Body and Tail
A. Draw a curved line on the right side, making the pencil line darker.
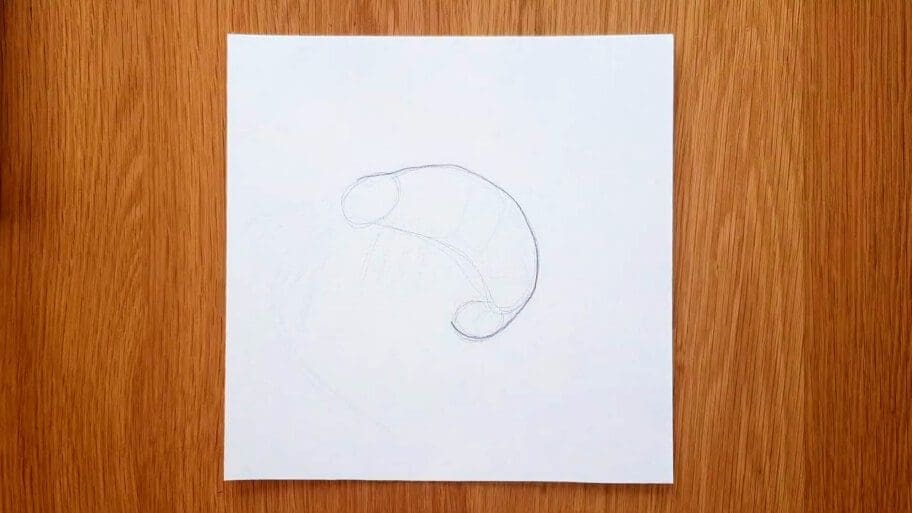
B. Draw a darker curved line on the left side.
Step 5: Create the Body Segments
A. Create segments inside your oval shape by drawing four oval-shaped segments separated by four lines.
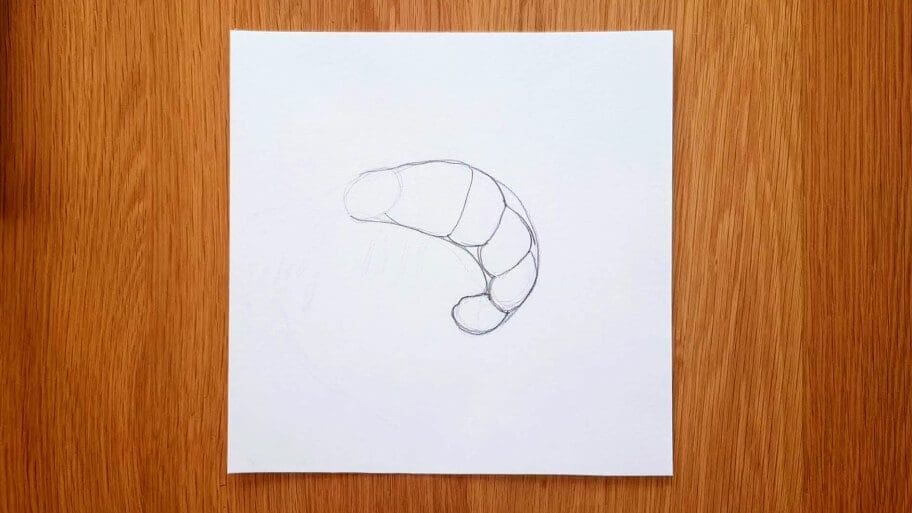
B. Then add two tiny curved lines on the end of the tail.
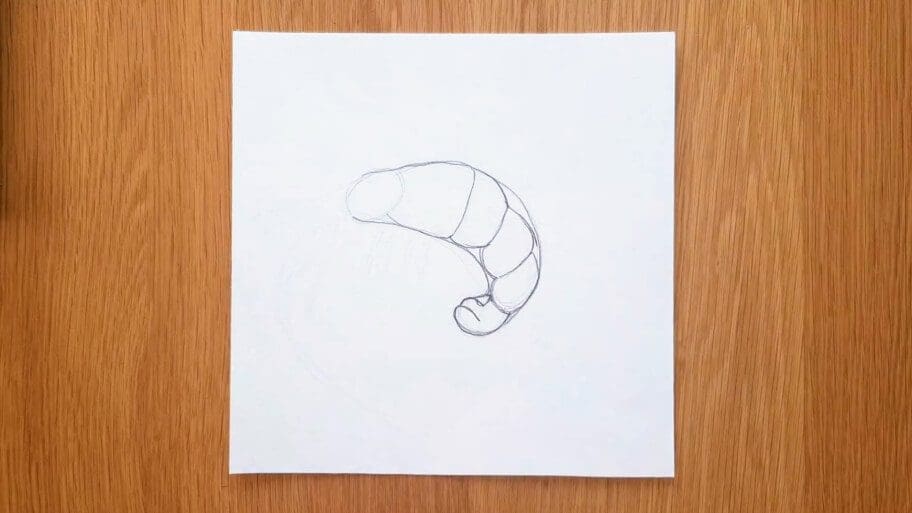
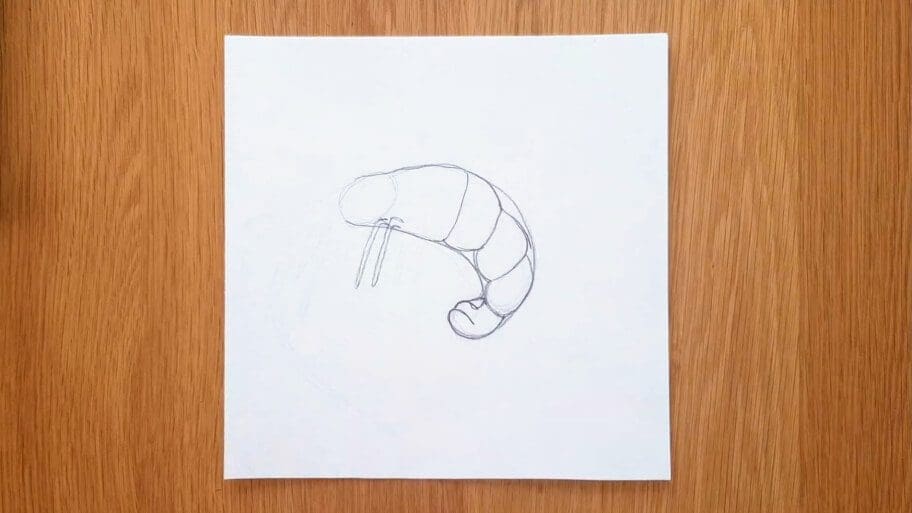
Step 6: Draw the First Leg
Draw two long lines for the first leg.
Make sure it is bent at the top where it connects to the body.
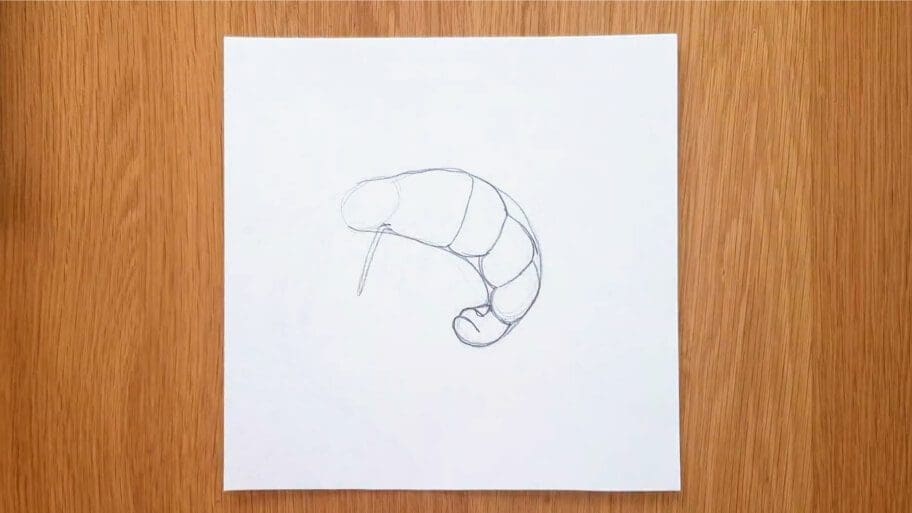
Step 7: Draw a Second Leg
Repeat step 6 to create a second leg.
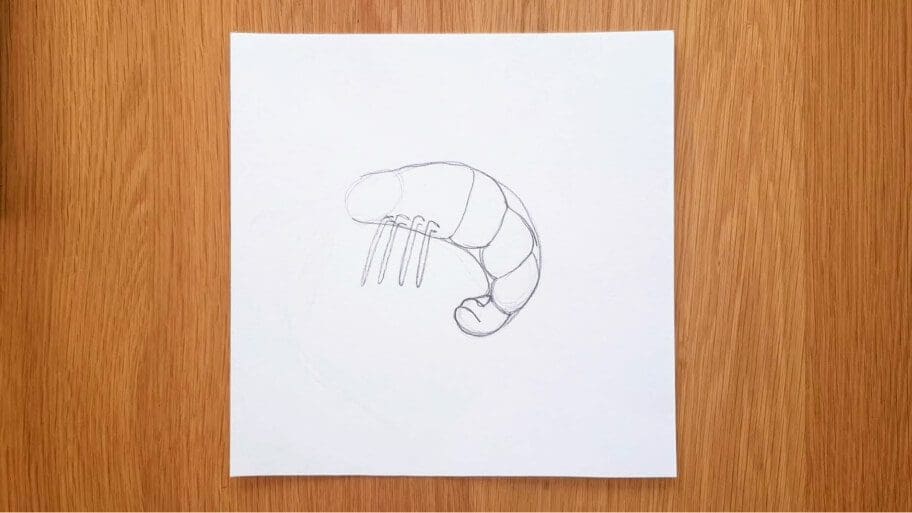
Step 8: Draw Two More Legs
Draw two more legs using the same technique from Steps 6 and 7.
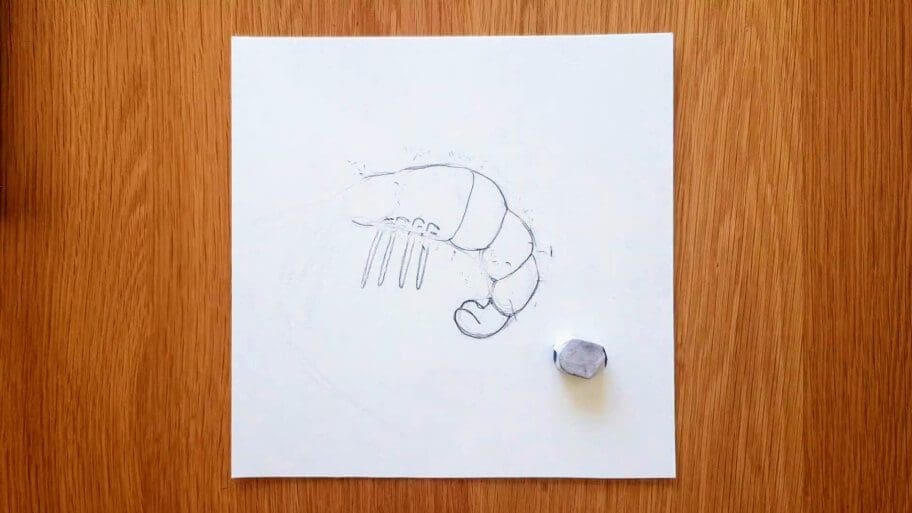
Step 9: Erase Your Pencil Marks
Erase any unwanted pencil marks.
Step 10: Draw the Head and the Eye
A. Draw two lines where your small oval was to create the head.
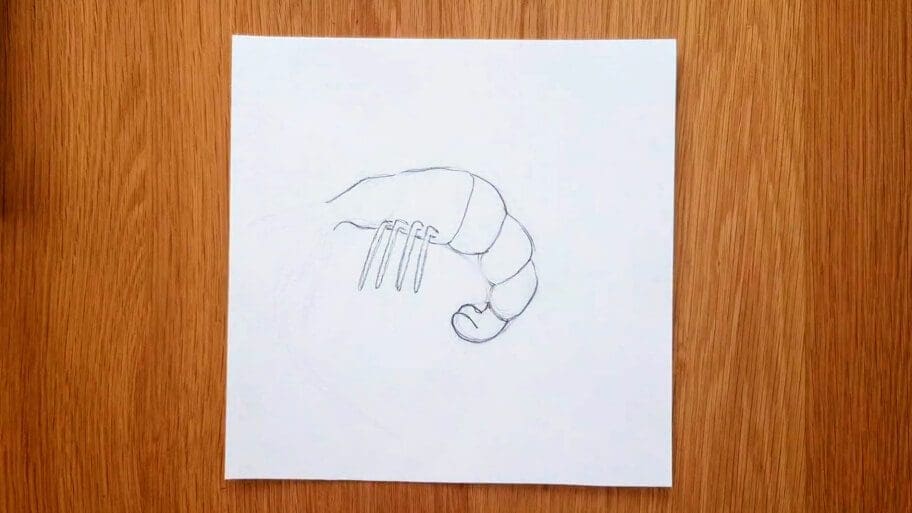
B. Draw a small circle inside the head for the eye.
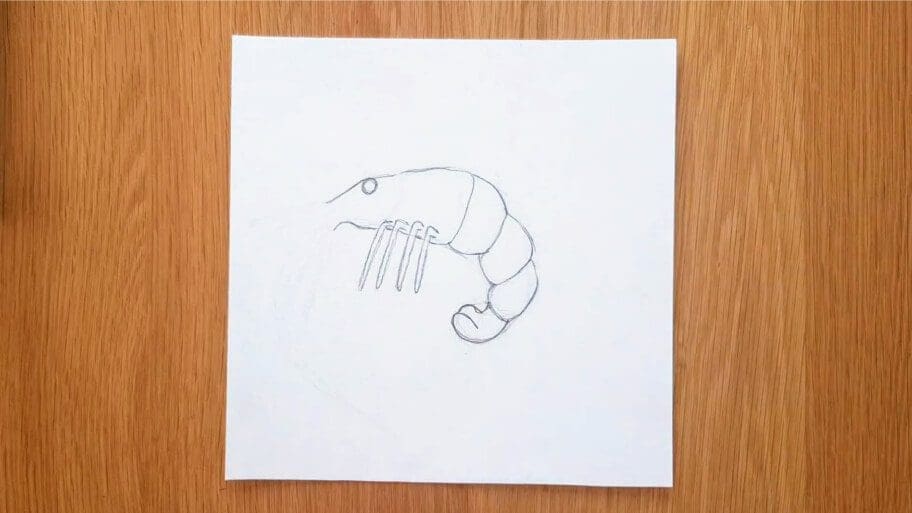
Step 11: Draw the Antennae
Draw two long curved lines for the antennae.
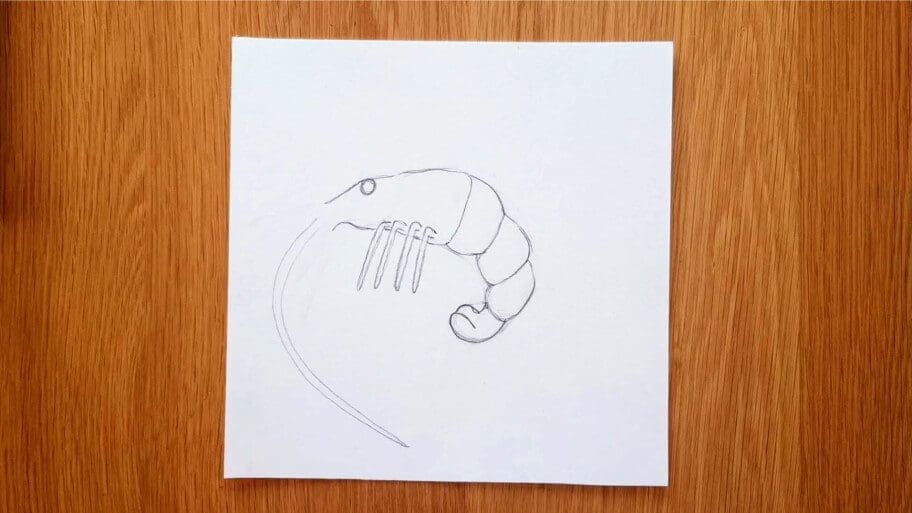
Step 12: Add More Detail
A. Draw two small curved antennae shapes below the antennae you drew in step 11.
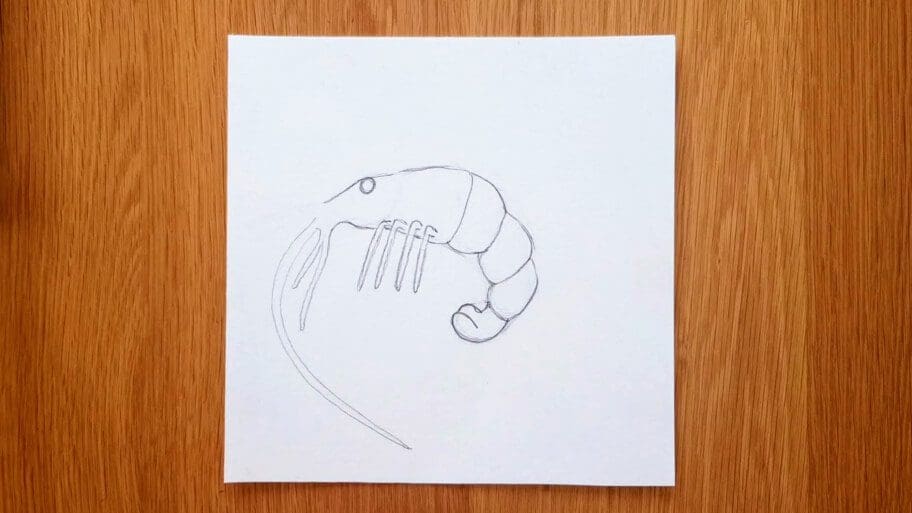
B.Then draw another two more above the original antennae.
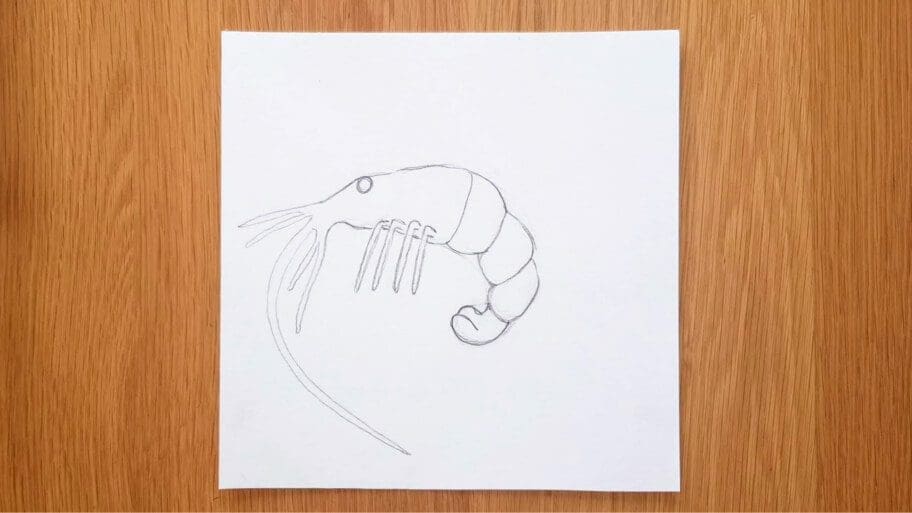
C. Add a vertical curved line just behind the eye to create the head segment.
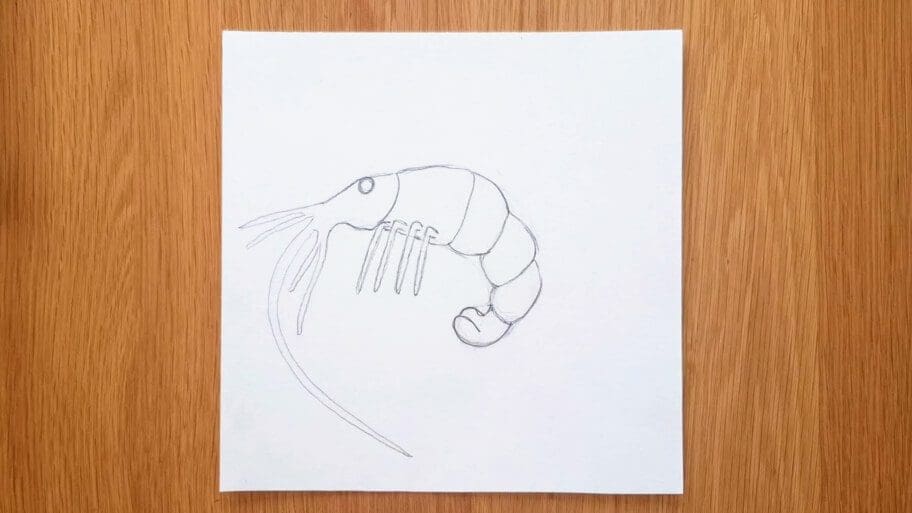
Step 13: Add Some Texture
Draw rough edges to the outline of the shrimp to give more texture and make it look more 3 dimensional and realistic.
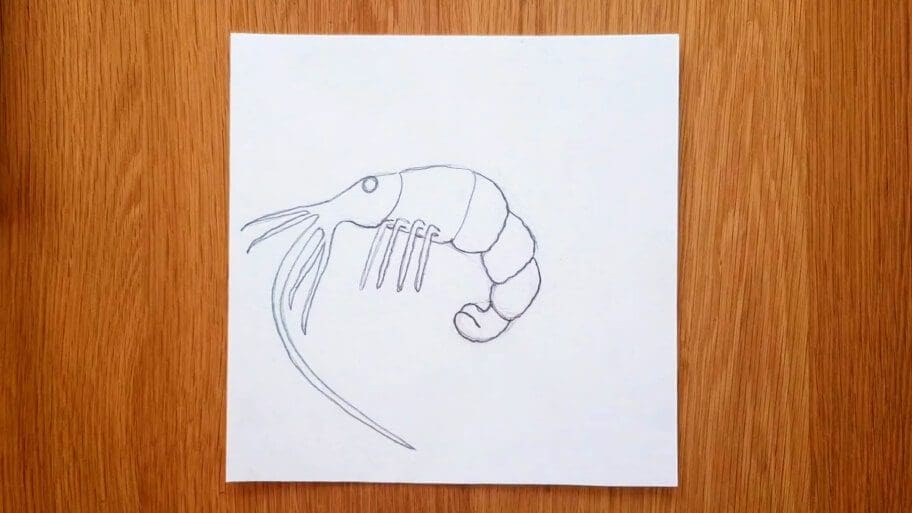
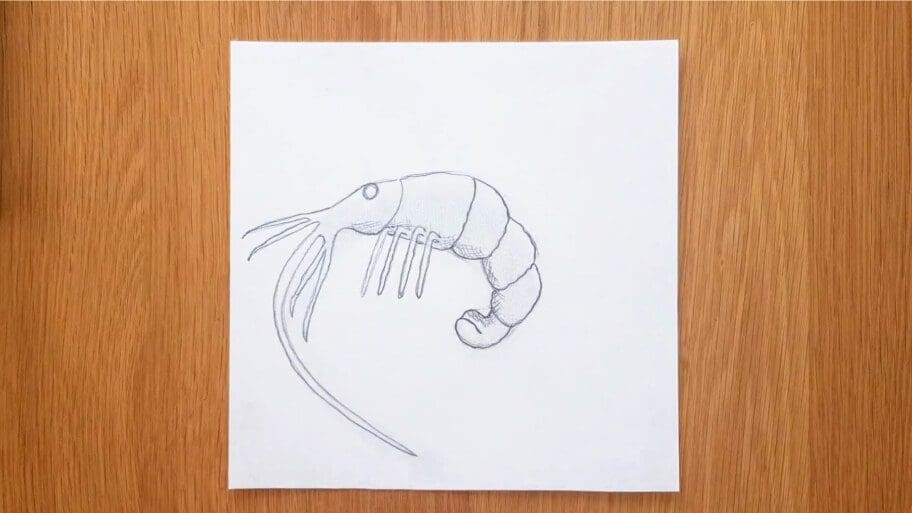
Step 14: Add Some Shading
A. Finally, use your pencil to add some shading and bring the shrimp drawing to life.
Add a cross-hatch pattern to the bottom of the shrimp and use your finger to smudge the pencil marks towards the middle of the shrimp.
You can also smudge the pencil marks on other parts of the shrimp to create a more textured appearance like the image below.
B. Shade the eye. Then add several lines to different parts of the shrimp to finish the look.
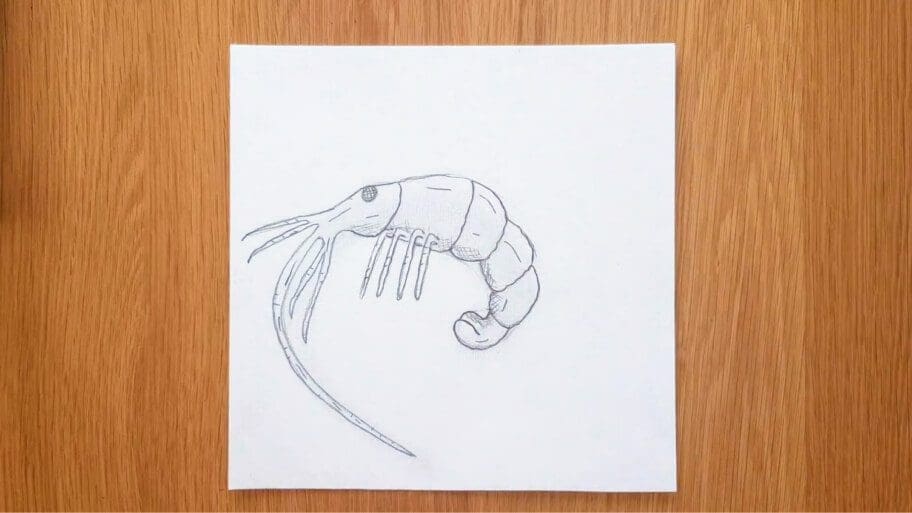
Congratulations!
You have just finished your first shrimp easy drawing and should now have a realistic-looking shrimp.
Don’t worry if your shrimp drawing isn’t perfect the first time, the more you practice the better you will get!
We hope you had fun and that our prawn drawing easy tutorial helped you learn something new today.
Soon, you’ll be a master at animal drawings!
Are you looking for more similar drawing tutorials? Search our How to Draw an Octopus Step-by-Step tutorial or our list of 101+ Drawing Ideas to continue your drawing journey!
Happy drawing!


