There are no results matching your search
How to Draw a Frog Step by Step - 18 Easy Steps!

- By Joanna | updated in January, 2024
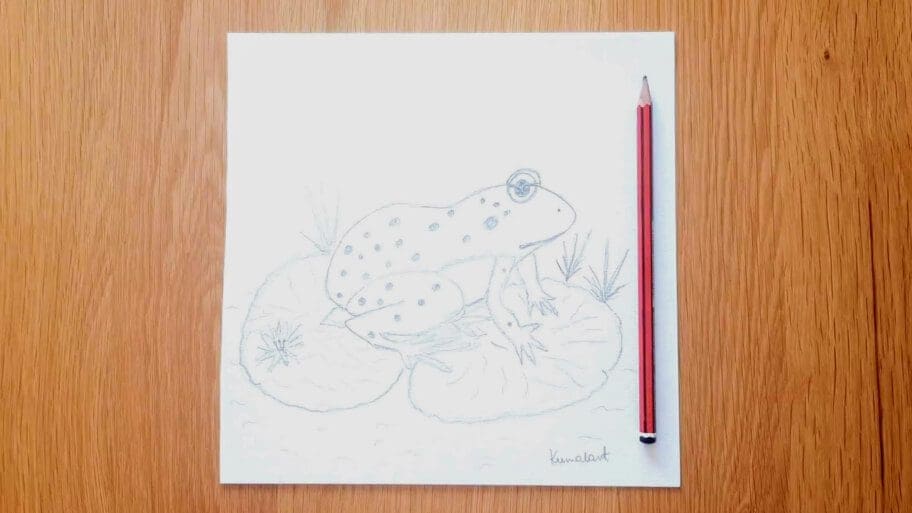
In this fun and easy frog drawing tutorial, you’ll learn how to draw a frog step by step.
This frog drawing easy tutorial is great for beginner artists (both kids and adults) who want to improve their drawing skills.
Fun Fact: Did you know that frogs can jump up to 20 times their body length? Frogs also have excellent eyesight and can see in all directions.
Frogs are an interesting subject to draw since they have many different parts like big eyes, oval bodies, and webbed feet.
Frogs are one of the most well-known amphibians in the world, so drawing one can be a great way to create an interesting piece of art.
To begin, start by sketching out the basic shape of your frog. Make sure that you draw lightly so that you don’t have any visible lines when you go to add details later.
Your frog drawing can be as simple or as detailed as you want it to be.
Table of Contents
ToggleWhat You’ll Need for Your Frog Drawing
You’ll need the following materials to create a frog pencil drawing easy sketch:
- A piece of paper
- A pencil
- An eraser
How to Draw a Frog Step-by-Step
In this tutorial, you will learn how to easy draw frog sitting. This position is one of the most popular positions for frogs to draw, and it’s also one of the easiest.
We’ll go through the whole process, from start to finish, so you’ll be able to create your frog drawing in simple steps by the end.
Using basic shapes, we’ll sketch out the frog’s proportions and we’ll add some details like a lily pad and a lily flower around it.
Are you ready? Let’s get started!

The collage above shows each step of the process so you know what your step by step frog drawing should look like at each stage.
Instructions for Frog Drawing Step by Step
Tip: Make sure you don’t press too hard on the paper when you draw your pencil outlines so that you can correct your mistakes with an eraser as you go through the tutorial.
How to Draw a Frog Step by Step
Follow below our step-by-step instructions to learn how to draw a frog sketch easy.
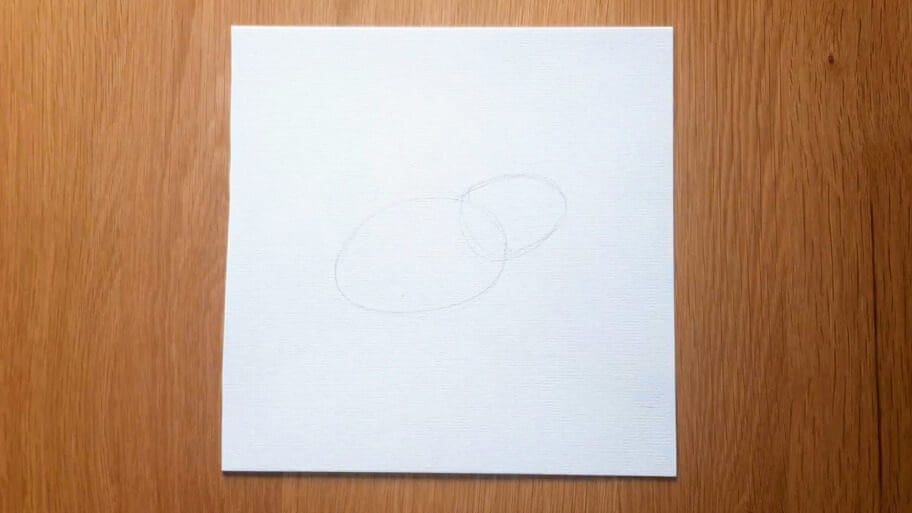
Step 1: Draw Frog’s Body
Start by drawing an oval for the frog’s body using a light pencil stroke. This should be bigger than your regular ovals, as this will make up the majority of your frog drawing.

Step 2: Draw the Frog’s Head
Draw a smaller oval and attach it to a bigger one.
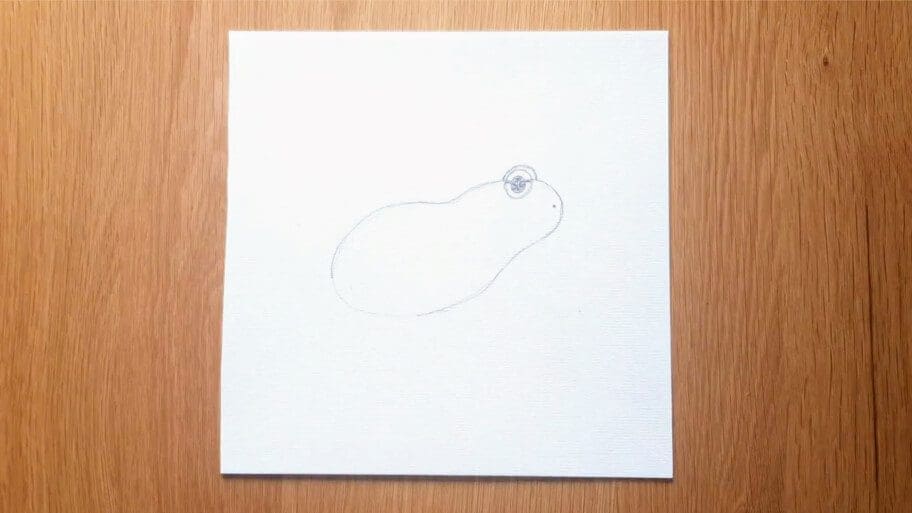
Step 3: Connect the Head with the Body (Top Part)
Connect the two ovals with a long curved line using a darker pencil stroke.

Step 4: Connect the Head with the Body (Bottom Part)
Draw another curved line this time slightly shorter below the long line you just drew in Step 3.

Now we are gonna find out how to draw a frog face.
Step 5: Draw the Frog’s Face
Now draw a smaller curved line at the top of a smaller oval to form the frog face.

Step 6: Draw the Frog’s Eyes
Draw one circle above the forehead and then draw a half-circle above the circle you just drew to form the eyes.
Next, erase the inside lines.

Step 7: Add the Details to the Eye
Draw a smaller circle inside the circle you drew in Step 6 to form the pupil.

Step 8: Draw the Frog’s Nose
Draw a small dot to create the nose.
Step 9: Add the Frog’s Mouth
Draw a small line just below the frog’s nose to create a mouth.
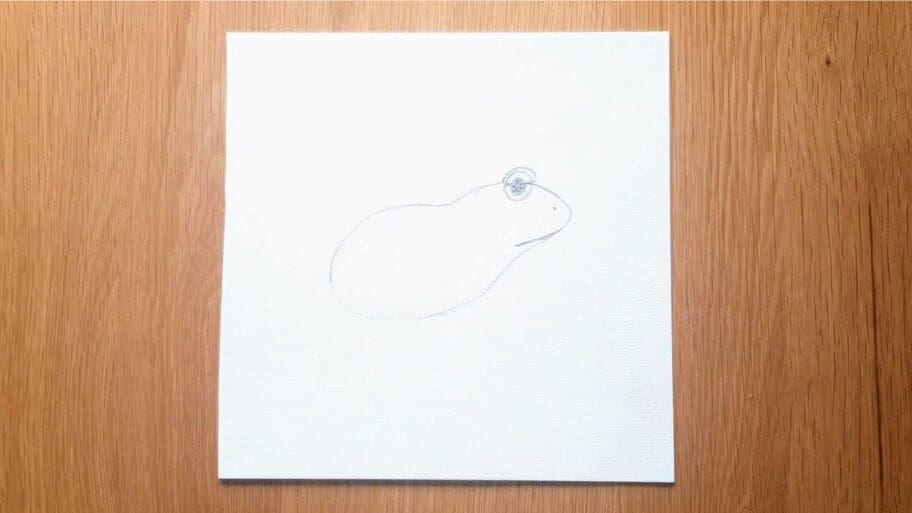
Step 10: Draw the Back Leg and Back Feet
A. Draw a curved line at the bottom of the body to form the back leg.
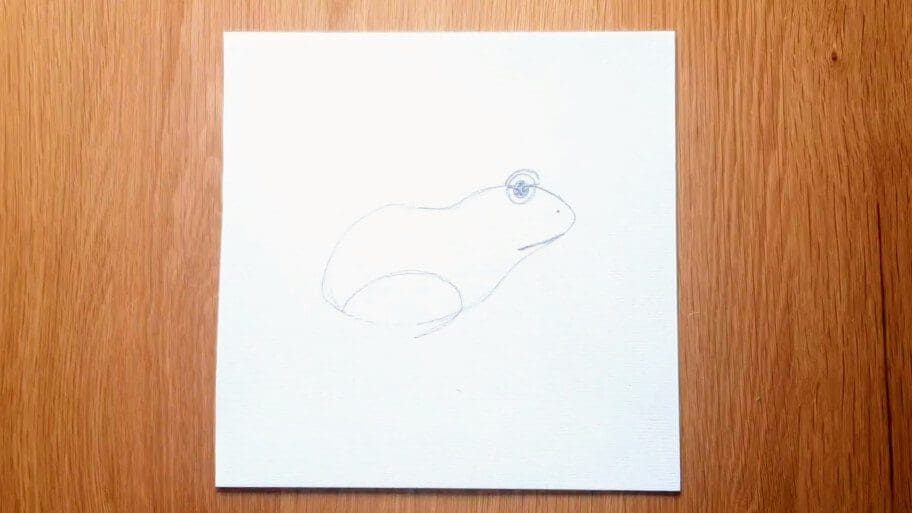
B. Add another curved line and make sure is more pointed and in opposite direction, to the line, you drew in Step 10 A.
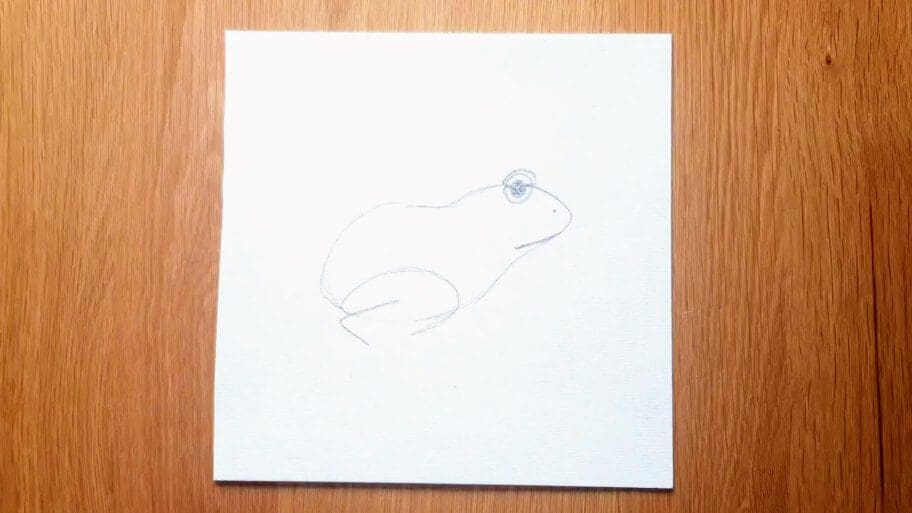
C. Draw five half-oval shapes on the leg to form the first foot.
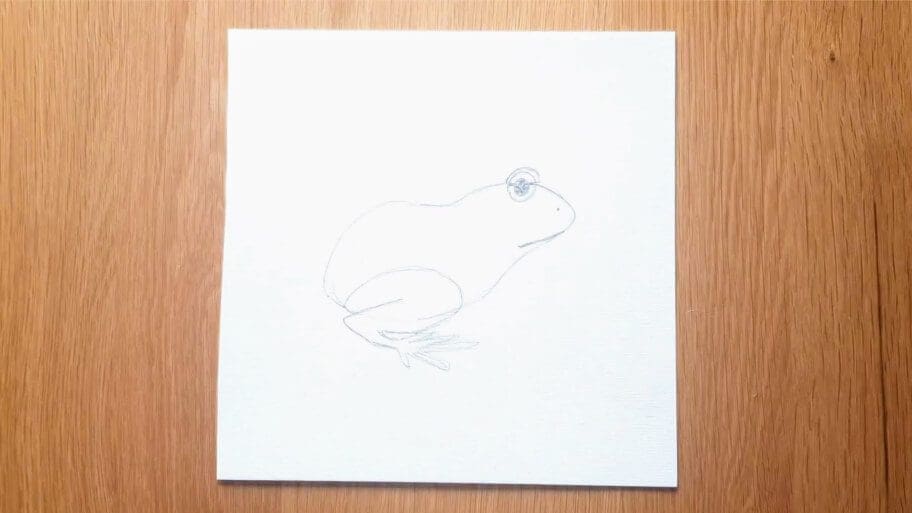
D. Add another foot next to the one you just drew.

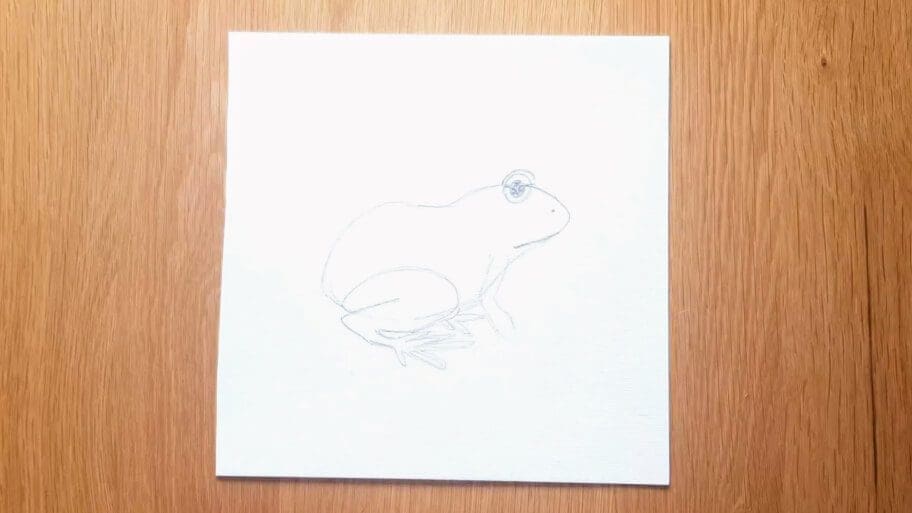
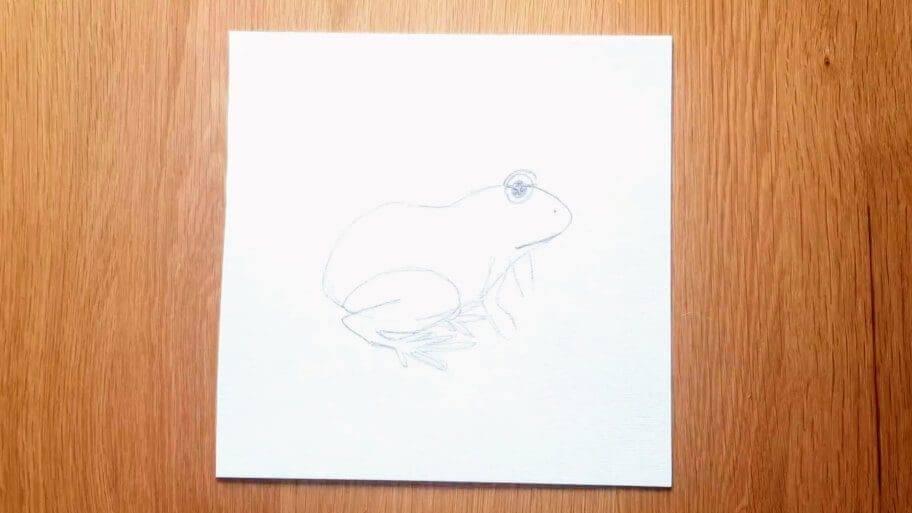
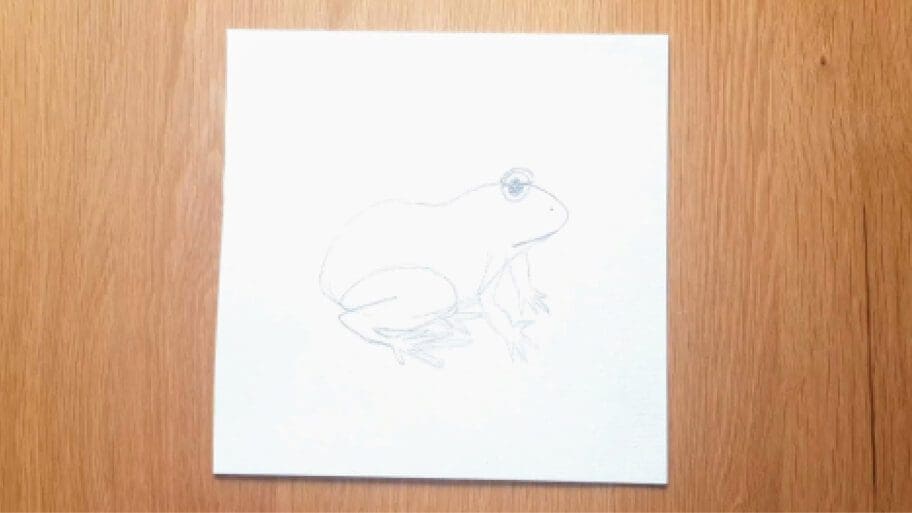
Step 11: Add Two Front Legs
Next, draw two front legs for the frog’s legs.
A. Draw two vertical lines just below the bottom of the head and make sure they are bent in the middle.
B. Draw two straight vertical lines next to the lines you just drew.
C. Add webbed feet and add toes.
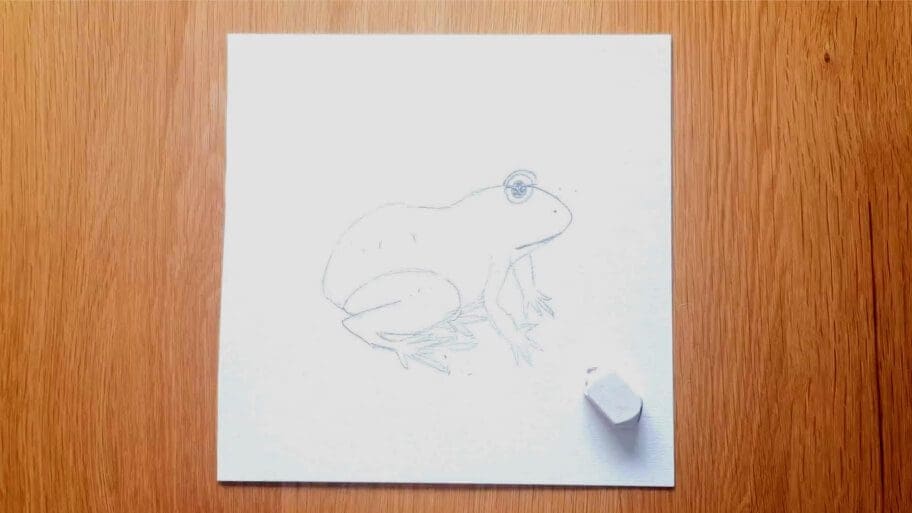
Step 12: Erase the Pencil Marks
Erase any unwanted pencil marks.
Step 13: Add Texture
Draw several small circles across the frog’s body.
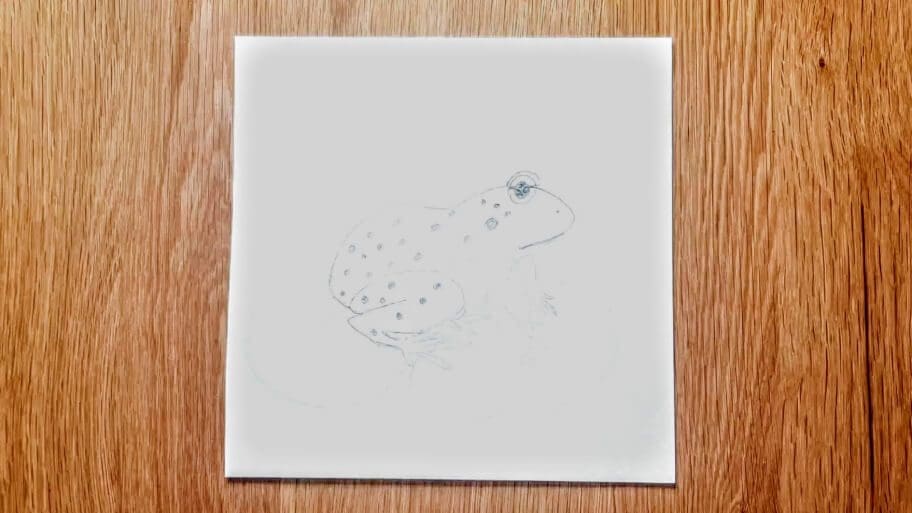
Now we are gonna find how to draw a frog on a lily pad.
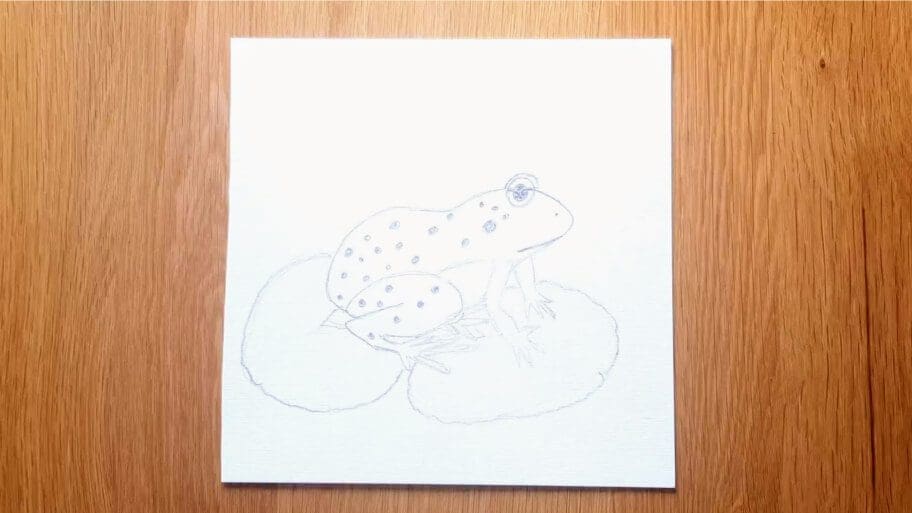
Step 14: Add the Lily Pads
Now draw the lily pads that your frog is sitting on. This can be done by drawing two oval shapes with slightly curved edges.
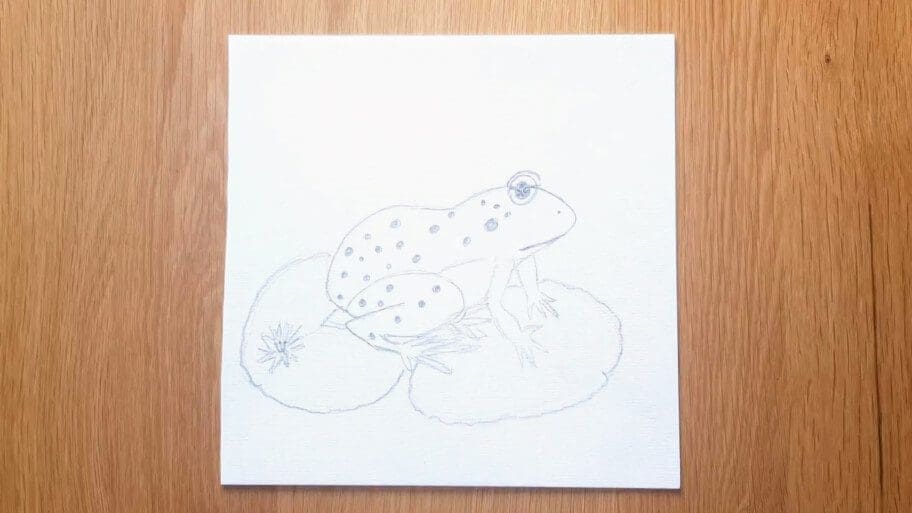
Step 15: Draw a Lily Flower
Sketch out a lily flower in the center of one of the lily pads.
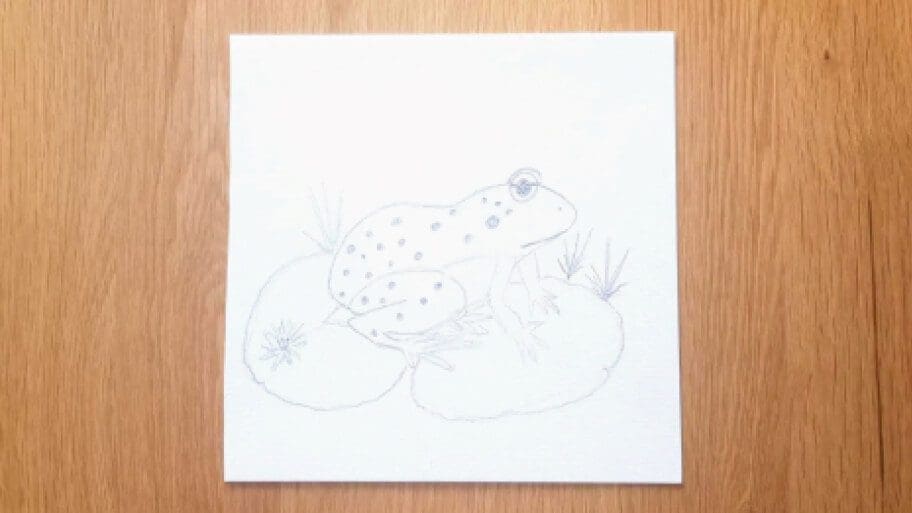
Step 16: Add the Grass
Draw the grass around the second lily pad to give it a more natural effect.
Step 17: Add the Water Effect
Draw some small lines around the lily pads to simulate the water.

Step 18: Add the Vines to the Lily Pads
Draw several lines on each lily pad to form the veins.

Congratulations!
And that’s it! Congratulations on finishing this easy to draw frog step by step tutorial! Your frog drawing is now complete! Now you know how to draw frogs!
Feel free to add more details, such as different colored pencils, to give your frog a more interesting and dynamic look and to make your frog look even cuter.
Once you’ve created your finished frog drawing, you can try to draw a cartoon frog drawing, or even create a Kawaii frog drawing. It’s time to let your imagination run wild!
We hope you enjoyed learning how to draw a frog easy sketch.
Tips to Improve How to Draw a Simple Frog Even Better:
Below are some tips to help make your frog drawings easy sketch look even better.
Use Light Strokes
Use light strokes when sketching out the initial outline of your frog. This will make it easier to erase any mistakes you may make while drawing.
Add Details Carefully
Be careful when adding details such as eyes and toes. Take your time with this step and pay attention to the finer details.
Use Different Pencils and Shades
You can use different pencils and shades to give your simple frog drawing more depth. Try using light and dark shades to create shadows and highlights.
Make It Your Own
Experiment with adding your touches. You can add decorative elements such as patterns, spots, or stripes to make your frog drawing more unique and interesting.
Finally, practice as much as you can and never be afraid of making mistakes. Making mistakes is part of the learning process! With enough practice, you’ll be able to draw amazing frog drawings in no time!
Don’t worry if your frog easy drawing isn’t perfect the first time, the more you practice the better you will get!
Be sure to practice these frog drawings until you get them just right. Then, try drawing other animals, like a cat or a rabbit. Soon, you’ll know how to draw animals!
Are you looking for more drawing ideas? Search our blog post list of 101+ Drawing Ideas!
Happy drawing!


