
In this fun and easy rabbit drawing tutorial, you’ll learn how to draw a rabbit step by step.
This simple rabbit drawing easy tutorial is great for beginner artists (both kids and adults) who want to improve their drawing skills.
Rabbits are a great subject for artists of all abilities. Drawing animals is a great way for kids to improve their drawing skills. Plus, they’re cute, relatively easy to draw, and they offer a lot of opportunities for creativity.
Did you know, that rabbits are animals that feature heavily in popular culture? They’re often used as mascots and have even been the leading characters in some very popular films and books (such as Watership Down and The Tale of Peter Rabbit).
Once you have completed these drawing guides, you’ll end up with an awesome rabbit drawing that you can be proud of.
We’ll be creating our rabbit easy drawing using the following materials:
Follow along and learn how to draw a simple rabbit step by step.
We’ve included all of the steps in detail so that the process is easy to follow.
So, if you’ve got your art supplies ready, let’s get started!
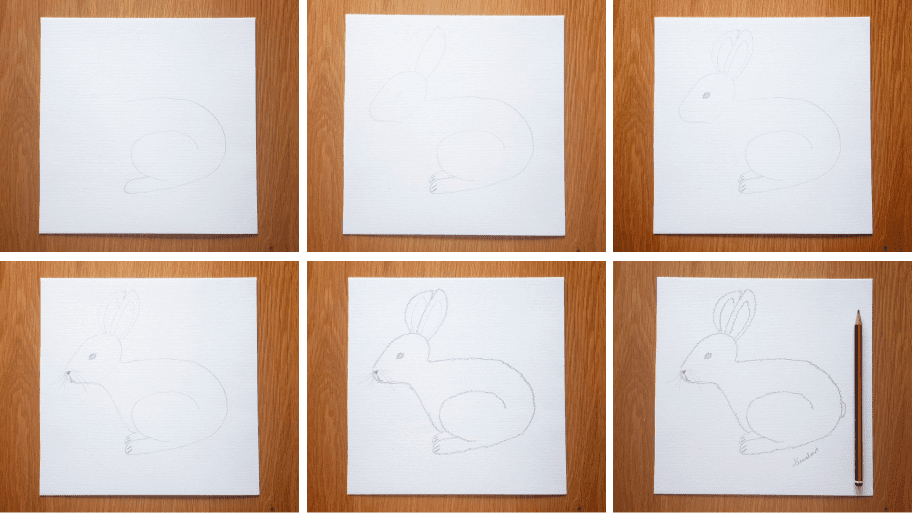
The collage above shows each step of the process so you know what your rabbit drawing easy step by step sketch should look like at each stage.
Tip: Make sure you don’t press too hard on the paper when you draw your pencil outlines so that you can correct your mistakes with an eraser as you go through the tutorial. This will also make it a lot easier to remove pencil marks when you finish your artwork.
Sketching is a great way to plan your painting and get an idea of what it will look like before you start.
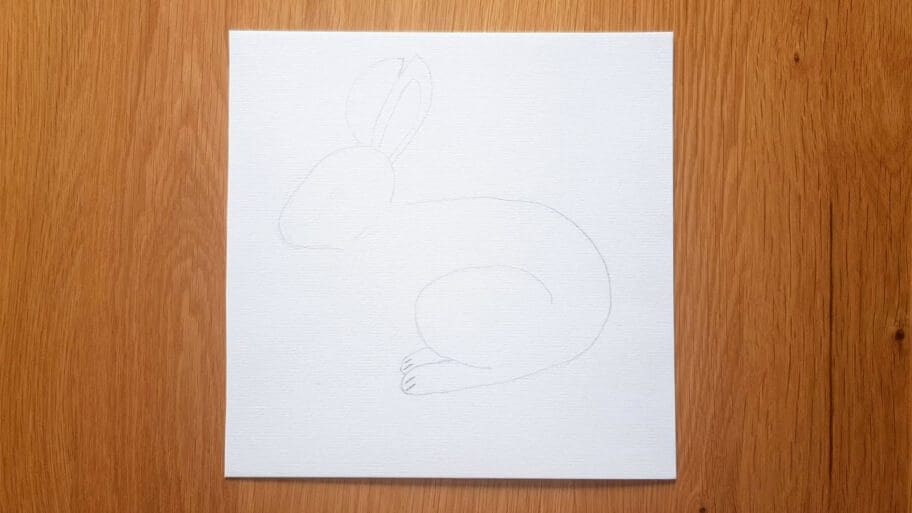
Draw a curved line to shape a backward letter C. Make sure the line is positioned just below the center of the paper and slightly to the right to leave space for the head, feet, etc.

Draw a curved line at the bottom of the C to create the first foot.

Draw a curved line inside the body to create a leg.

Draw another curved line on top of the first foot for the other foot.

Draw a few horizontal lines inside each of the feet to create the toes.

Draw a small oval shape to the top of the letter C shape drawn in step 1. Curve the line at the end for the neck.

Draw one long curved line for an ear and attach it to the drawn oval.
Draw a smaller ear shape inside of the main ear shape.
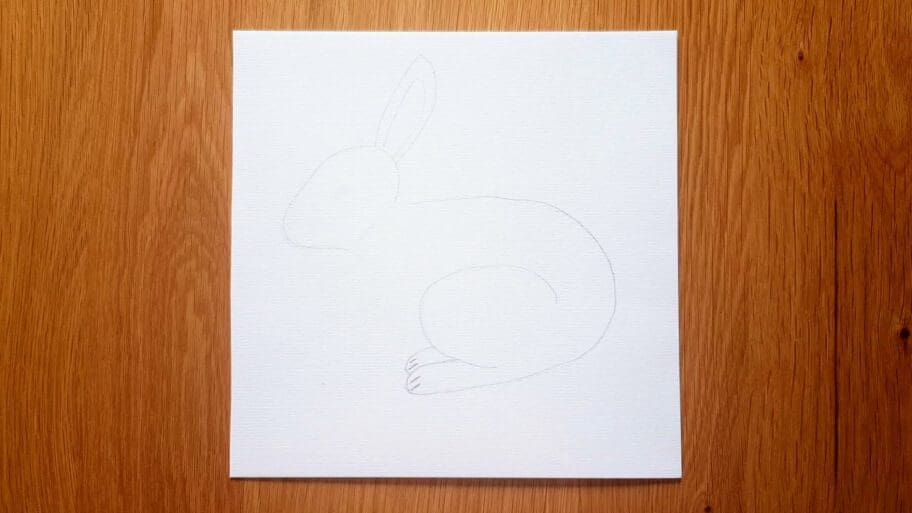
Draw a second curved line next to the first ear for the second ear and add another smaller ear shape inside.
Hopefully, your rabbit drawing should be looking more like a rabbit at this stage!
Draw a tiny oval shape in the middle of the rabbit’s head.
Then add some extra lines over the eye shape to make it thicker.
Add some small lines on the top of the eye to create eyelashes.

Draw a tiny triangle on the left-hand side of the oval and shade it in with your pencil.
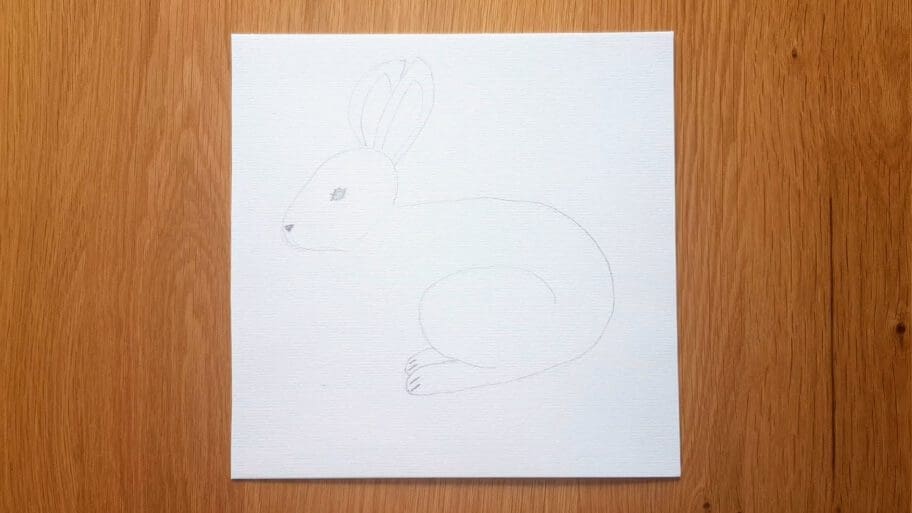
Draw a small curved line below the nose with a couple of small lines at the bottom to create the shape of the mouth.

Add a few small curved lines on the mouth for the whiskers.

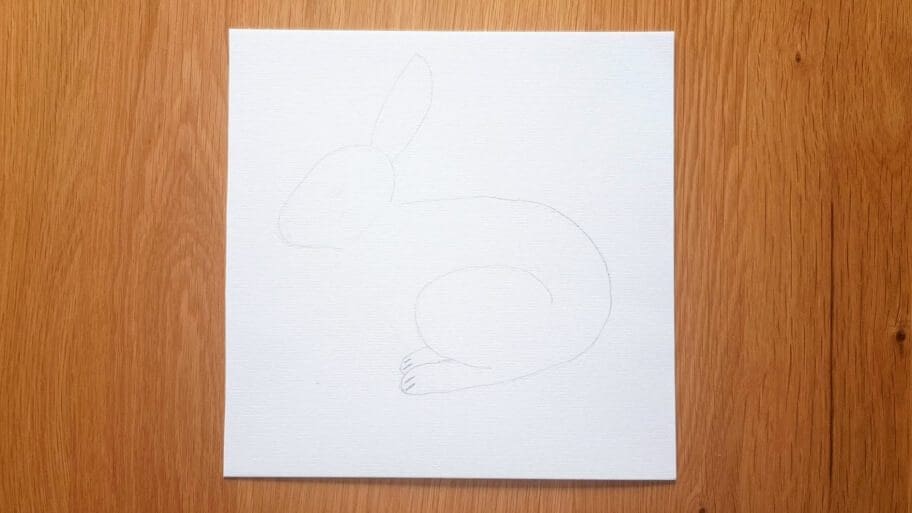
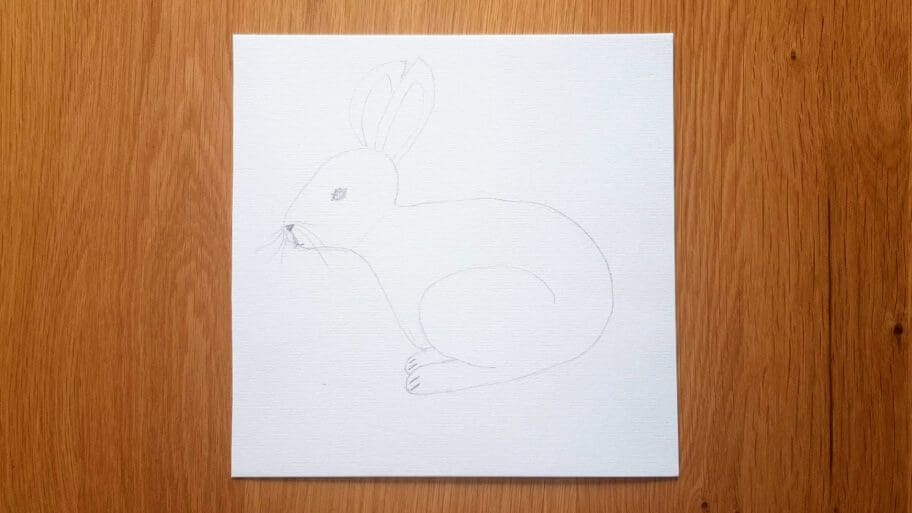
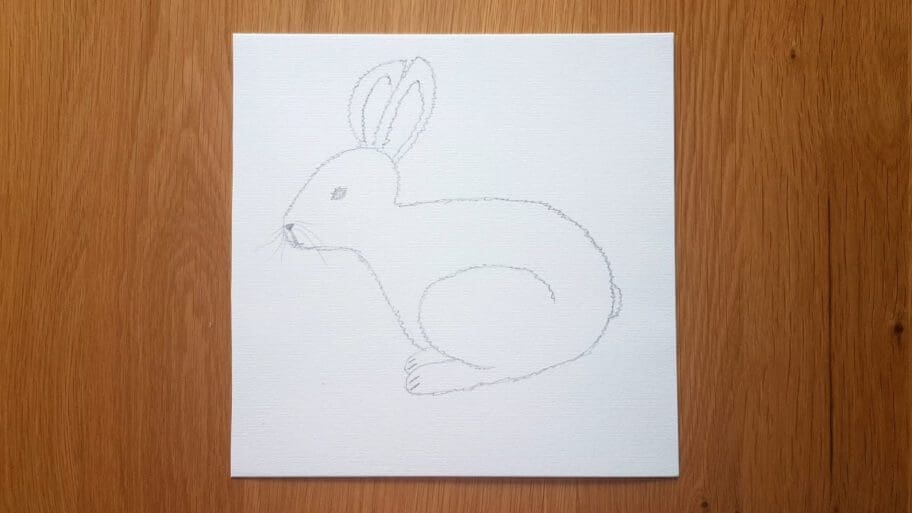
Now you can finish your rabbit body with a curved vertical line in a backward s-shape. Start from the top of the second foot and attach this line to the neck.
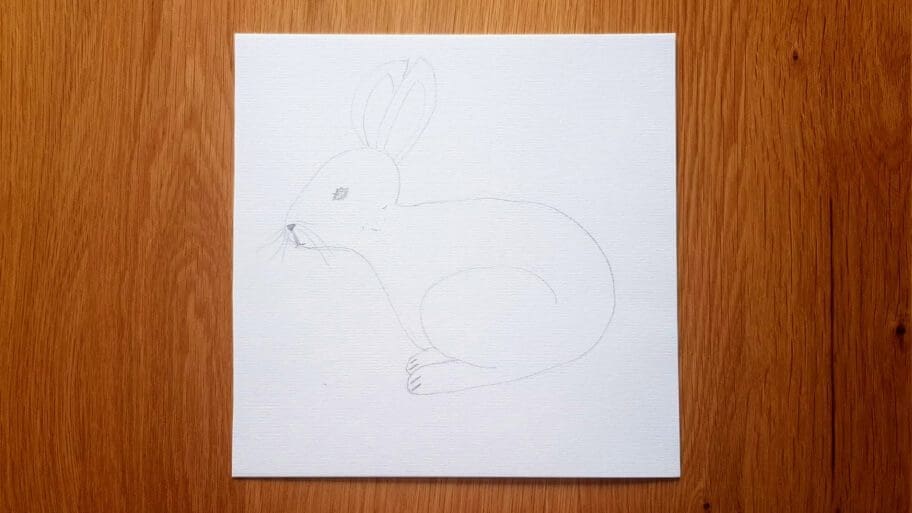
Now, you can erase your pencil marks inside your rabbit.
Add some texture by drawing very small zigzag lines around the outline of your rabbit to create fur.

Draw a tiny curved line to create a backward letter C. Attach this line to the right-hand side of the rabbit’s body. This will be the tail.

Draw more zigzag lines on your rabbit’s ears.
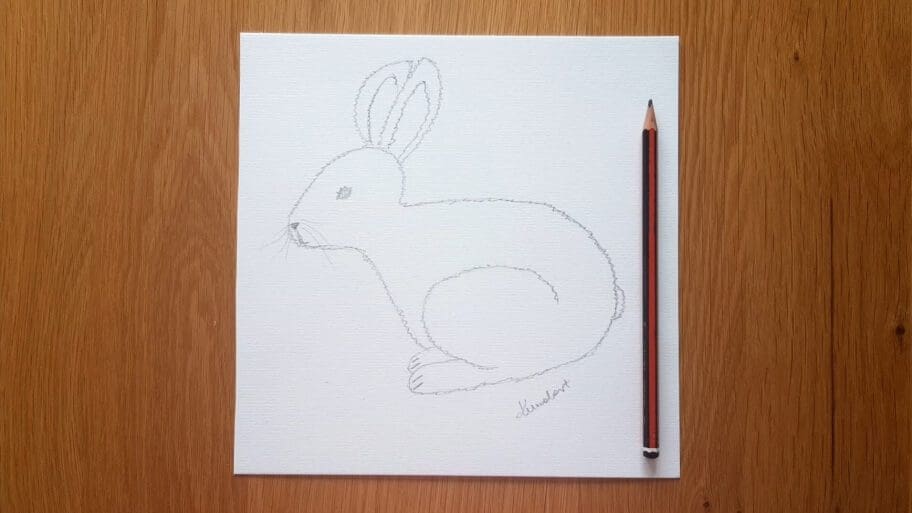
There you have it. Your bunny drawing easy step by step is complete!

Don’t worry if your easy drawing rabbit isn’t perfect the first time, the more you practice the better you will get!
Here are five tips to enhance your drawing rabbit easy sketch:
Remember, drawing is about enjoying the process. Experiment with these tips, and with practice, your rabbit drawings will keep getting better!
Soon, you’ll be a master at bunny drawing!
Looking for more drawing inspirations? Check out our other tutorials on how to draw a horse and how to draw a parrot.
Search our list of 101+ Drawing Ideas!
Happy drawing!

