

Have you ever wondered how to draw a strawberry? Well, you’re in the right place!
In this fun and easy strawberry drawing tutorial, you’ll learn how to draw a strawberry step by step.
This realistic strawberry drawing easy tutorial is great for beginner artists (both kids and adults) who want to improve their drawing skills.
In this tutorial, you’ll learn how to create a strawberry drawing in 6 easy steps.
Strawberries, raspberries, and blackberries are part of the Rose Family (also known as the Rosacea Family). They are all lovely to look at and delicious to eat!
Fun Fact: Did you know that strawberries are the only fruit that have their seeds on the outside?
Also, strawberries are good for kids and adults to eat, because strawberries are full of Vitamin C and they contain fiber which is important for digestive health.
There are many different ways to draw a strawberry and you can make your drawing as simple or as detailed as you like.
We’ll be creating our strawberry drawing using the following materials:
Follow along and learn how to draw a strawberry in 6 easy steps.
You can use this guide to create a realistic strawberry drawing or a cute cartoon strawberry drawing.
So, let’s get started!

The collage above shows each step of the process so you know what your strawberry should look like at each stage.
Tip: Make sure you don’t press too hard on the paper when you draw your pencil lines so that you can correct your mistakes with an eraser as you go through the tutorial.

Draw a circle just below the middle center of your paper. Use a compass or a mug to draw around if needed.
You can make your circle as big or as small as you like. Just keep in mind that the size of your drawing will determine how much detail you can include later on. If your drawing is too small, it will be difficult to add details.

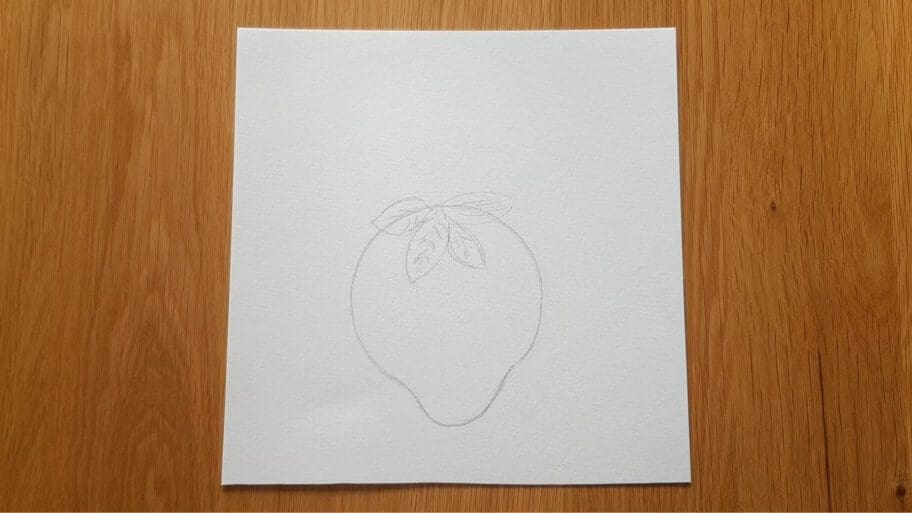
Now it’s time to give your strawberry some shape!
To do this, start by drawing a curved line around the bottom edge of your strawberry.

Now you can erase the outer circle pencil marks around the bottom part of your strawberry drawing.
In the previous step, we drew the main shape of our strawberry. Now is the time to draw the leaves.
Create stalks by drawing some small lines from the top of your strawberry.
Then create raindrop shapes around the stalks for the leaves.
Then add a few small lines inside each leaf to add detail.

Sketch 2 curved lines coming out of the top of your strawberry. This will form your strawberry’s stem.
Then draw a small line at the top of the curved lines to join them together.
Then shade in the space inside the lines.

The final step is to add seeds to your strawberry. It wouldn’t be a strawberry drawing without seeds!
To finish your line drawing, draw lots of small circles in the center of your strawberry drawing.
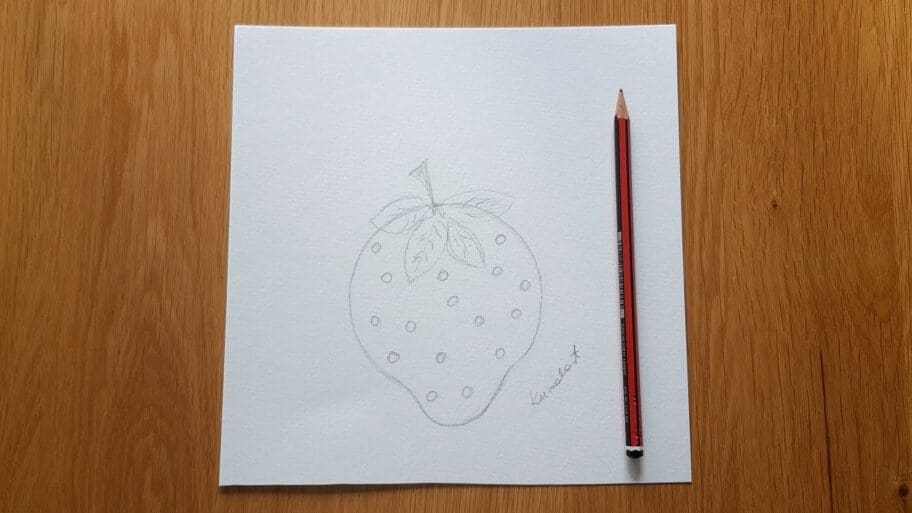
There you have it. Your very own simple strawberry drawing! Now you know how to draw strawberries!
Don’t worry if your strawberry drawing isn’t perfect the first time, the more you practice the better you will get!
Be sure to practice this strawberry drawing until you get it just right.
Then, try drawing other fruits, like blueberries or grapes.
Enhance your sketch by adding more shading like you did on the stem in step 5.
Shading is a great way to make your drawing look more realistic. With shading, you create the illusion of light and shadow that adds depth and dimension to your artwork.
Soon, you’ll be a master at line drawing!
Are you looking for more drawing ideas? Search our list of 101+ Drawing Ideas!
Happy drawing!

