There are no results matching your search
How to Draw an Apple Tree Step by Step - 14 Easy Steps!

- By Joanna | updated in March, 2024

In this fun and easy apple tree drawing tutorial, you’ll learn how to draw an apple tree step by step.
This tutorial is great for beginner artists (both kids and adults) who want to improve their drawing skills. Apple tree drawing for kids can be an enjoyable experience!
Drawing an apple tree can be a joyous exploration of curving branches, lush foliage, and colorful fruits, capturing nature’s bounty on paper.
Fun Fact: Did you know that apple tree leaves can be used for natural dye, to make green and yellow colors?
Table of Contents
ToggleWhat You’ll Need for Your Simple Apple Tree Drawing Realistic Sketch:
We’ll be creating our fruit tree drawing using the following materials:
- A piece of paper
- A pencil
- An eraser
How to Draw an Apple Tree Step by Step
Follow along and learn how to create an apple tree drawing easy sketch step-by-step.
We’ve included all of the steps in detail so that the process is easy and fun for everyone.
So, let’s get started!
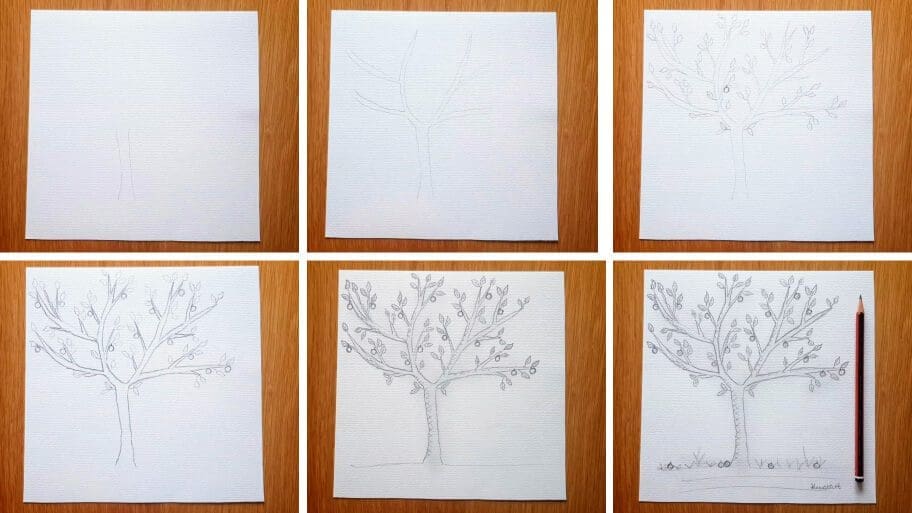
The collage above shows each step of the process so you know how to draw a apple tree sketch easy should look at each stage.
Instructions on How to Draw Apple Tree
Tip: Make sure you don’t press too hard on the paper when you draw your drawing lines so that you can correct your mistakes with an eraser as you go through the tutorial.
Step 1: Draw the Trunk
Using a light pencil stroke, draw two long vertical lines that curve at the bottom to create the trunk of your tree.

Step 2: Draw the Big Branches
Draw some branches that come out from either side of the trunk using curved lines.
Join the top two branches into a point at the end.
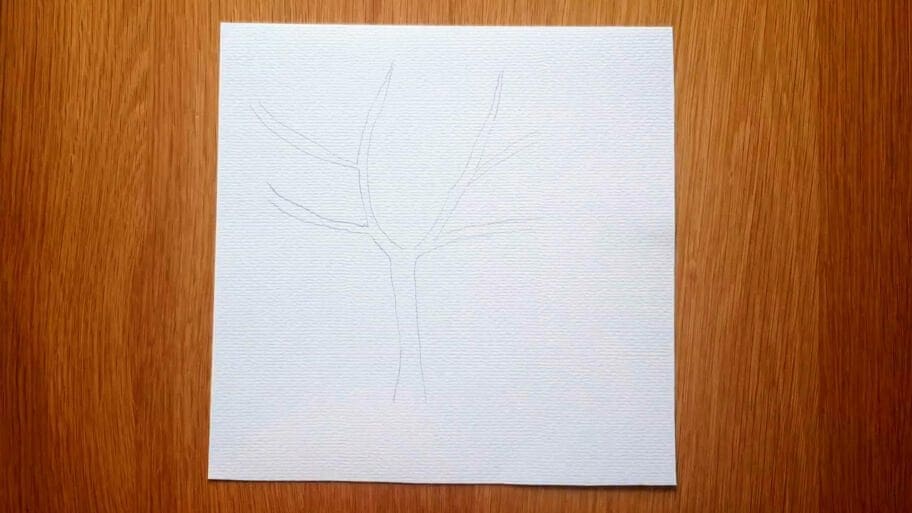
Step 3: Add Small Branches
Draw some small branches coming out from the bigger ones.
These branches should join into a point at the ends.
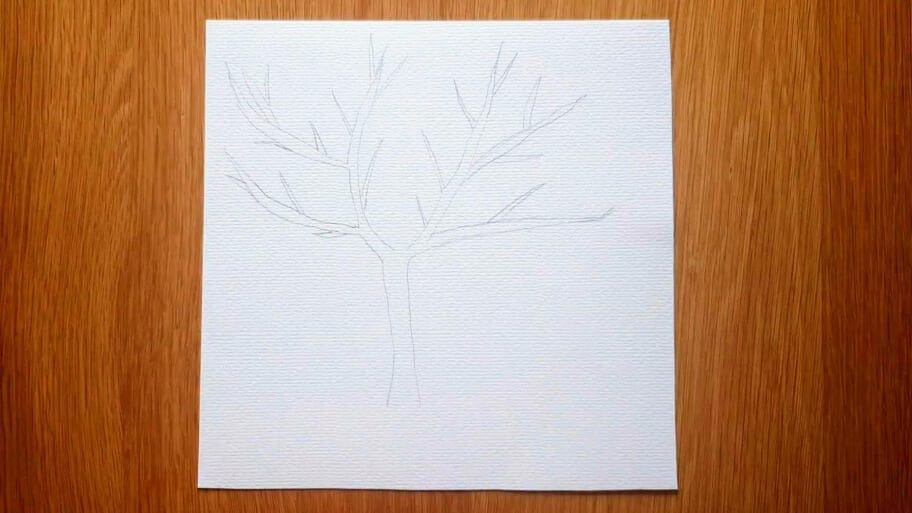
Step 4: Draw the Leaves
Draw small stems coming out of the branches with small leaf shapes on the ends.
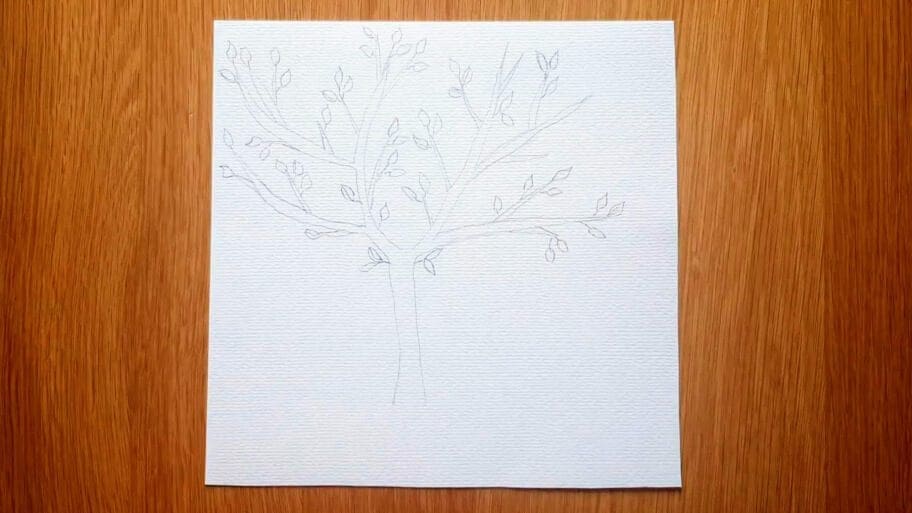
Step 5: Draw the first Apple and Stalk
Start by drawing a small circle. Then add a tiny line coming out of the circle to create a stalk.
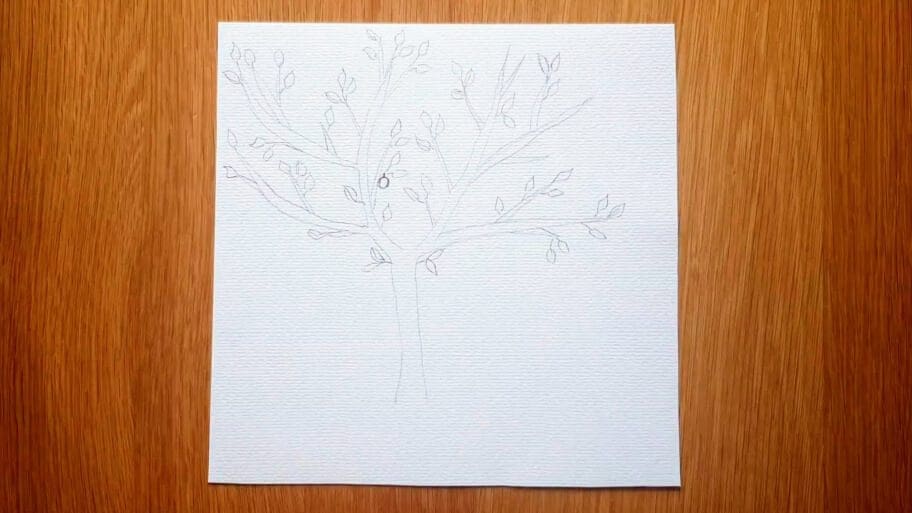
Step 6: Add More Apples
Draw more apples on the tree.
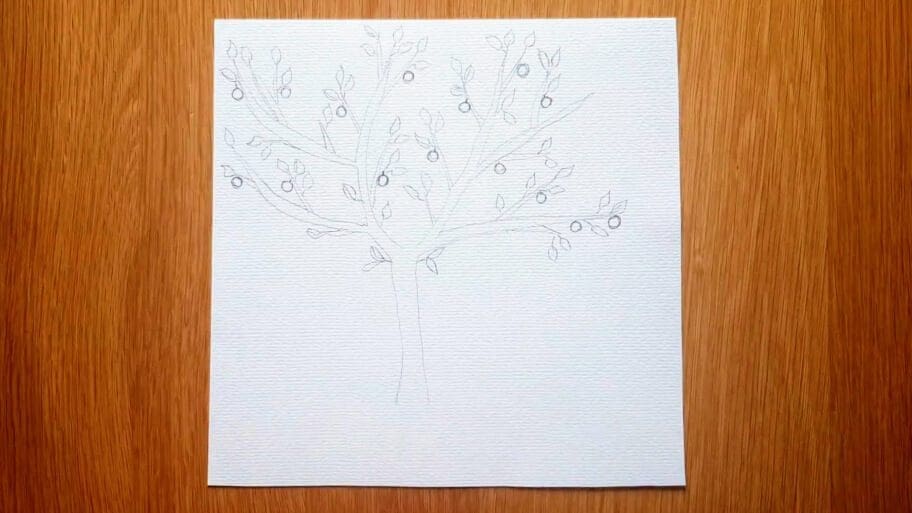
Step 7: Outline the Tree
Drwa over the tree trunk and all of the branches using darker pencil strokes to make them more visible.
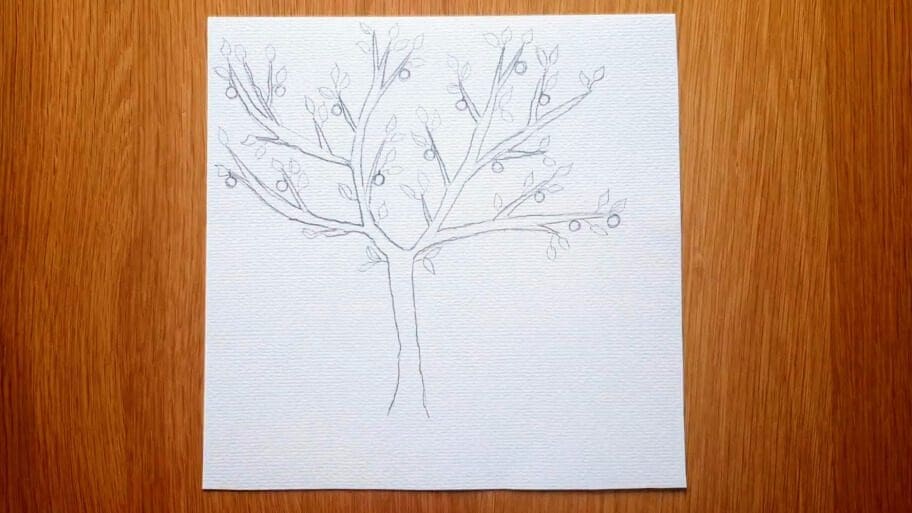
Step 8: Outline the Apples
Outline the apples with your darker pencil to define them.
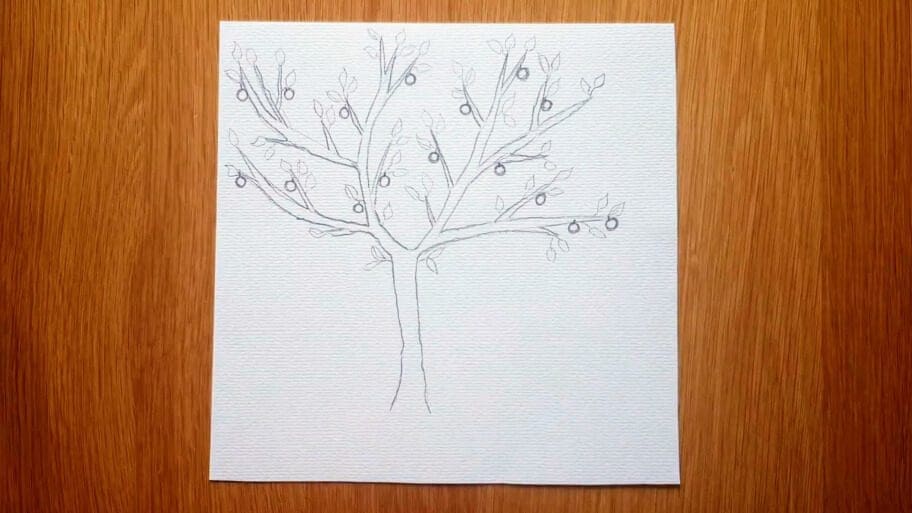
Step 9: Outline the Leaves
Outline the leaves with your darker pencil to give them a nice shape. Then add tiny lines inside each leaf.
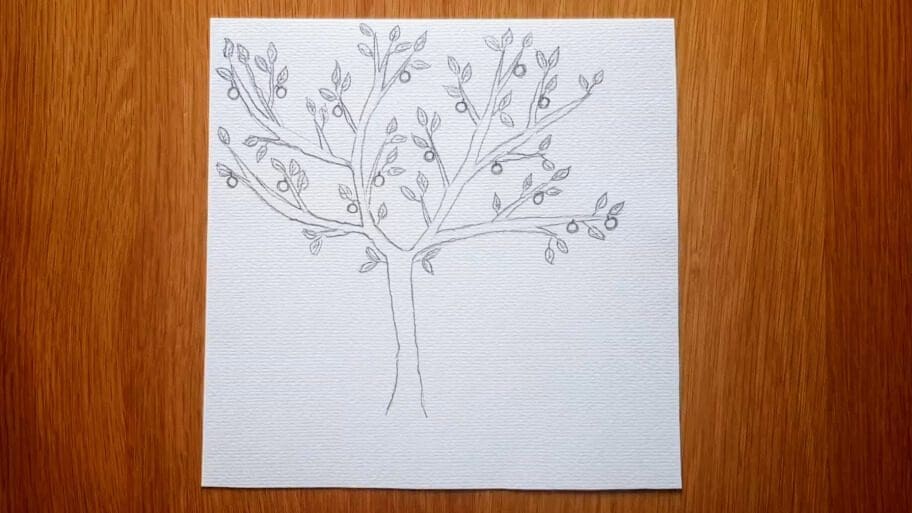
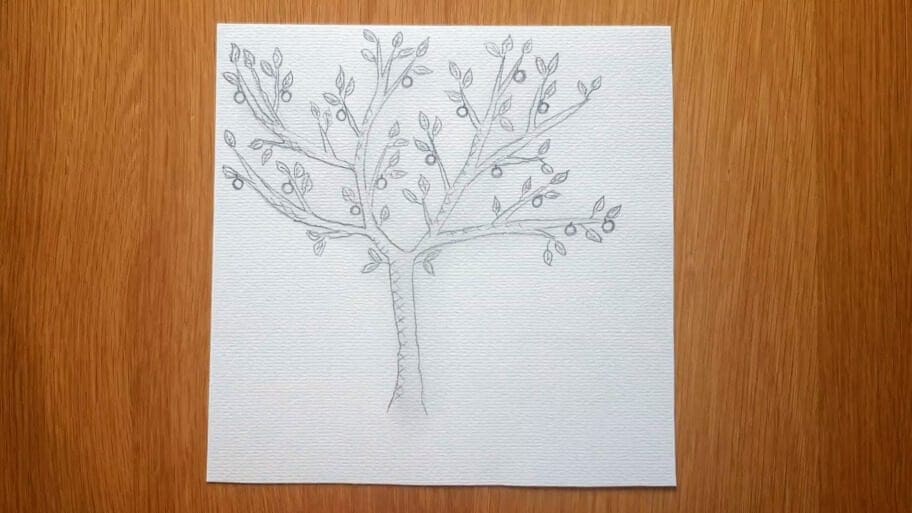
Step 10: Add Shading
Using a criss-cross hatching technique, add some shading to the apple tree.
This will give depth to your drawing and make it look more realistic.
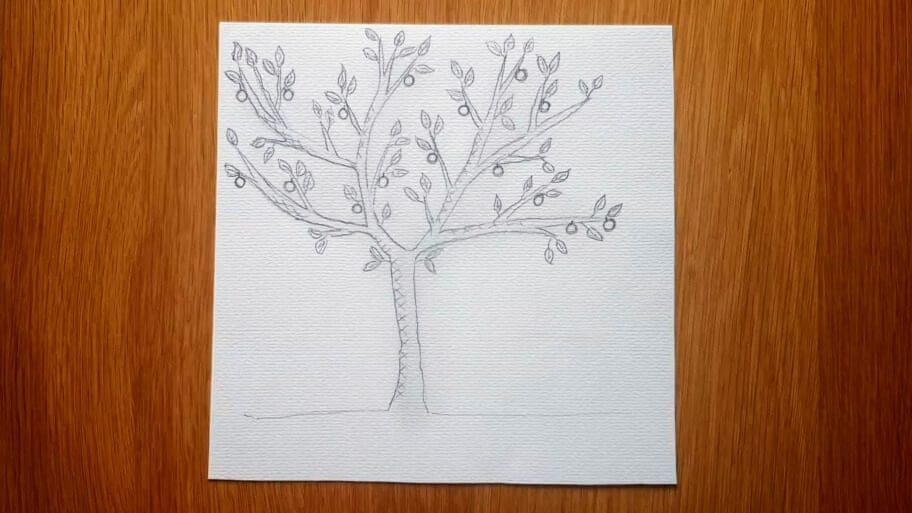
Step 11: Draw the Ground
Draw a horizontal line on each side of the trunk to create the ground.
Step 12: Draw the Grass
Draw a few lines in different directions to create the grass.
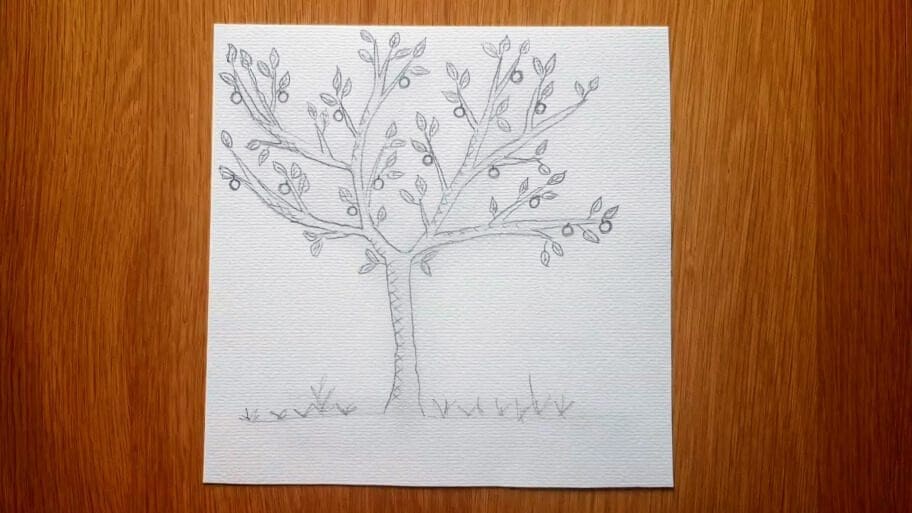
Step 13: Draw More Apples
Draw some apples randomly lying on the ground.
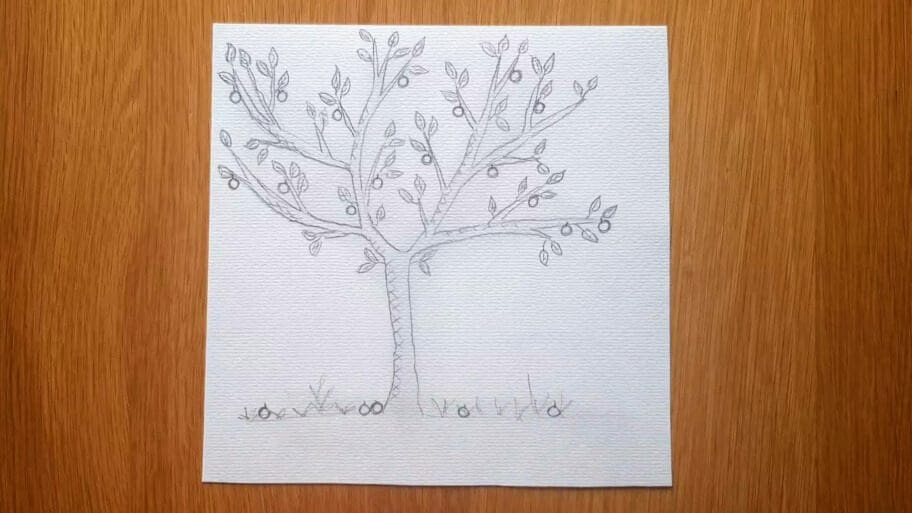
Step 14: Add Details
Finally, Draw tiny lines inside each apple. Then add a couple of horizontal lines to finish the ground floor.
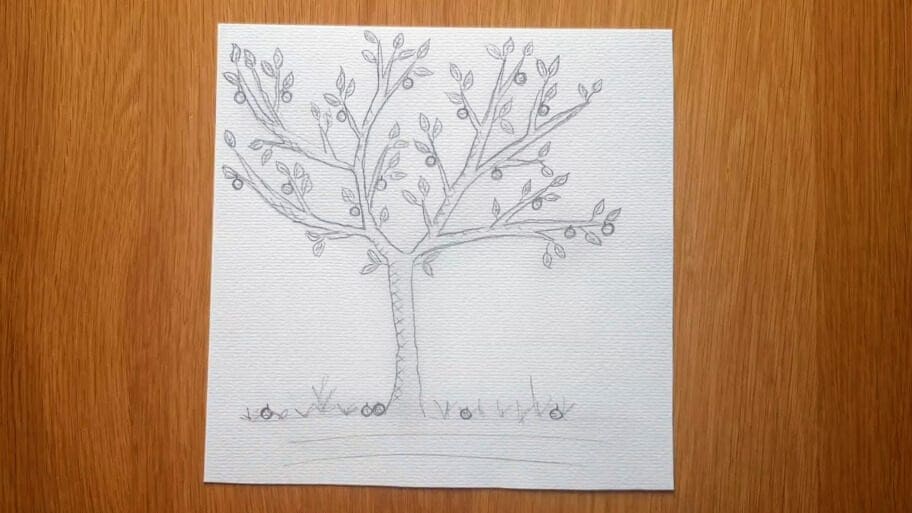
Congratulations!
There you have it, your final results. Now you know how to draw apples and how to draw a tree easy.
Hope you enjoyed this how to draw a apple tree step by step tutorial and that you learned something new.
Don’t worry if your fruit tree drawing easy sketch isn’t perfect the first time, the more you practice the better you will get!
Be sure to practice this apple tree easy drawing tutorial until you get it just right.
Check out our How to Draw a Palm Tree Step by Step tutorial, How to Draw a Christmas Tree tutorial, and How to Draw a Cherry Blossom Tree tutorial to continue your tree drawing journey.
Bonus Tips on How to Improve Your Apple Tree Pencil Drawing Skills:
Use Image References
Use royalty-free stock photos, illustrations, and other reference images when sketching your apple tree. This can help you get the proportions of the branches and leaves just right.
Use Different Backgrounds
Try drawing your realistic apple tree drawing step by step on a different color paper or background. This will give your drawing more depth and make it look more interesting.
Use Different Mediums
Don’t be afraid to experiment with different drawing mediums like colored pencils, markers, charcoal, and pastels. This can give your drawing a unique look that will make it stand out from the others.
Use Different Colors
Try to use different colors like green, yellow, or even pink to add more vibrancy to your apple tree drawing simple sketch.
Soon, you’ll be a master at tree drawings!
Looking for more drawing ideas? Search our list of 101+ Drawing Ideas!
Happy drawing!


