

In this fun and easy mouse drawing tutorial, you’ll learn how to draw a mouse step by step.
This tutorial is great for beginner artists (both kids and adults) who want to improve their drawing skills.
Mice are often seen as cute, tiny creatures. This tutorial will teach you how to create a simple mouse drawing in 20 steps.
Fun Fact: Did you know that mice can jump up to a height of more than 10 times their body length?
Mice belong to the rodent family. Their small size and easy adaptability make them a popular pet around the world.
Once you have completed these easy steps, you’ll end up with an awesome mouse drawing!
We’ll be creating our mouse drawing using the following materials:
Follow our tutorial covering how to draw a mouse step by step.
We’ve included all of the steps in detail so that the process is easier to follow.
So, let’s get started!

The collage above shows each step of the process so you can see what your mouse drawing should look like at each stage.
Tip: Make sure you don’t press too hard on the paper when you draw your pencil lines so that you can correct your mistakes with an eraser as you go through the tutorial.
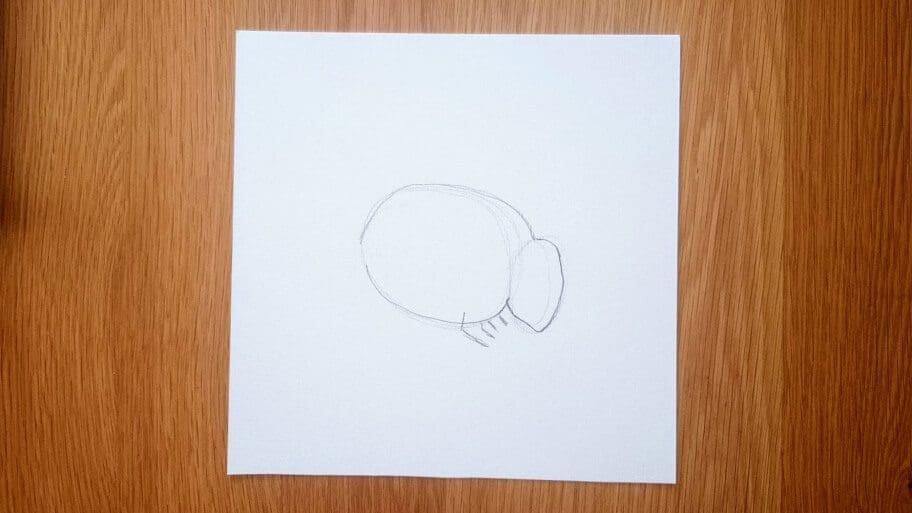
The first step is to draw an oval that will form the main body of your mouse.

Draw a much smaller oval for the head next to the body.

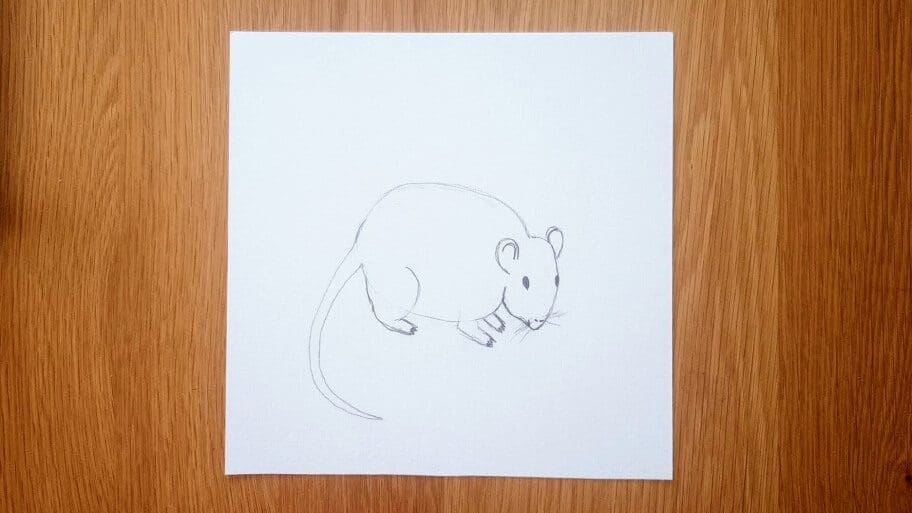
Use darker pencil lines to outline your drawing.
A. Draw a curved line to connect a head with an upper body.

B. Draw another curved line to connect a head with a lower body.

Outline the smaller circle with a small bump at the bottom for the nose to create the face.
Check the collage above to see what the final drawing looks like to help you draw the right shape.

Using four lines draw two front legs. These will be connected in the next step to create the front paws.
To create the front paws, draw a few small darker lines to connect the leg lines.

Draw two curved lines: one slightly longer than the other and opposite each other to create the back leg.

To create the back paw, draw a few small darker lines to connect the leg lines.

Draw the tail using two long curved lines that meet at a point.

Erase any unwanted pencil marks.

Draw two small circles for a nose.

Draw two circles to the left of the nose for the mouth.

The first eye: draw a small oval slightly to the left of the middle of the head.
The second eye: Use a semi-circle oval shape for the right eye. Attach it to the right side of the head.

Draw two oval shapes for the ears on top of the head.

Draw a few lines on each side of the nose for the whiskers.

Draw two small curved lines inside the ears.
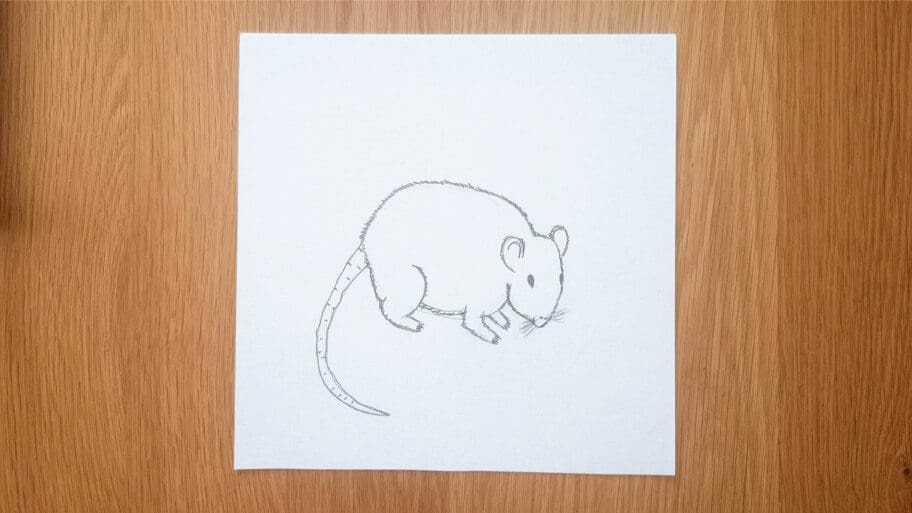
Then shade the eyes with your pencil.
Draw rough edges all around the body to create the fur.

A. Draw a rough thin line around the tail.

B. Add several small lines to the tail.
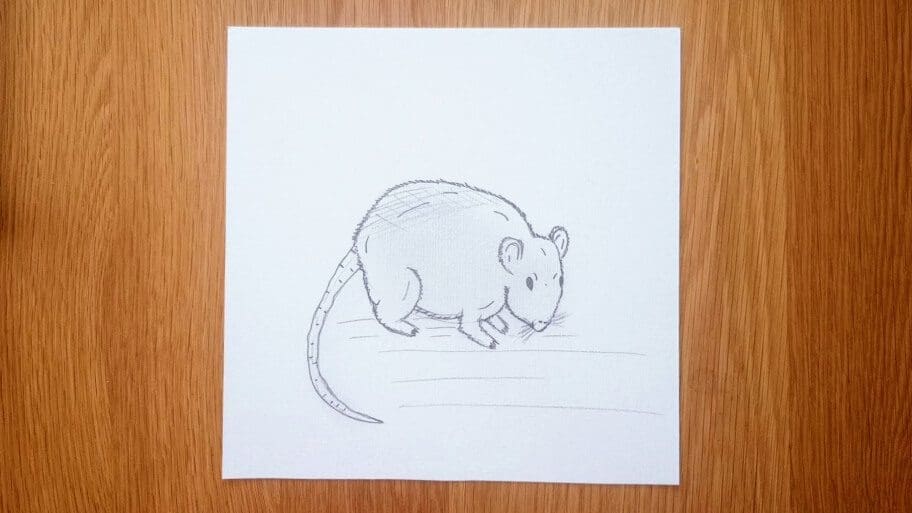
A. Shade the body at the top with a criss-cross pattern and smudge the pencil marks downwards into the body with your finger to give it a more natural look.

B. Add a few lines to the body to create a more realistic look.

Draw several horizontal lines to create a floor.
Now you know how to draw a mouse step by step.
Don’t worry if your simple mouse drawing isn’t perfect the first time, the more you practice the better you will get!
Be sure to practice this mouse simple drawing until you get it just right. Then, try drawing other types of drawings like a cartoon mouse drawing or a rat cartoon drawing.
Bonus Tips:
Watch mouse videos and pictures to get an idea of what they look like in real life.
Drawing with friends is also a great way to learn, as they can provide helpful advice!
Soon, you’ll be a master at animal drawings!
Looking for more similar ideas popular? Search our How to Draw a Rat Step-by-Step tutorial or list of 101+ Drawing Ideas to continue your drawing journey.
Happy drawing!


